Virtualization and Windows 7
This article is the next in the “I have a Nokia Booklet 3g netbook and I want to do retro stuff on it” series. I’ll install virtualization software (namely Microsoft Virtual PC) on Windows 7 and virtualize some operating systems, which is an amazing thing to do on such an underpowered netbook (Intel Atom CPU, 1GB RAM). Remember you’re probably connecting a severely outdated operating system to the network, so you might get the chilly willy.
Microsoft Virtual PC
Virtual PC is an x86 emulator for PowerPC Mac hosts and a virtualization app for Microsoft Windows hosts. Virtual PC emulates the following environments:
- Intel Pentium II (32-bit) processor (but virtualizes the host processor on Windows versions) with an Intel 440BX chipset (with PIIX4E southbridge).
- Standard SVGA VESA graphics card (S3 Trio 32 PCI with 4 MB video RAM, adjustable in later versions up to 16 MB by manually editing a virtual machine’s settings file).
- System BIOS from American Megatrends (AMI).
- Creative Labs Sound Blaster 16 ISA PnP.
- DEC 21041 (DEC 21140 in newer versions) Ethernet network card.
- Programs using undocumented features of hardware, exotic timings, or unsupported opcodes may not work.
Operating Systems
A small list of the old versions of operating systems that work with Virtual PC.
| Operating System | Version | Works | Notes |
|---|---|---|---|
| Microsoft MS-DOS | 7.10 | ✓ | |
| Microsoft Windows | 3.11 for Workgroups | ✓ | |
| Microsoft Windows | 95 | ✓ | |
| Microsoft Windows | 98 | ✓ | |
| Microsoft Windows | Milennium | ✓ | |
| Microsoft Windows | 2000 Professional | ✓ | |
| Microsoft Windows | XP Professional | ✓ | |
| IBM OS/2 | Warp 4.5.2 | ✓ | |
| Arch Linux | 2.6.3 | ✓ | To enable the NIC, add the following line to MODULES list in rc.conf:MODULES=(!usbserial !ide-scsi tulip). |
| BeOS | 5.0 PE | ✓ | |
| CentOS | 4.4 | ✓ | Need to add noacpi to boot parameters, and set X color depth to 16. |
| Damn Small Linux | 3.0 | ✓ | |
| Debian | 3 (Woody) | ✓ | |
| Digital Research DR-DOS | 6.0 | ✓ | |
| Fedora Linux | Core 6 | ✓ | After install, edit /etc/X11/xorg.conf and change default pixel depthto 16 from 24. |
| FreeBSD | 7 | ✓ | |
| Gentoo Linux | 2006 | ✓ | |
| Knoppix | 5.0 | ✓ | |
| Mandrake Linux | 9.2 | ✓ | Set X color depth to 16-bit. |
| Mandriva Linux | 2006 | ✓ | |
| Minix | 3 | ✓ | |
| NetBSD | 3.0.1 | ✓ | |
| OpenBSD | 3.9 | ✓ | |
| OpenSUSE | 10.1 | ✓ | |
| Plan 9 | ✓ | ||
| PC-DOS | 5.0 | ✓ | |
| QNX | 6.x | ✓ | Use the VESA video driver. |
| Red Hat Enterprise Linux | 4 | ✓ | Set X color depth to 16-bit. |
| Slackware Linux | 10.1 | ✓ | |
| SUSE Linux | 10 | ✓ | |
| Ubuntu | 5.10 (Breezy Badger) | ✓ |
Ubuntu 5.10
Create a Virtual Machine inside Microsoft Virtual PC and make sure you give it 256-320Mb of RAM.
You can install either Ubuntu Desktop or Ubuntu Server, the Desktop version will come with Gnome installed by default (if you want to install KDE start with Ubuntu Server minimal install).
If you installed the Desktop version, X will start with a garbled interface so you need to press Ctrl + Alt + F1 to switch to first console, login normally and then change X default pixel depth from 24-bit to 16-bit. You can either use nano to edit the /etc/X11/xorg.conf manually or use a one-liner:
$ sudo sed -e 's/DefaultDepth.*24/DefaultDepth 16/g' -i /etc/X11/xorg.conf
Reboot the machine after.
Virtual PC emulates a Sound Blaster 16 ISA PnP sound card, so to get sound working you will need to add snd-sb16 to the end of the /etc/modules file and reboot the machine.
Virtual PC emulates an Intel/DEC 21140 network card. Most Linux distributions use the “tulip” driver to provide support for this card. If the network doesn’t start automatically (it does not on Ubuntu Server) you’ll need to add auto eth0 to the line before iface eth0 auto dhcp in the /etc/network/interfaces file and restart the networking service.
$ sudo /etc/init.d/networking restart
The update links inside /etc/apt/sources.list are wrong, replace all occurrences of us.archive with old-releases so that the URLS are starting with http://old-releases.ubuntu.com/ubuntu ... and now you can use aptitude to upgrade your system.
$ sudo aptitude update && sudo aptitude upgrade
If you want to install KDE on your Ubuntu Server system:
$ sudo aptitude install xorg-server kde-core
Or on your Ubuntu Desktop system:
$ sudo aptitude install kde-core
Beware of upgrading your Ubuntu 5.10 to later versions because of incompatibilities introduced with the virtual hardware provided by Virtual PC.
There is an issue with the default resolution on Ubuntu, which is 1024x768, and since the vertical resolution of the Booklet’s screen is 720 pixels, you get a scrollbar in Virtual PC. If we had xrandr version 1.2 on Ubuntu 5.10, it would have been really easy to reconfigure X server to use 1280x720.
$ cvt -v 1280 720
# 1280x720 59.86 Hz (CVT 0.92M9) hsync: 44.77 kHz; pclk: 74.50 MHz
Modeline "1280x720_60.00"   74.50  1280 1344 1472 1664  720 723 728 748 -hsync +vsync
$ xrandr --newmode "1280x720_60.00"   74.50  1280 1344 1472 1664  720 723 728 748 -hsync +vsync
$ xrandr --addmode "OUTPUT" 1280x720_60.00
$ xrandr --output VGA1 --mode 1280x720_60.00
But Ubuntu 5.10 doesn’t have that version, only xrandr 1.0.
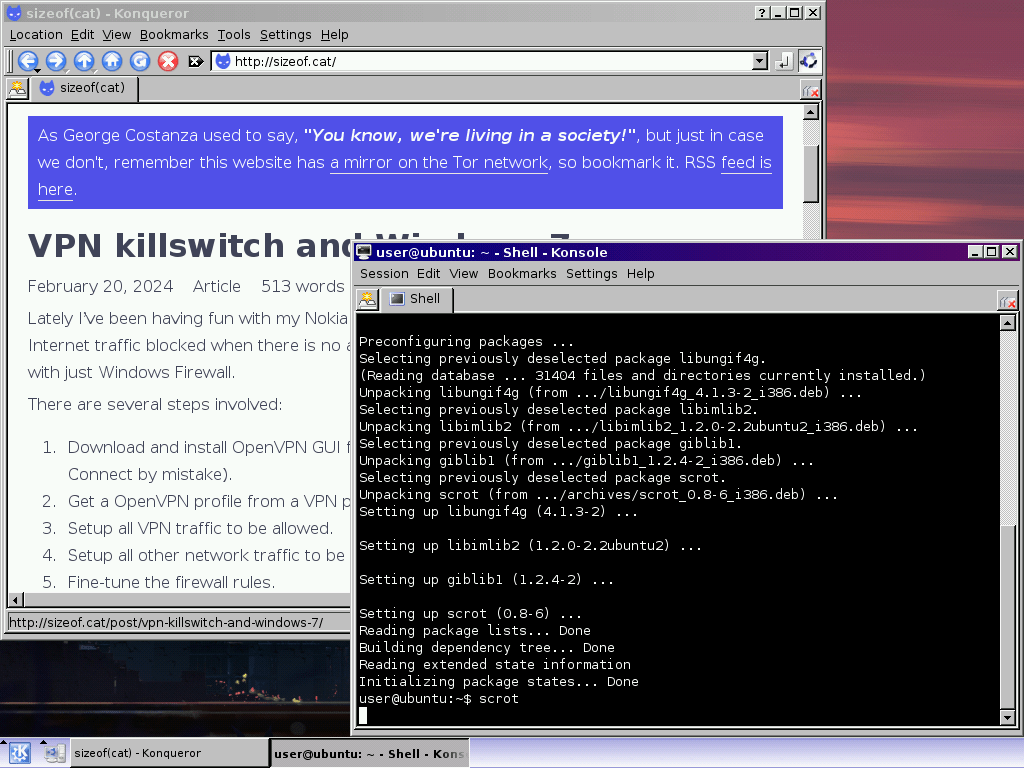
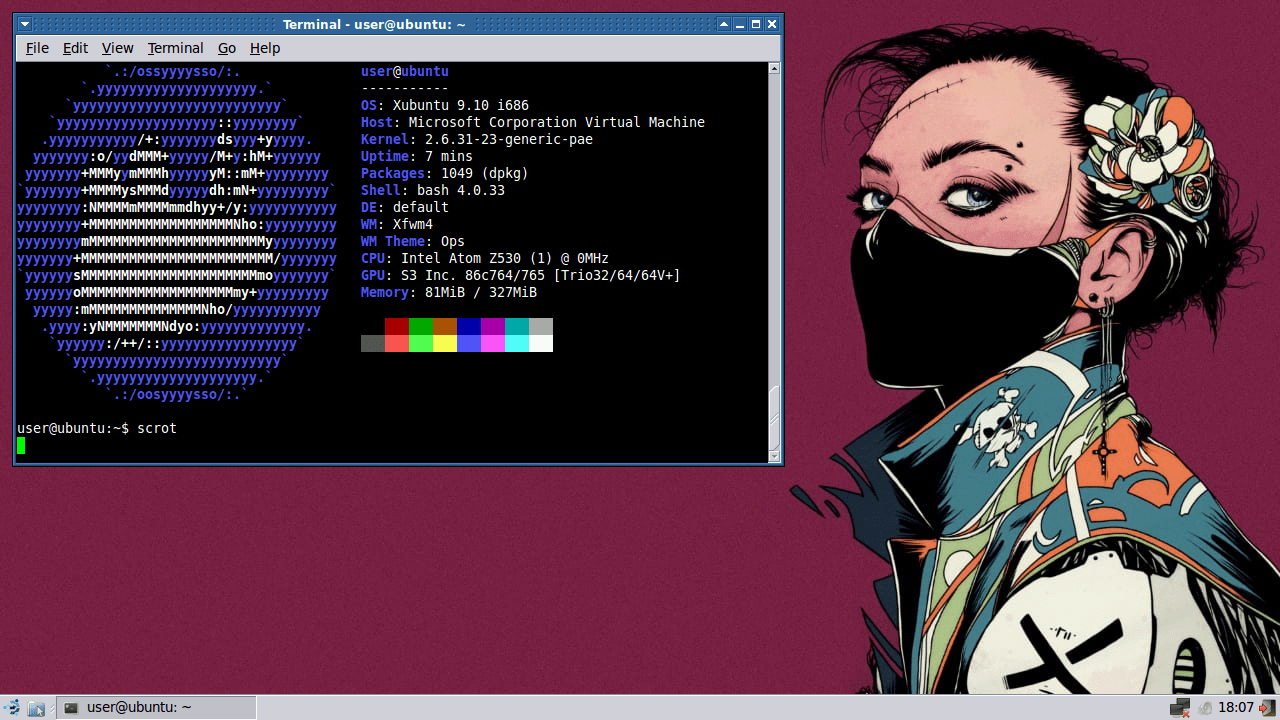
Ubuntu 9.10
Create a Virtual Machine inside Microsoft Virtual PC and make sure you give it 256-320Mb of RAM.
You can install either Ubuntu Desktop or Ubuntu Server, the Desktop version will come with Gnome installed by default (if you want to install KDE start with Ubuntu Server minimal install).
To boot the install CD you will need to add some extra kernel parameters.
vga=788 noreplace-paravirt i8042.noloop clock=pit
vga=788switches boot VGA mode into 800x600x16 which is perfect for Booklet’s 1280x720 screen.vga=791would boot into 1024x768x16.clock=pitfixes the issue where the system time runs too fast on the newer 2.6 Linux kernels. By default, the kernel runs with theclock=tscparameter, and this will make your system unusable.i8042.noloopfixes another issue on Ubuntu 7.04 and kernels newer than 2.6.19, where the mouse doesn’t work properly.
After you install your Ubuntu system, press Ctrl + Alt + F1 to switch into the first console, login normally and then edit the grub parameters inside /etc/default/grub:
GRUB_CMDLINE_LINUD="vga=788 noreplace-paravirt i8042.noloop clock=pit"
GRUB_GFXMODE=800x600x16
To fix mouse wheel:
$ sudo tee /etc/modprobe.d/psmouse.conf <<< "options psmouse proto=imps"
Virtual PC emulates a Sound Blaster 16 ISA PnP sound card, so to get sound working you will need to add snd-sb16 to the end of the /etc/modules file and reboot the machine.
You can later update your 9.10 (karmic koala) install to 10.04 (lucid lynx) and later to 10.10 (maverick meerkat). You can probably go even higher, the only limit is the fact that you can’t reserve for your Ubuntu VM more than 50% of the Booklet’s RAM (which is 1GB), so you’re restricted to a max of 500Mb (actually you should not reserve over 420Mb).
Plan 9
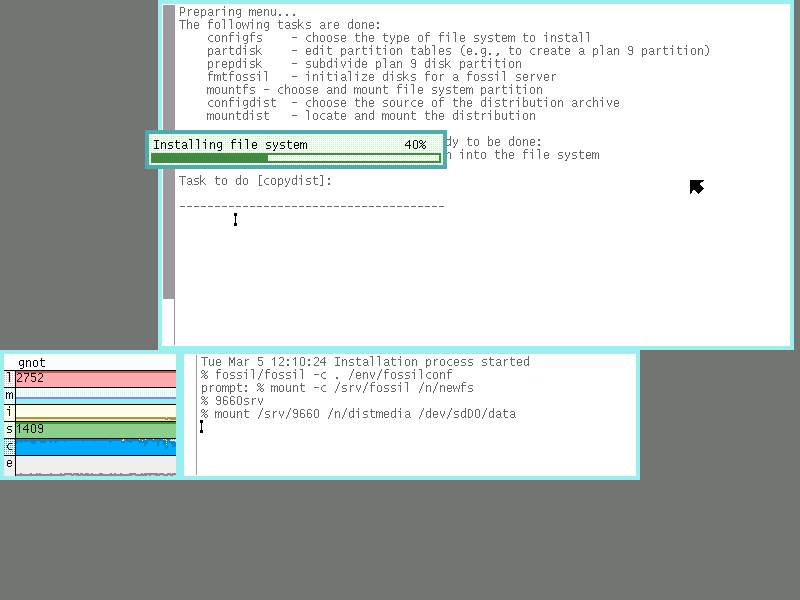
Create a Virtual Machine inside Microsoft Virtual PC and make sure you give it 256Mb of RAM. Select a fixed-size HD and give it 1024Mb (1GB).
Download the latest Plan 9 archived iso and extract it somewhere. Select the ISO for the Plan 9 Virtual Machine’s CD drive and boot normally: you can either install the operating system or test it from the CD. Install is pretty simple if you know what you are doing, the filesystem install stage will take a while, though (let’s say 45-60 minutes).
Windows XP Professional
A Windows XP Professional virtual machine is provided by Microsoft for free (well, technically not anymore since the download links are gone), search for the WindowsXPMode_en-us.exe file on the Internet Archive (it has a 470MB file size) (mirror) and install it.
Make sure you install Legacy Update so you can update your legacy XP install to a more “modern” version (modern by 2009 standards).
permalink http://sizeof.cat/post/virtualization-and-windows-7/
created March 3, 2024
updated March 7, 2024
words 1255
tags #booklet, #virtualization, #windows 7
A series is usually a collection of multiple website posts about the same subject and dependent of each others. This article is from the Nokia Booklet 3G series:


