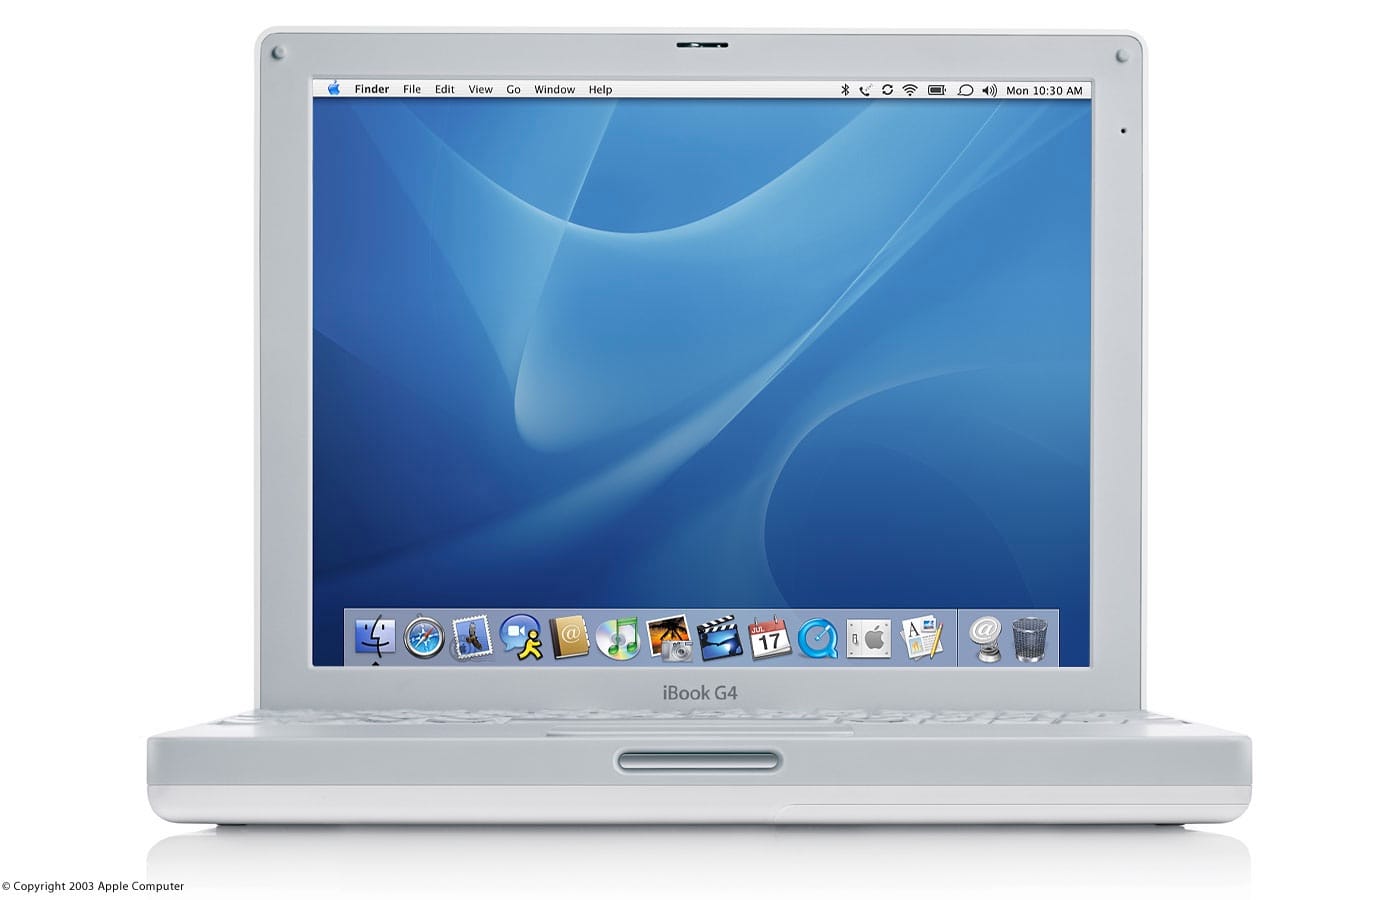
My Apple iBook G4
Contents
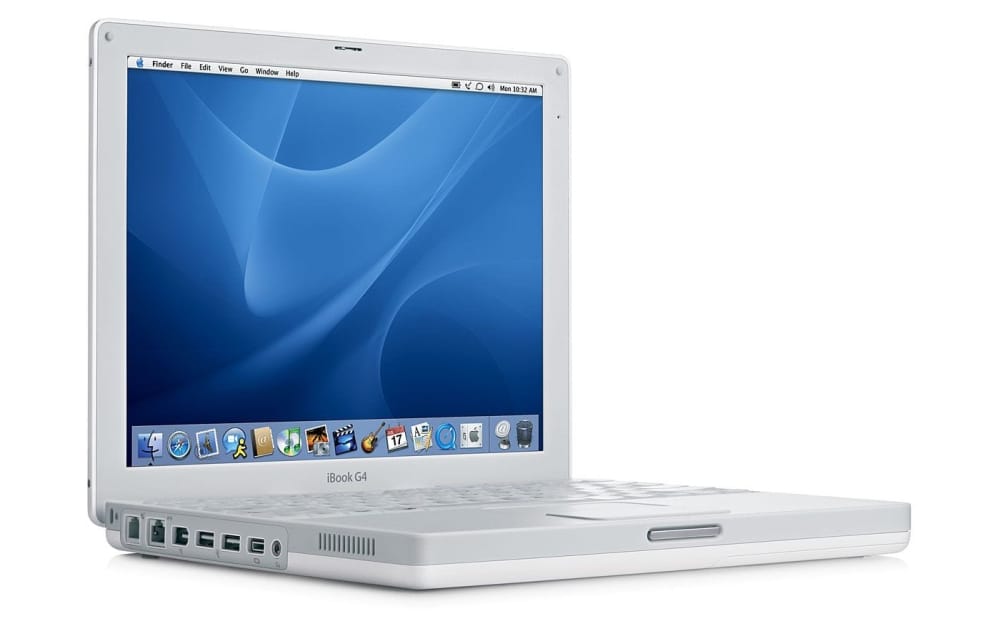
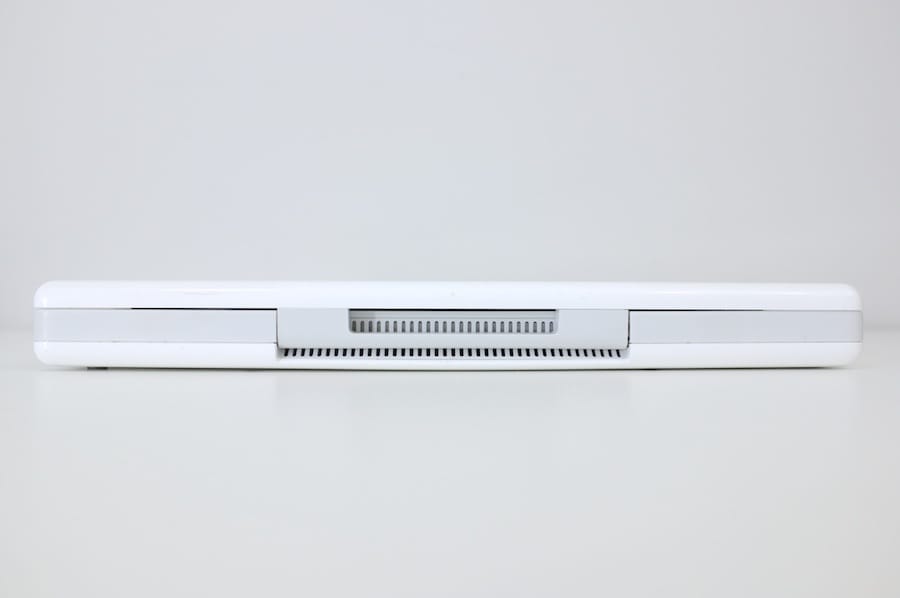
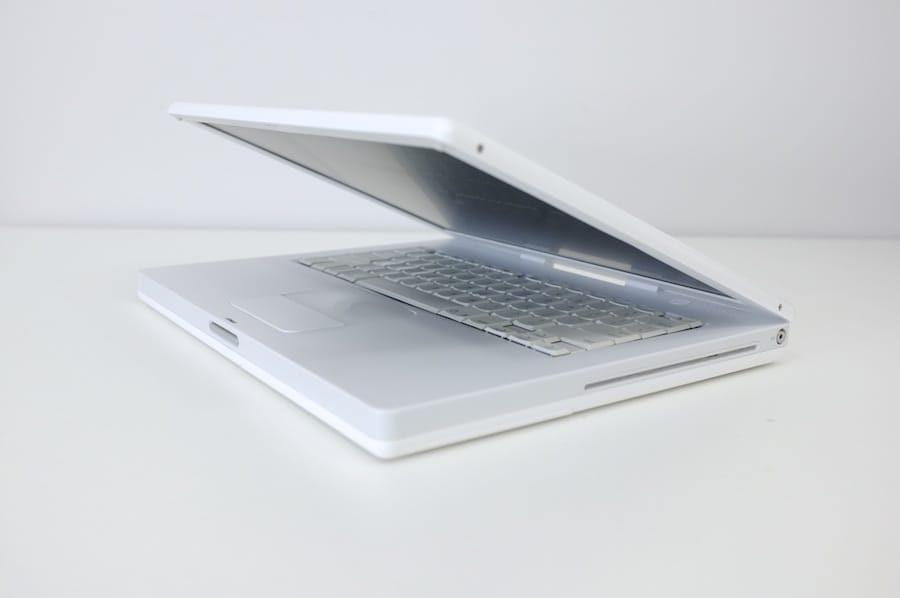
Made from ultratough polycarbonate plastic — the same high-grade material used in bulletproof glass — the iBook’s sleek white case resists impact. While that measure alone might have allowed iBook to comfortably survive everyday use and abuse, Apple engineers took the idea of protecting your investment quite seriously. Inside, a sturdy magnesium frame provides superior strength, while reducing the weight of the iBook G4 to well below that of other full-featured PC notebooks. Rubber mounted for added bump tolerance, the iBook’s hard disk drive lets you store all of your digital goodies and still enjoy peace of mind. What’s more, the iBook has no I/O doors or protruding elements — and no optical drive tray, either — to break or snap off when tucked into a backpack or briefcase. Apple website
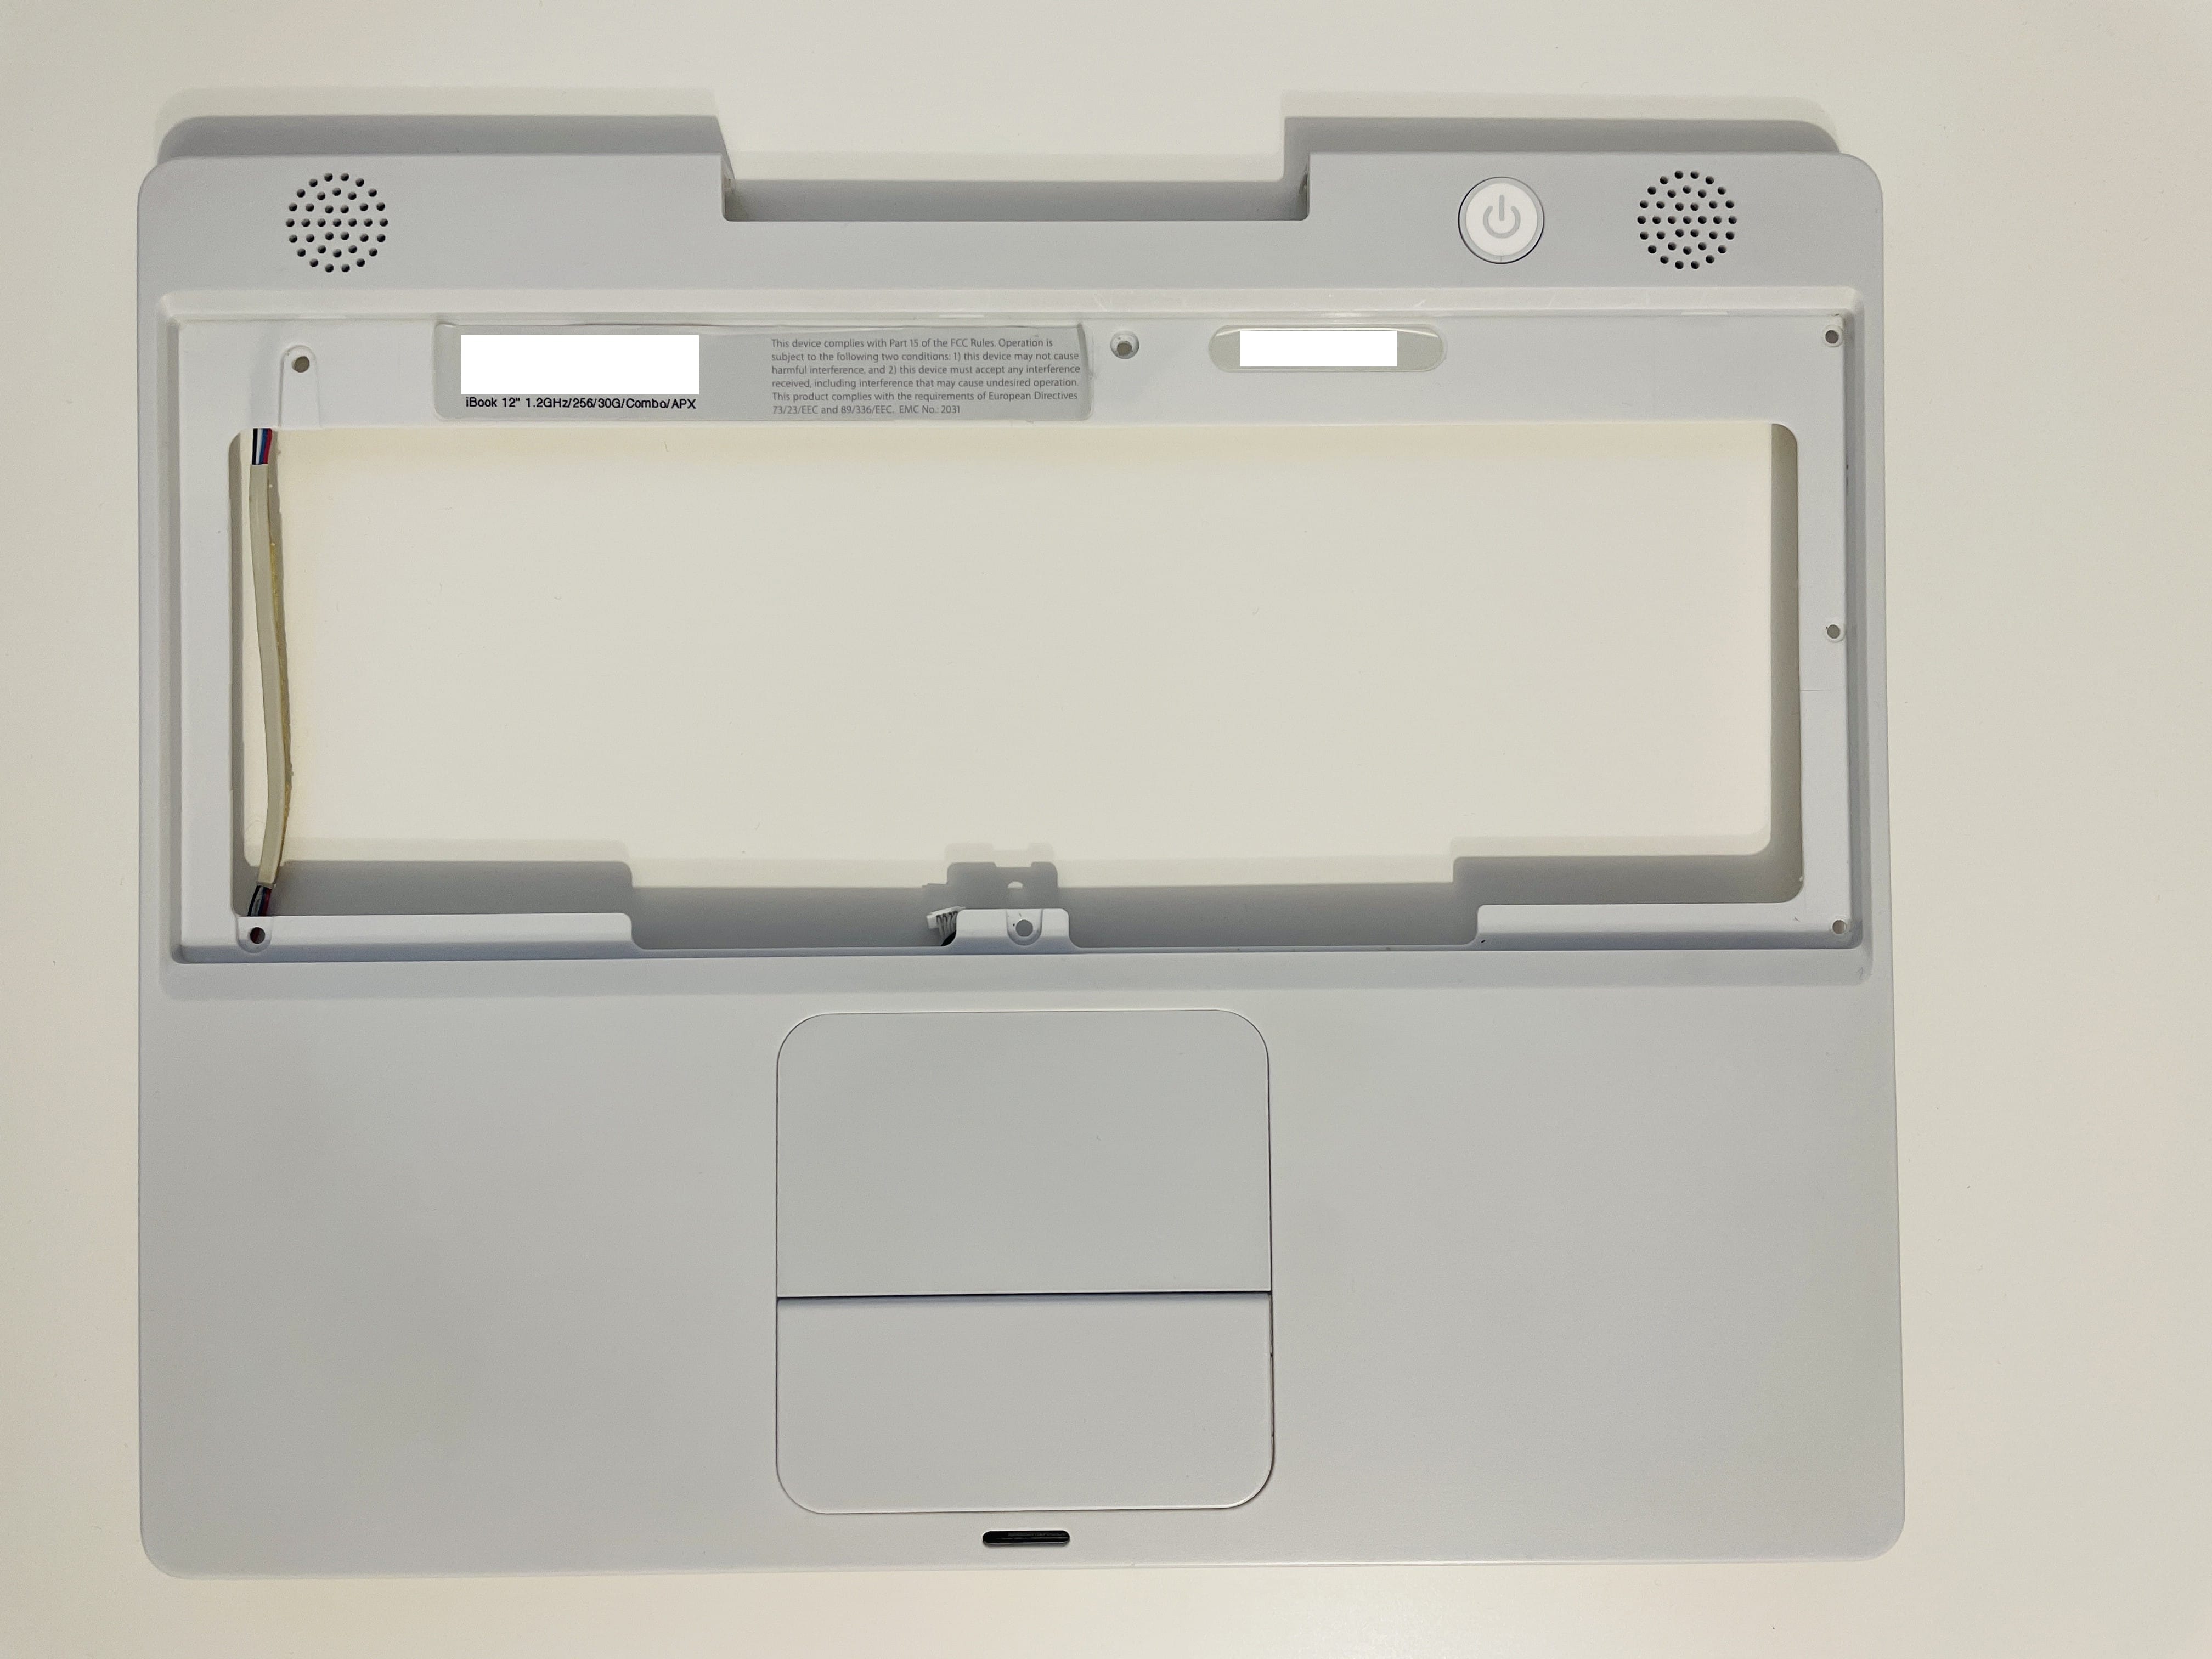
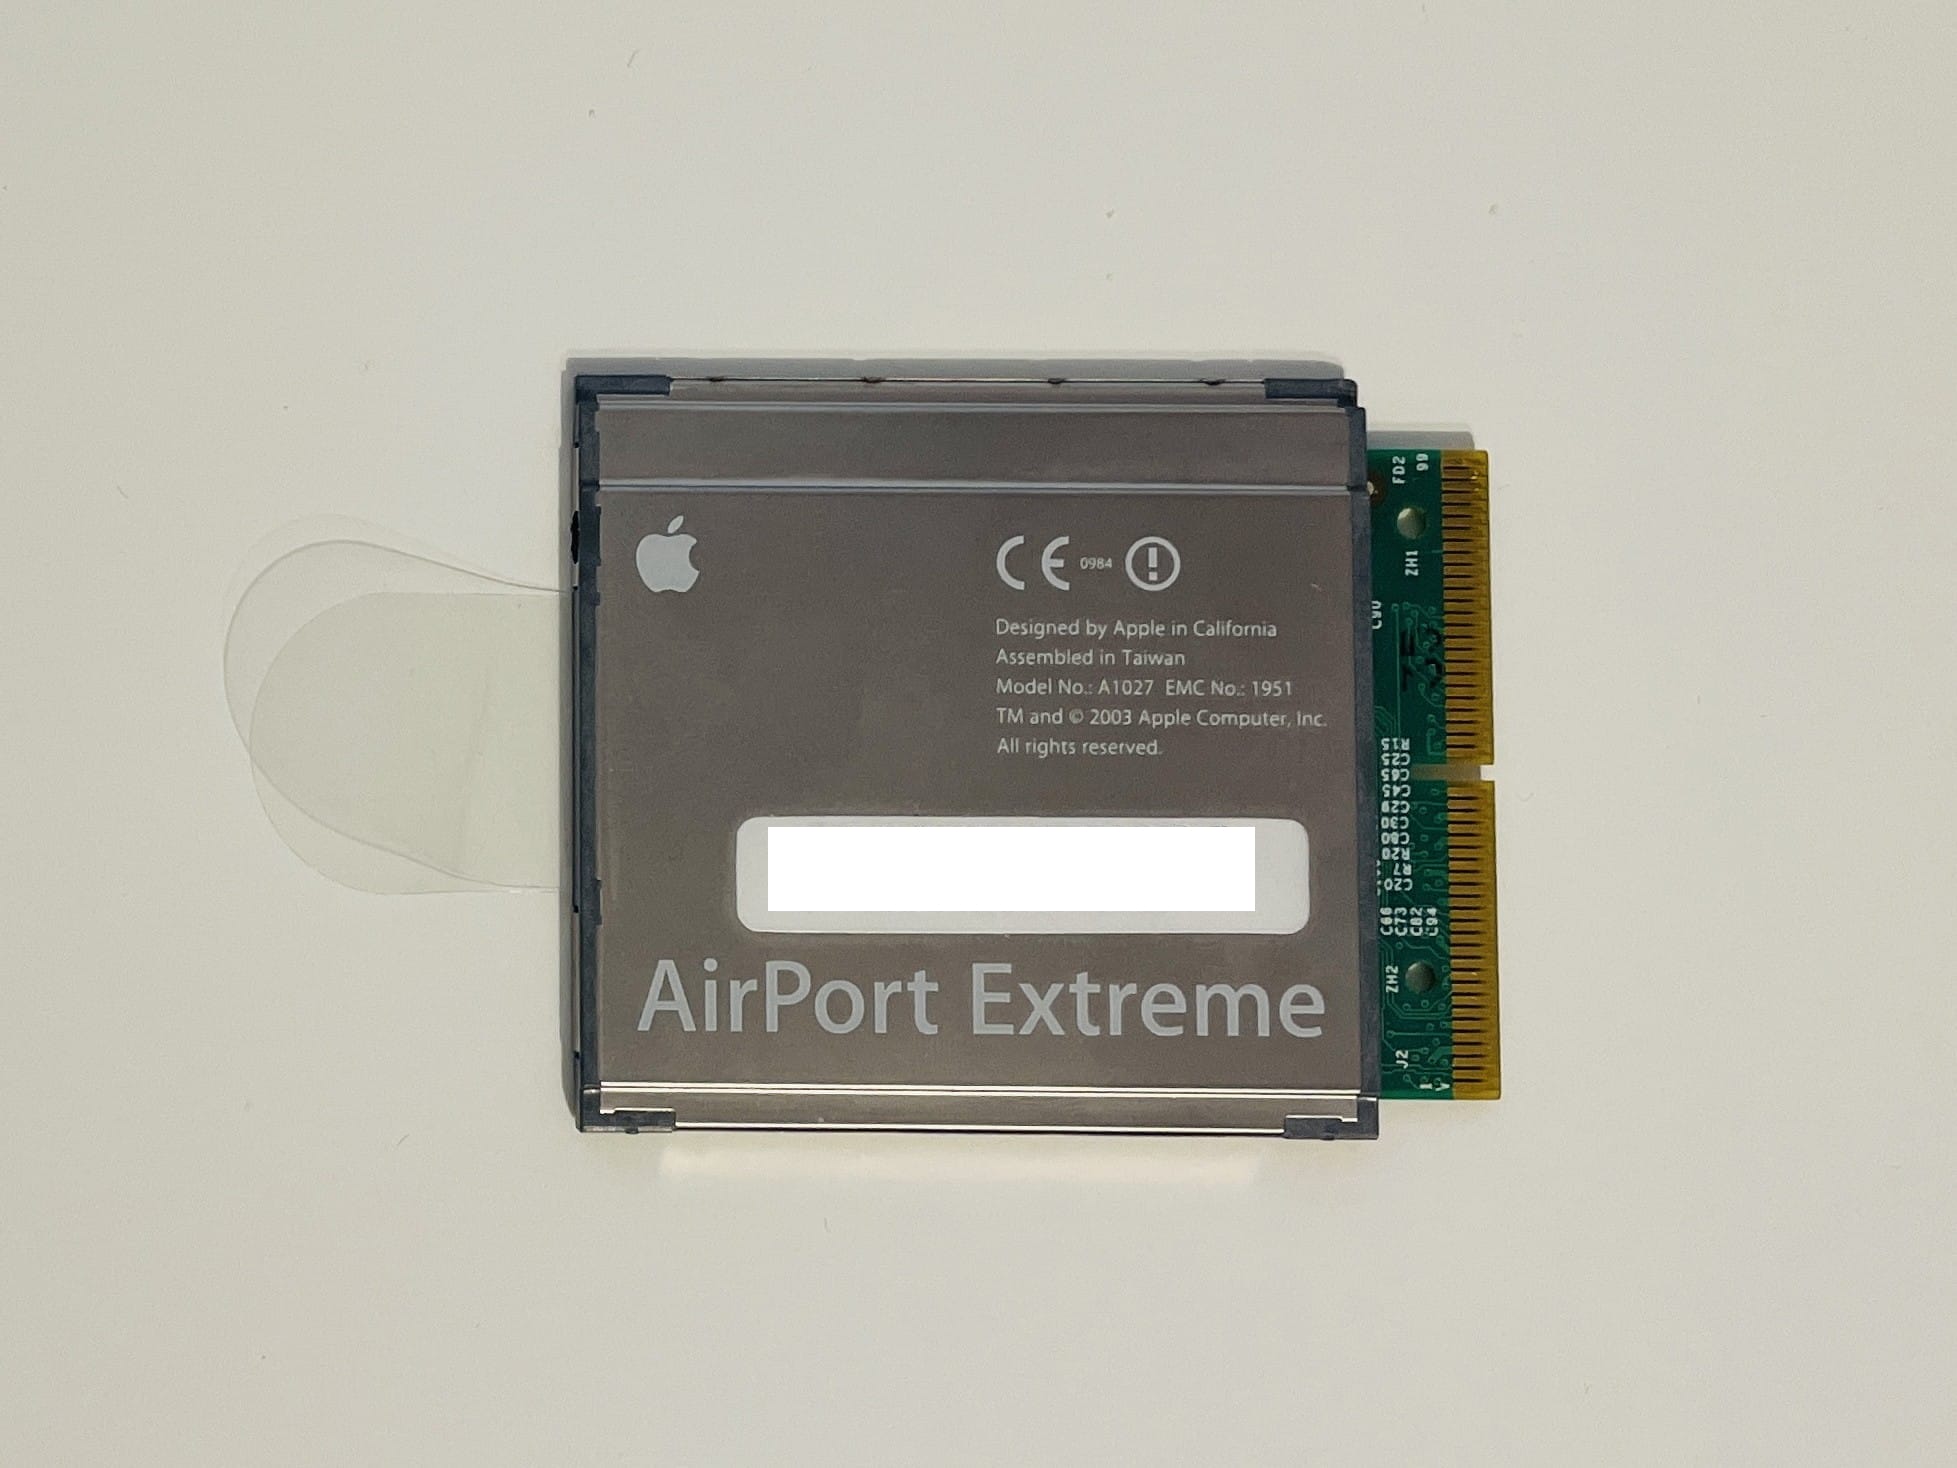
My machine is an Apple iBook 12" 1.2GHz/256/30G/Combo/APX (at least that’s what the sticker behind the keyboard is trying to tell me), which means it has a 1.2GHz PowerPC CPU that cannot be replaced (unless you replace the whole mainboard, or logic board as Apple likes to call it), 256MB of RAM onboard, a 30G HDD, a Combo CD reader/DVD reader/CD writer unit (no DVD writer, I think that’s called a SuperDrive and it used to cost extra) and an Airport Extreme WiFi card. Basically, except the aforementioned SuperDrive and the Bluetooth module, everything is perfect (the last and best iBook G4 had a 1.42GHz CPU and 512MB of RAM built-in, but the difference is small and I’m not too fussed about it).
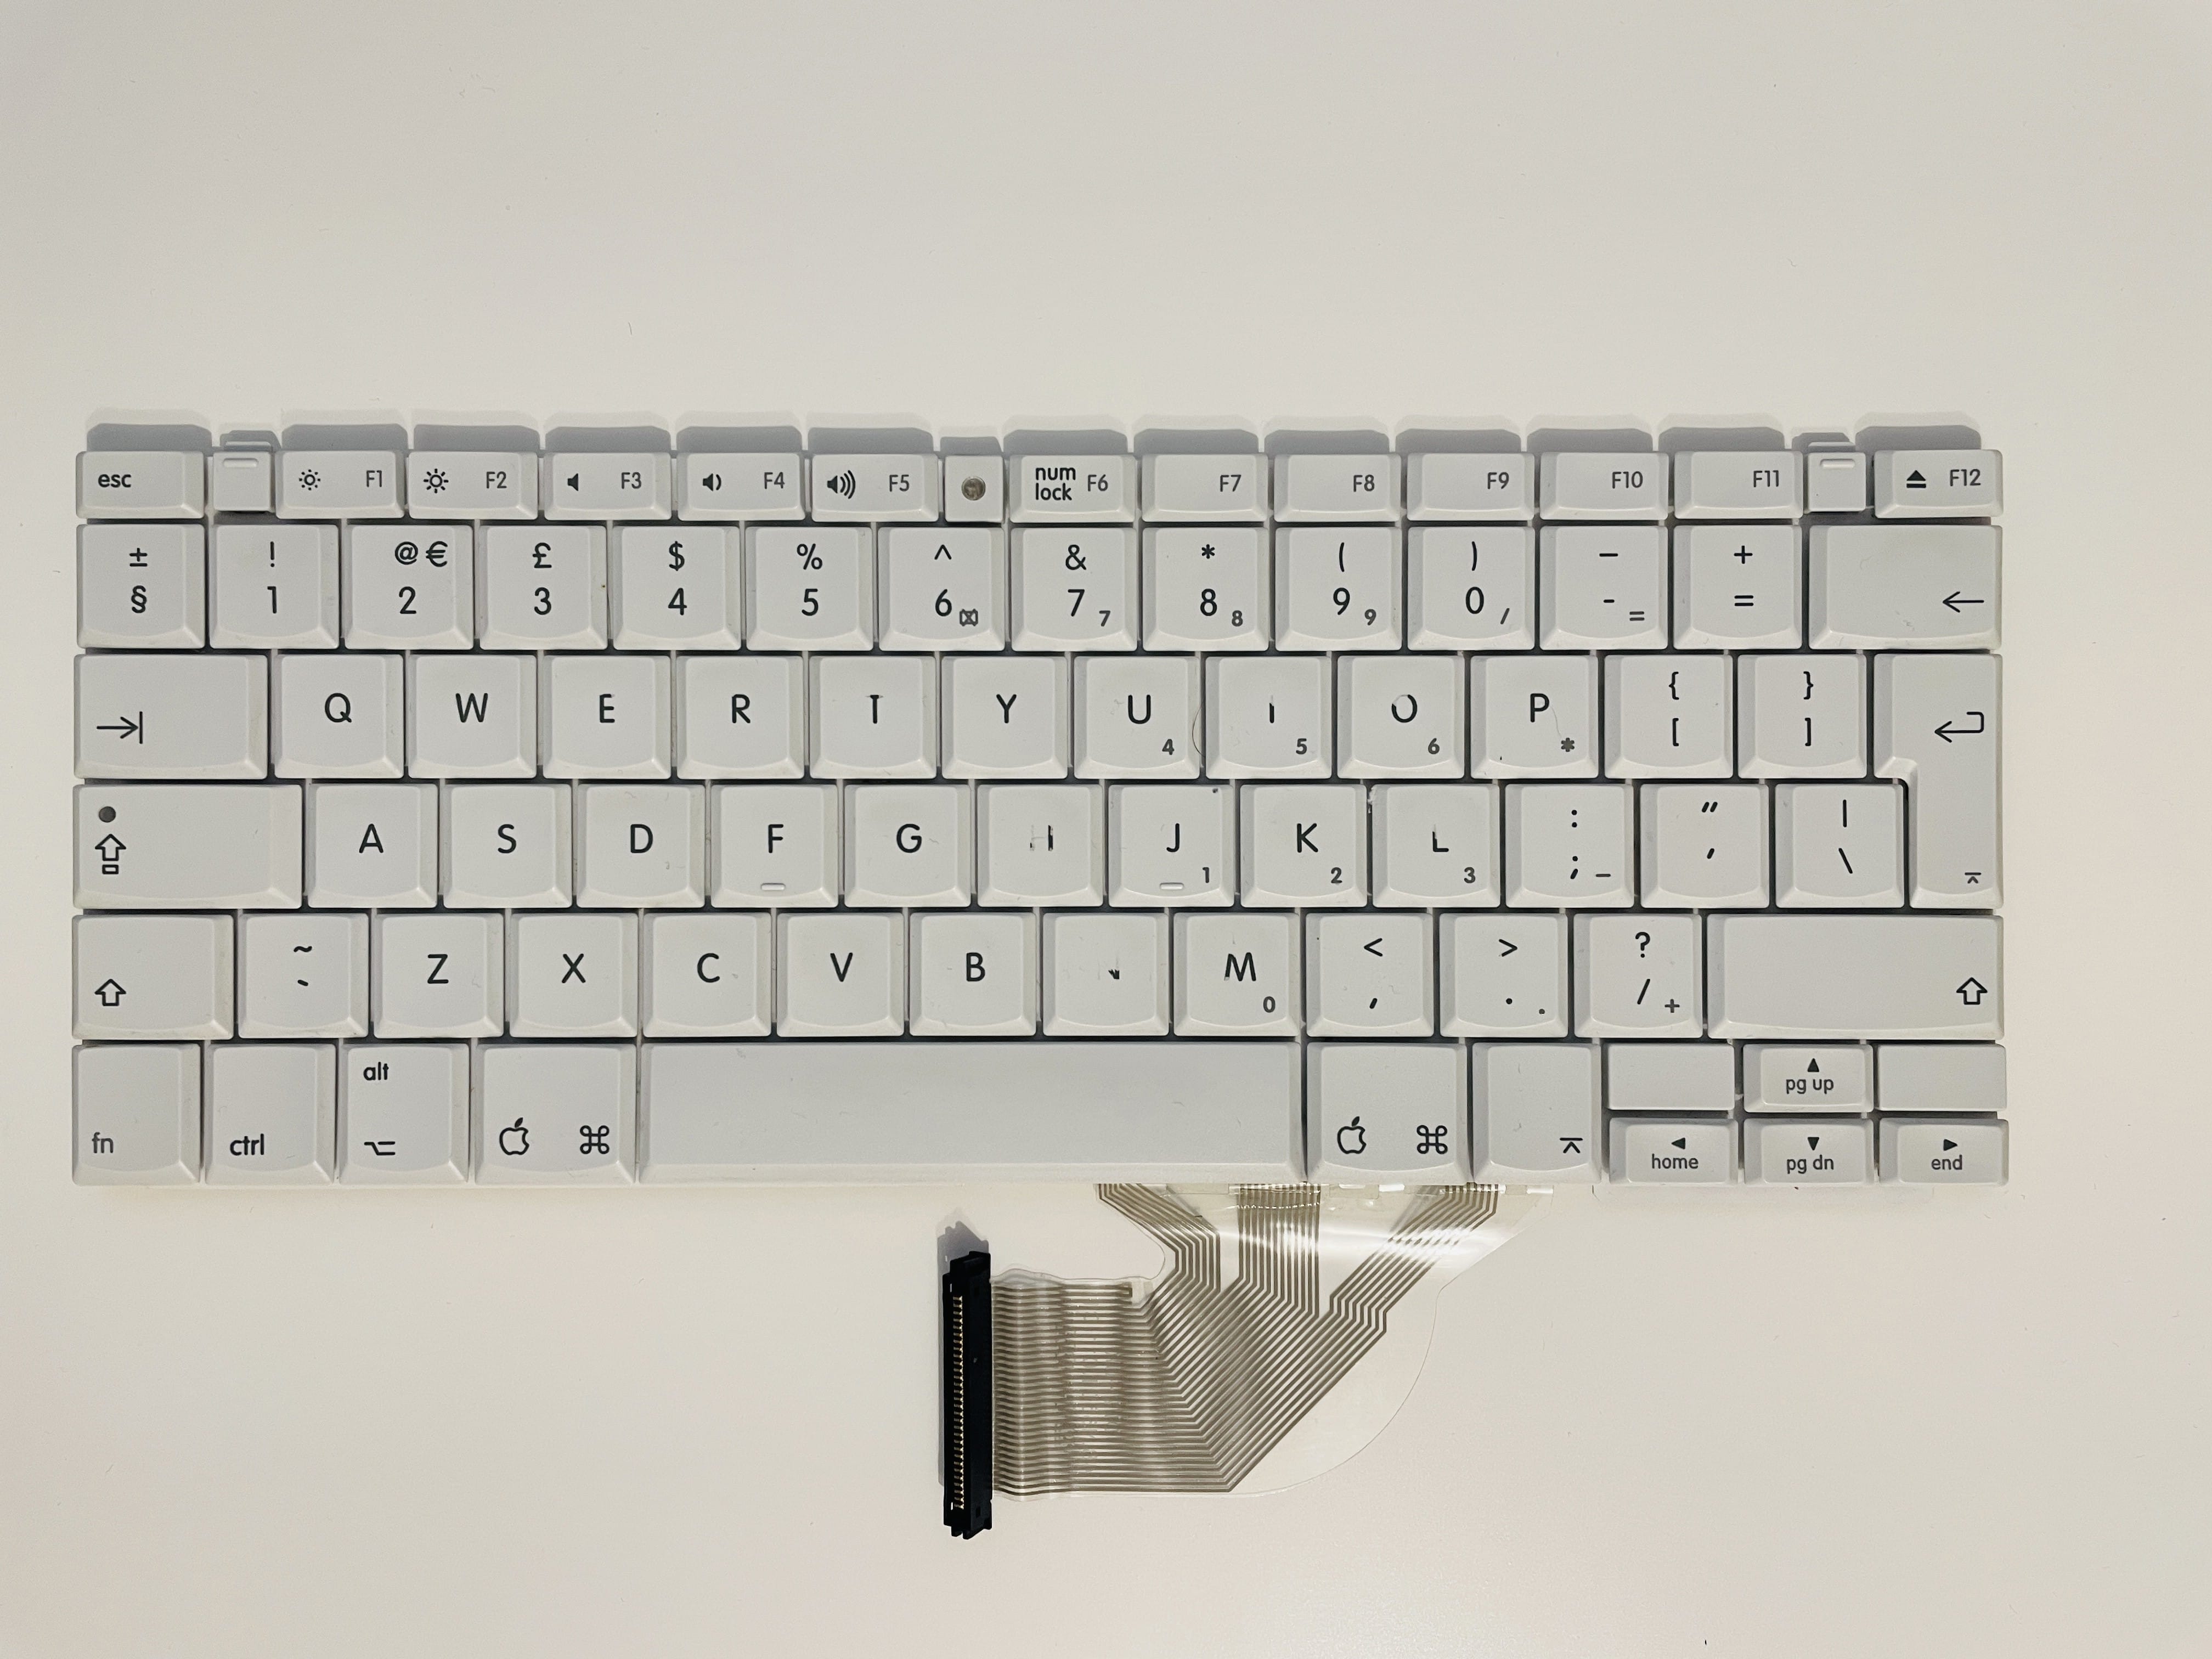
It’s perfectly working and in almost mint condition, except for the H key which has the letter almost erased due to usage. Which is very strange, what kind of humanoid uses the H key so much that it erases the printed symbol? Maybe the owner was German, they have those nasty words like Pfluffenhosenschnapswursten or something.
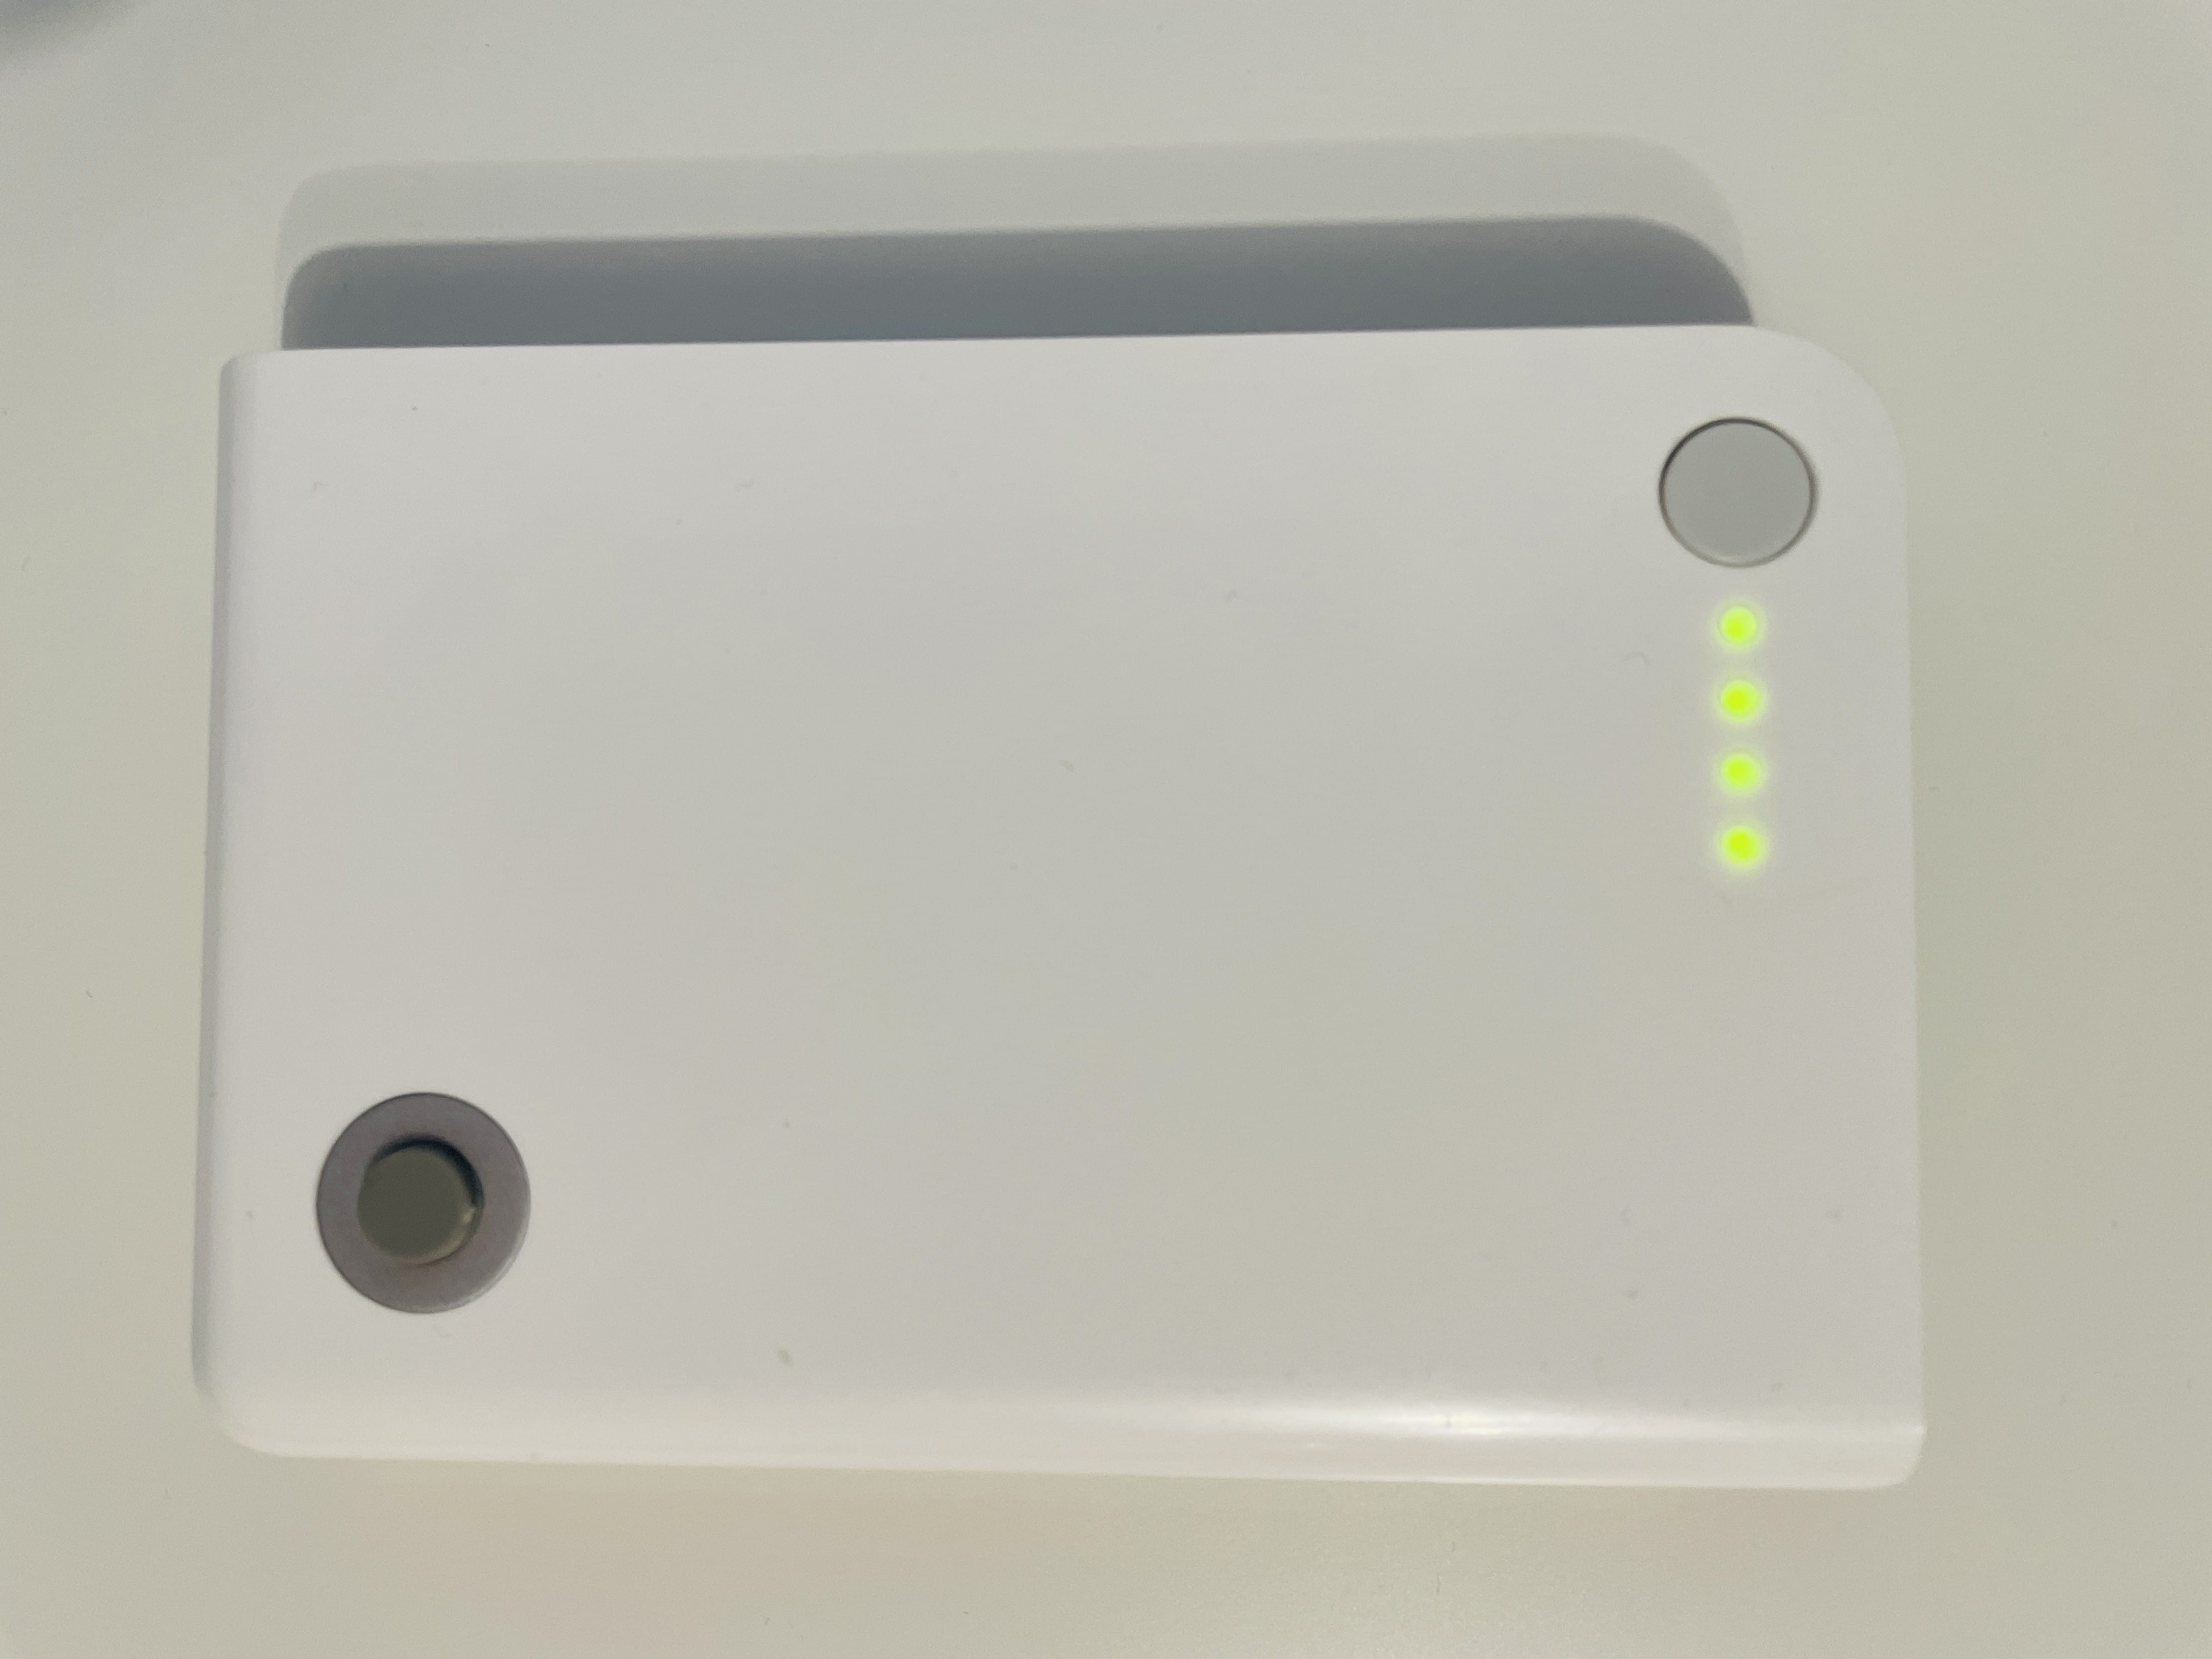
The battery still holds charge for about an hour and half (at 340 cycles and about 30% initial capacity), so I’ll try and get another battery or look into replacing the 18650 cells (specs) inside.
This variant of iBook G4 initially (in 2004) came with Mac OS X 10.3.5 Panther (7P216), but mine came with Leopard (10.5), so I guess the Pfluffenhosenschnapswursten updated it. I’ll install 10.5.8 Leopard (9L31a) on it when I’m done replacing the HDD with a SSD.
Specs
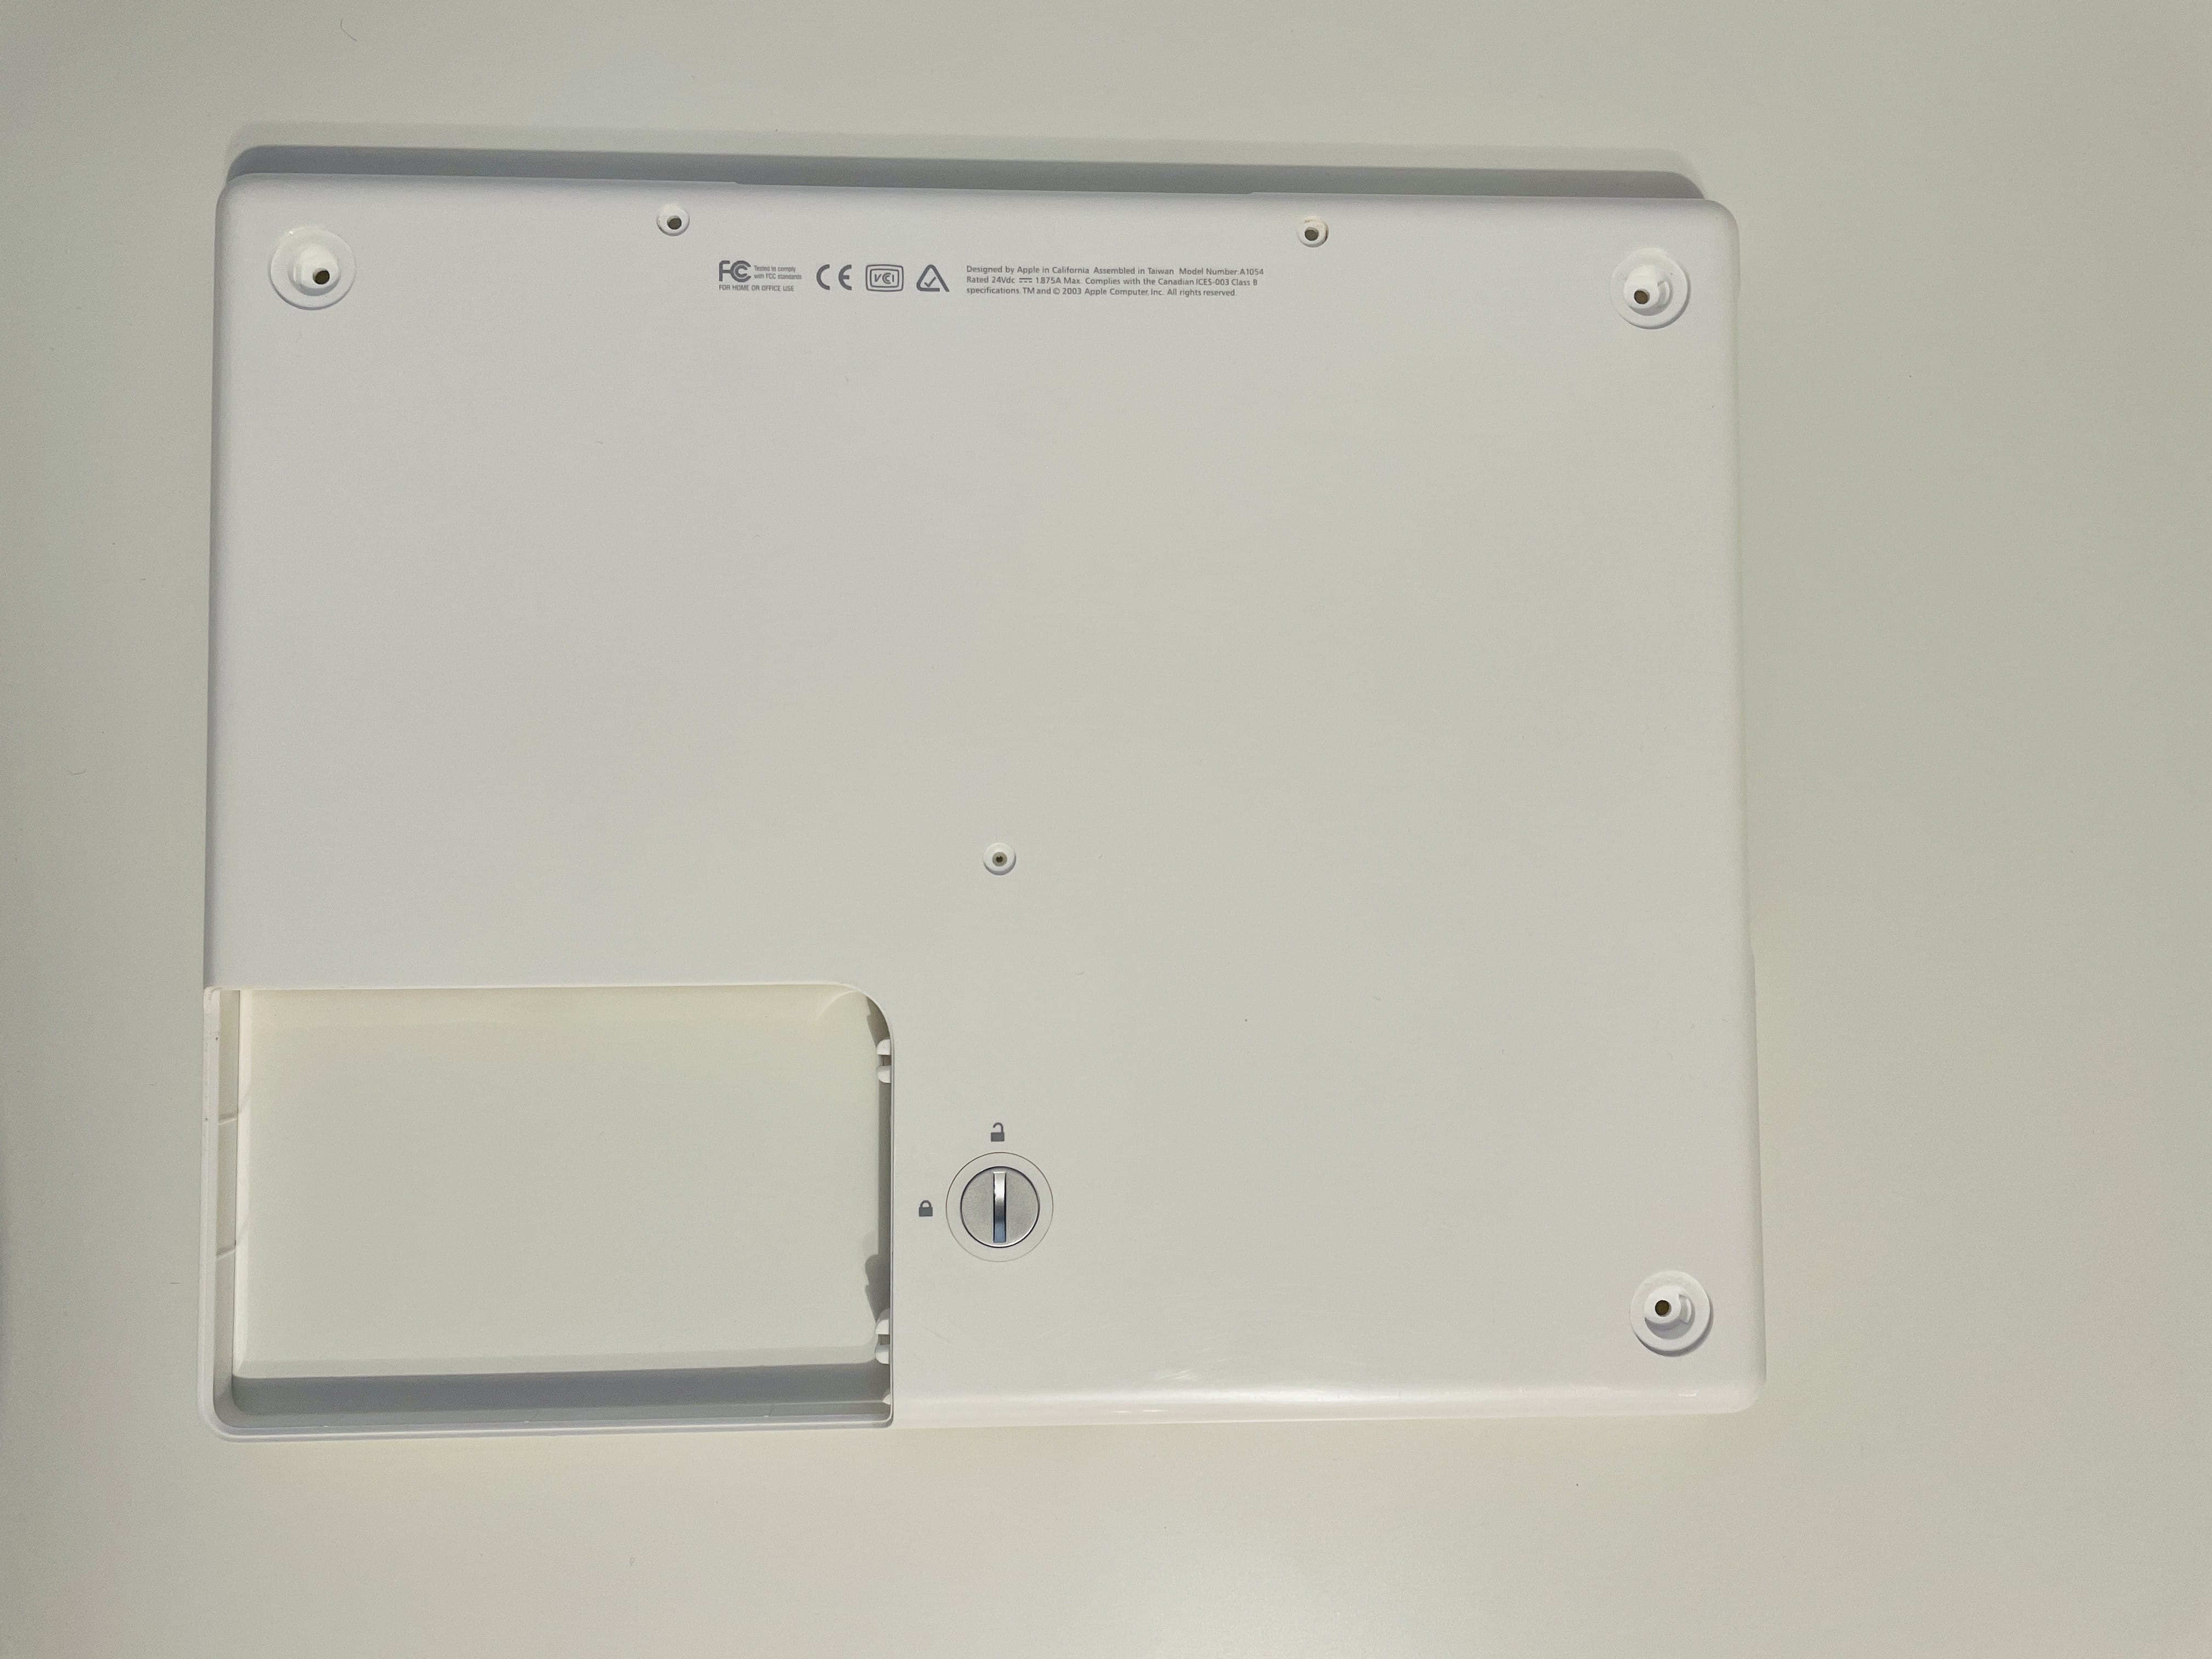
| Model | A1054, PowerBook 6,5 |
| CPU | PowerPC G4 (7447A) @ 1.2 GHz, 64KB L1, 512KB L2 cache (1:1), 133MHz FSB [Freescale datasheet] |
| GPU | ATI Radeon Mobility 9200 @ 200MHz, 32 MB of SDRAM @ 230MHz |
| RAM | 256 MB PC2100 DDR SDRAM @ 266MHz (soldered to logic board), expandable to 1.256 GB |
| Display | 12.1", TFT XGA active matrix display, 1024×768 pixel resolution |
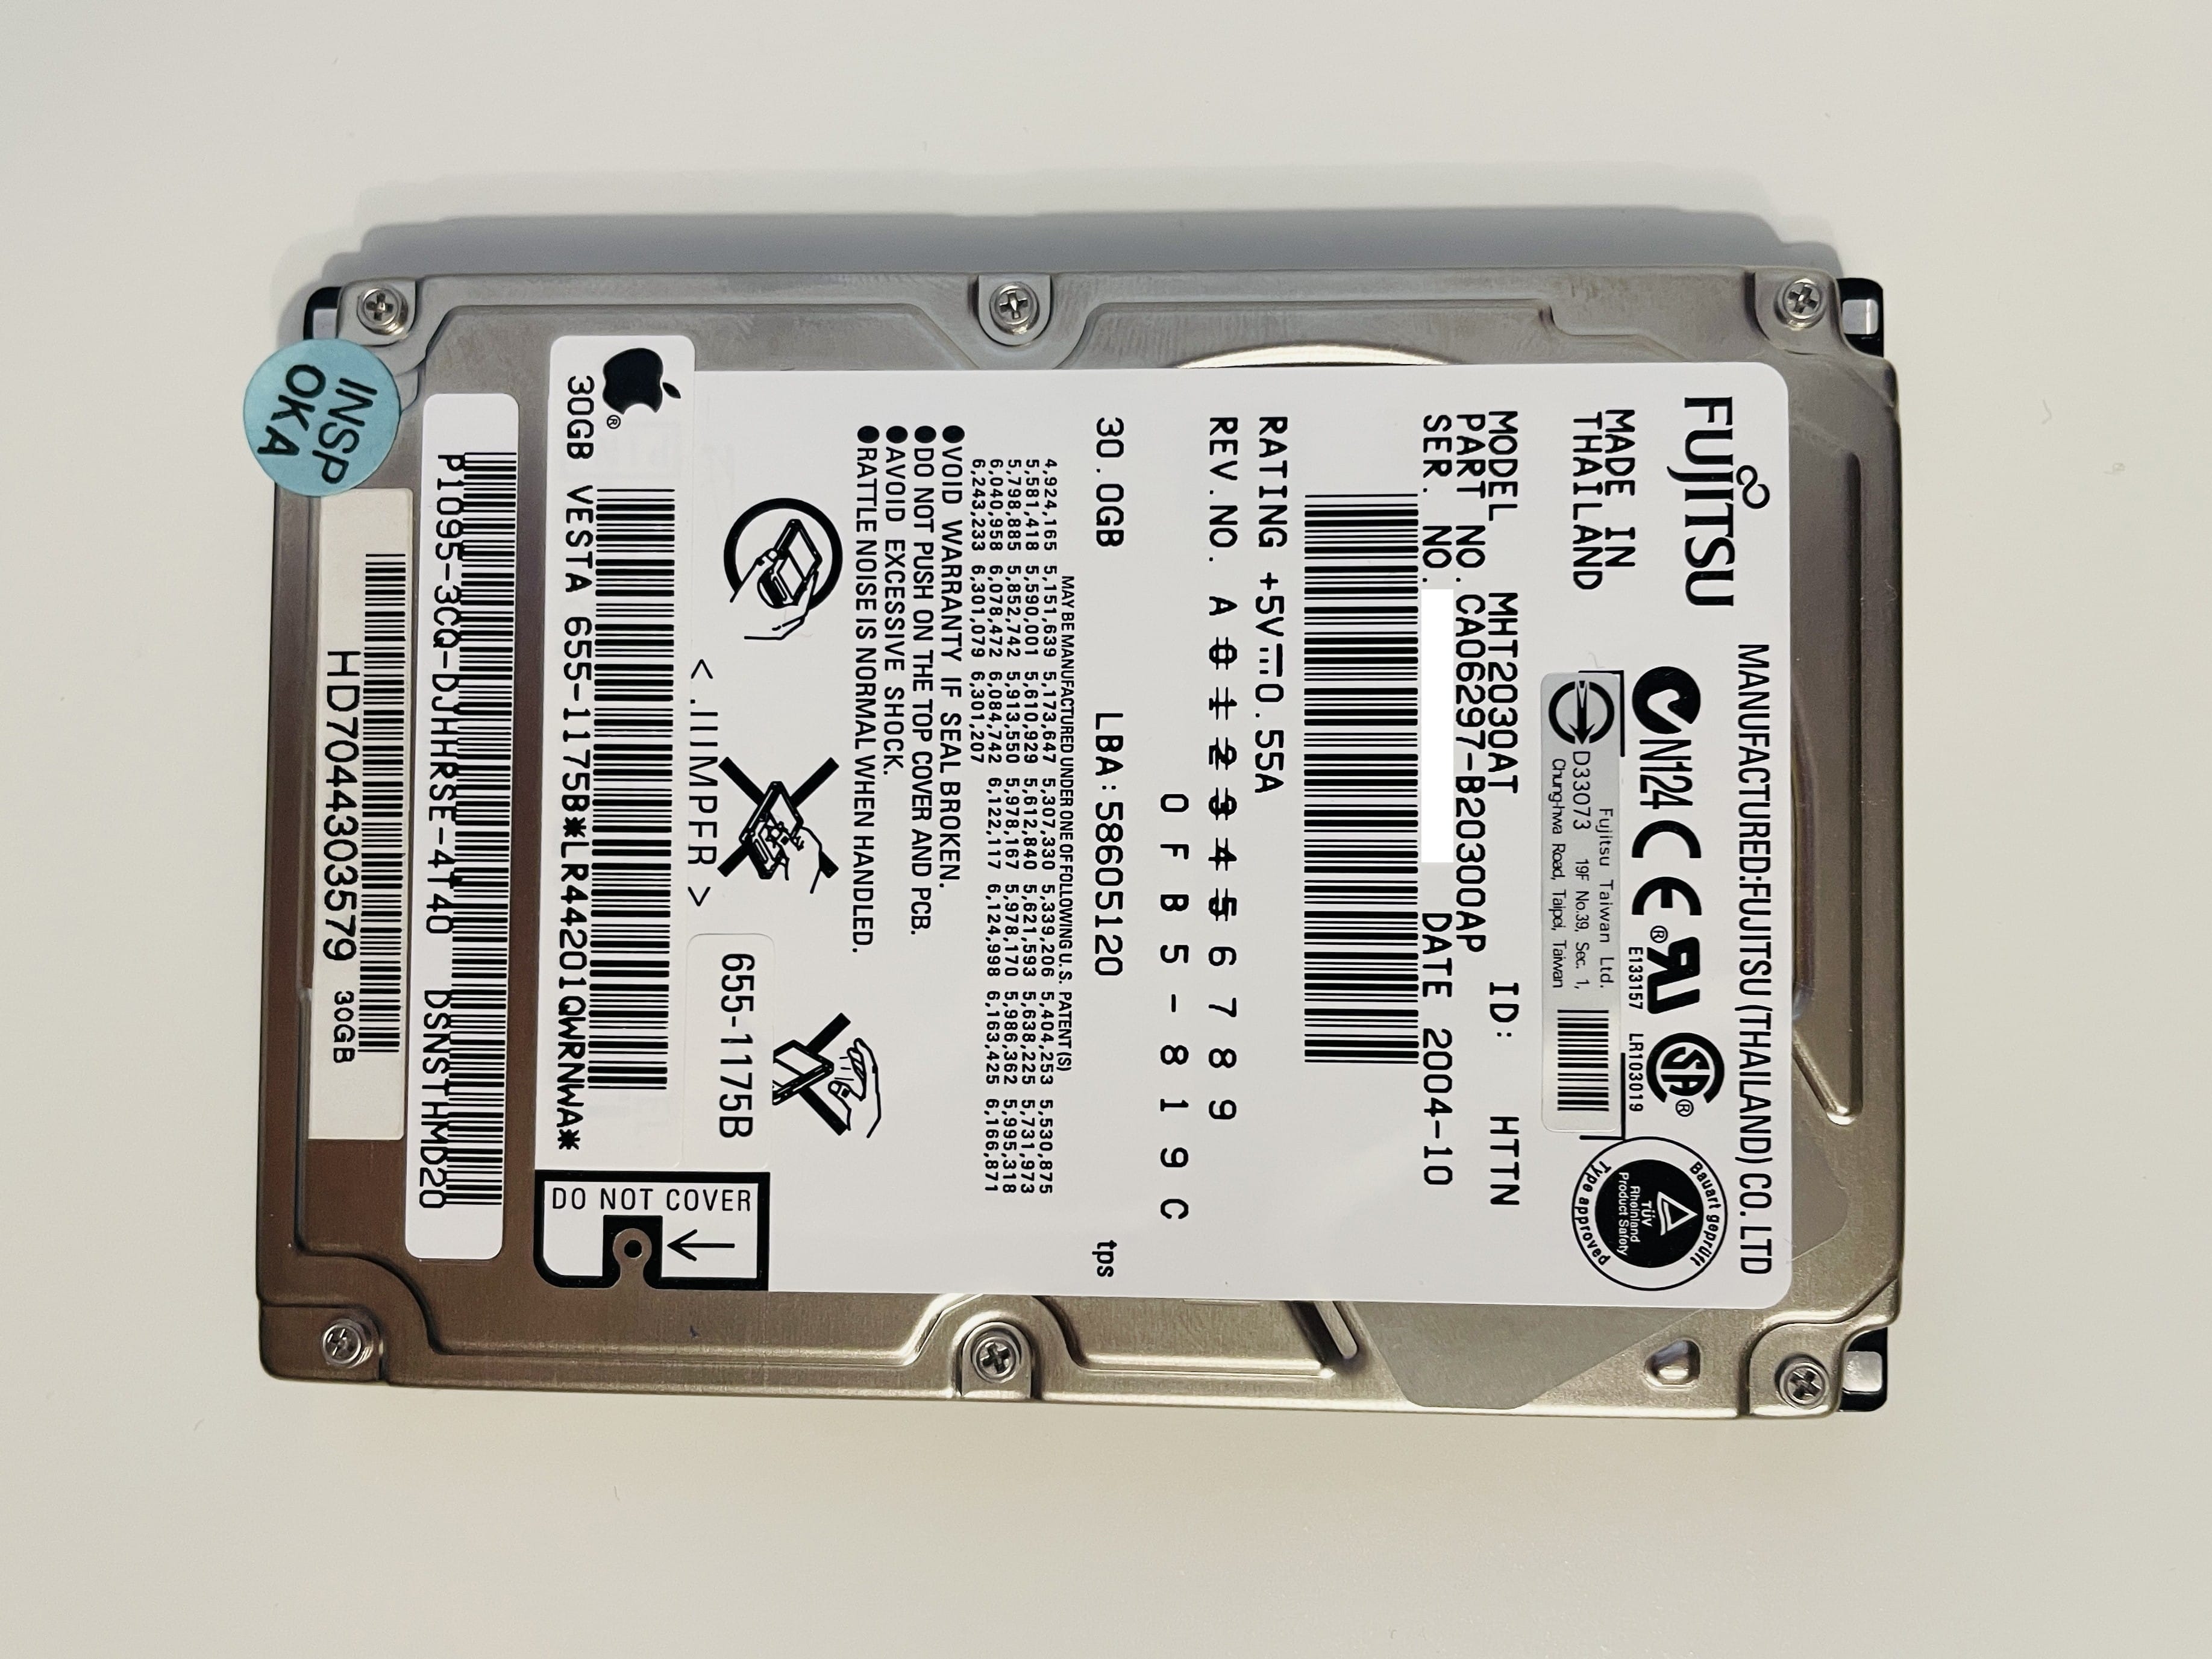
| Storage | 30 GB 4200-rpm Ultra/ATA 100 Fujitsu HDD |
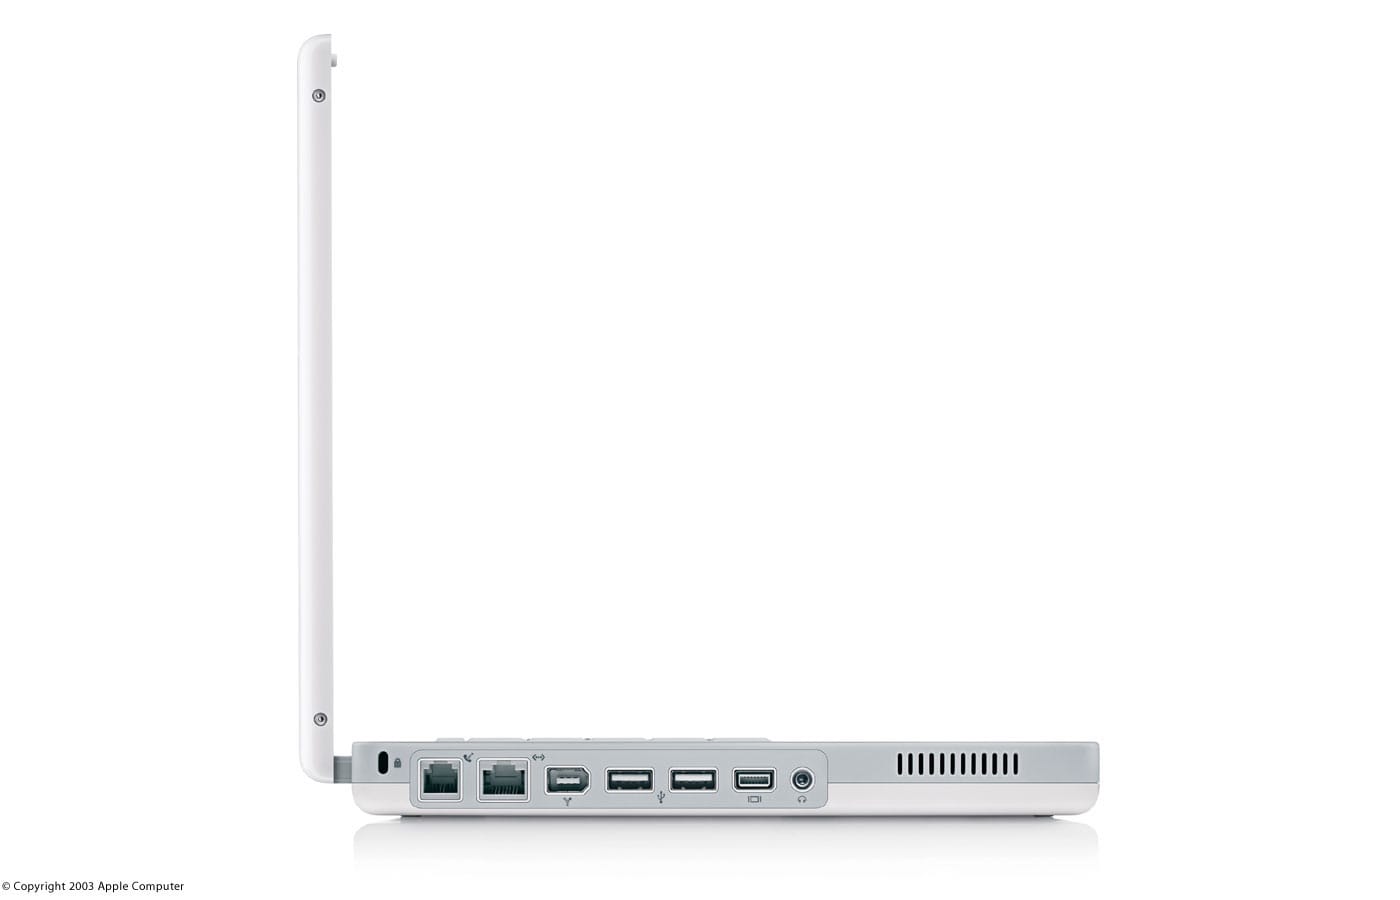
| Connectors | 2x USB 2.0 1x FireWire 400 Audio out mini-jack Mini-VGA (VGA, composite and S-Video) via adaptors |
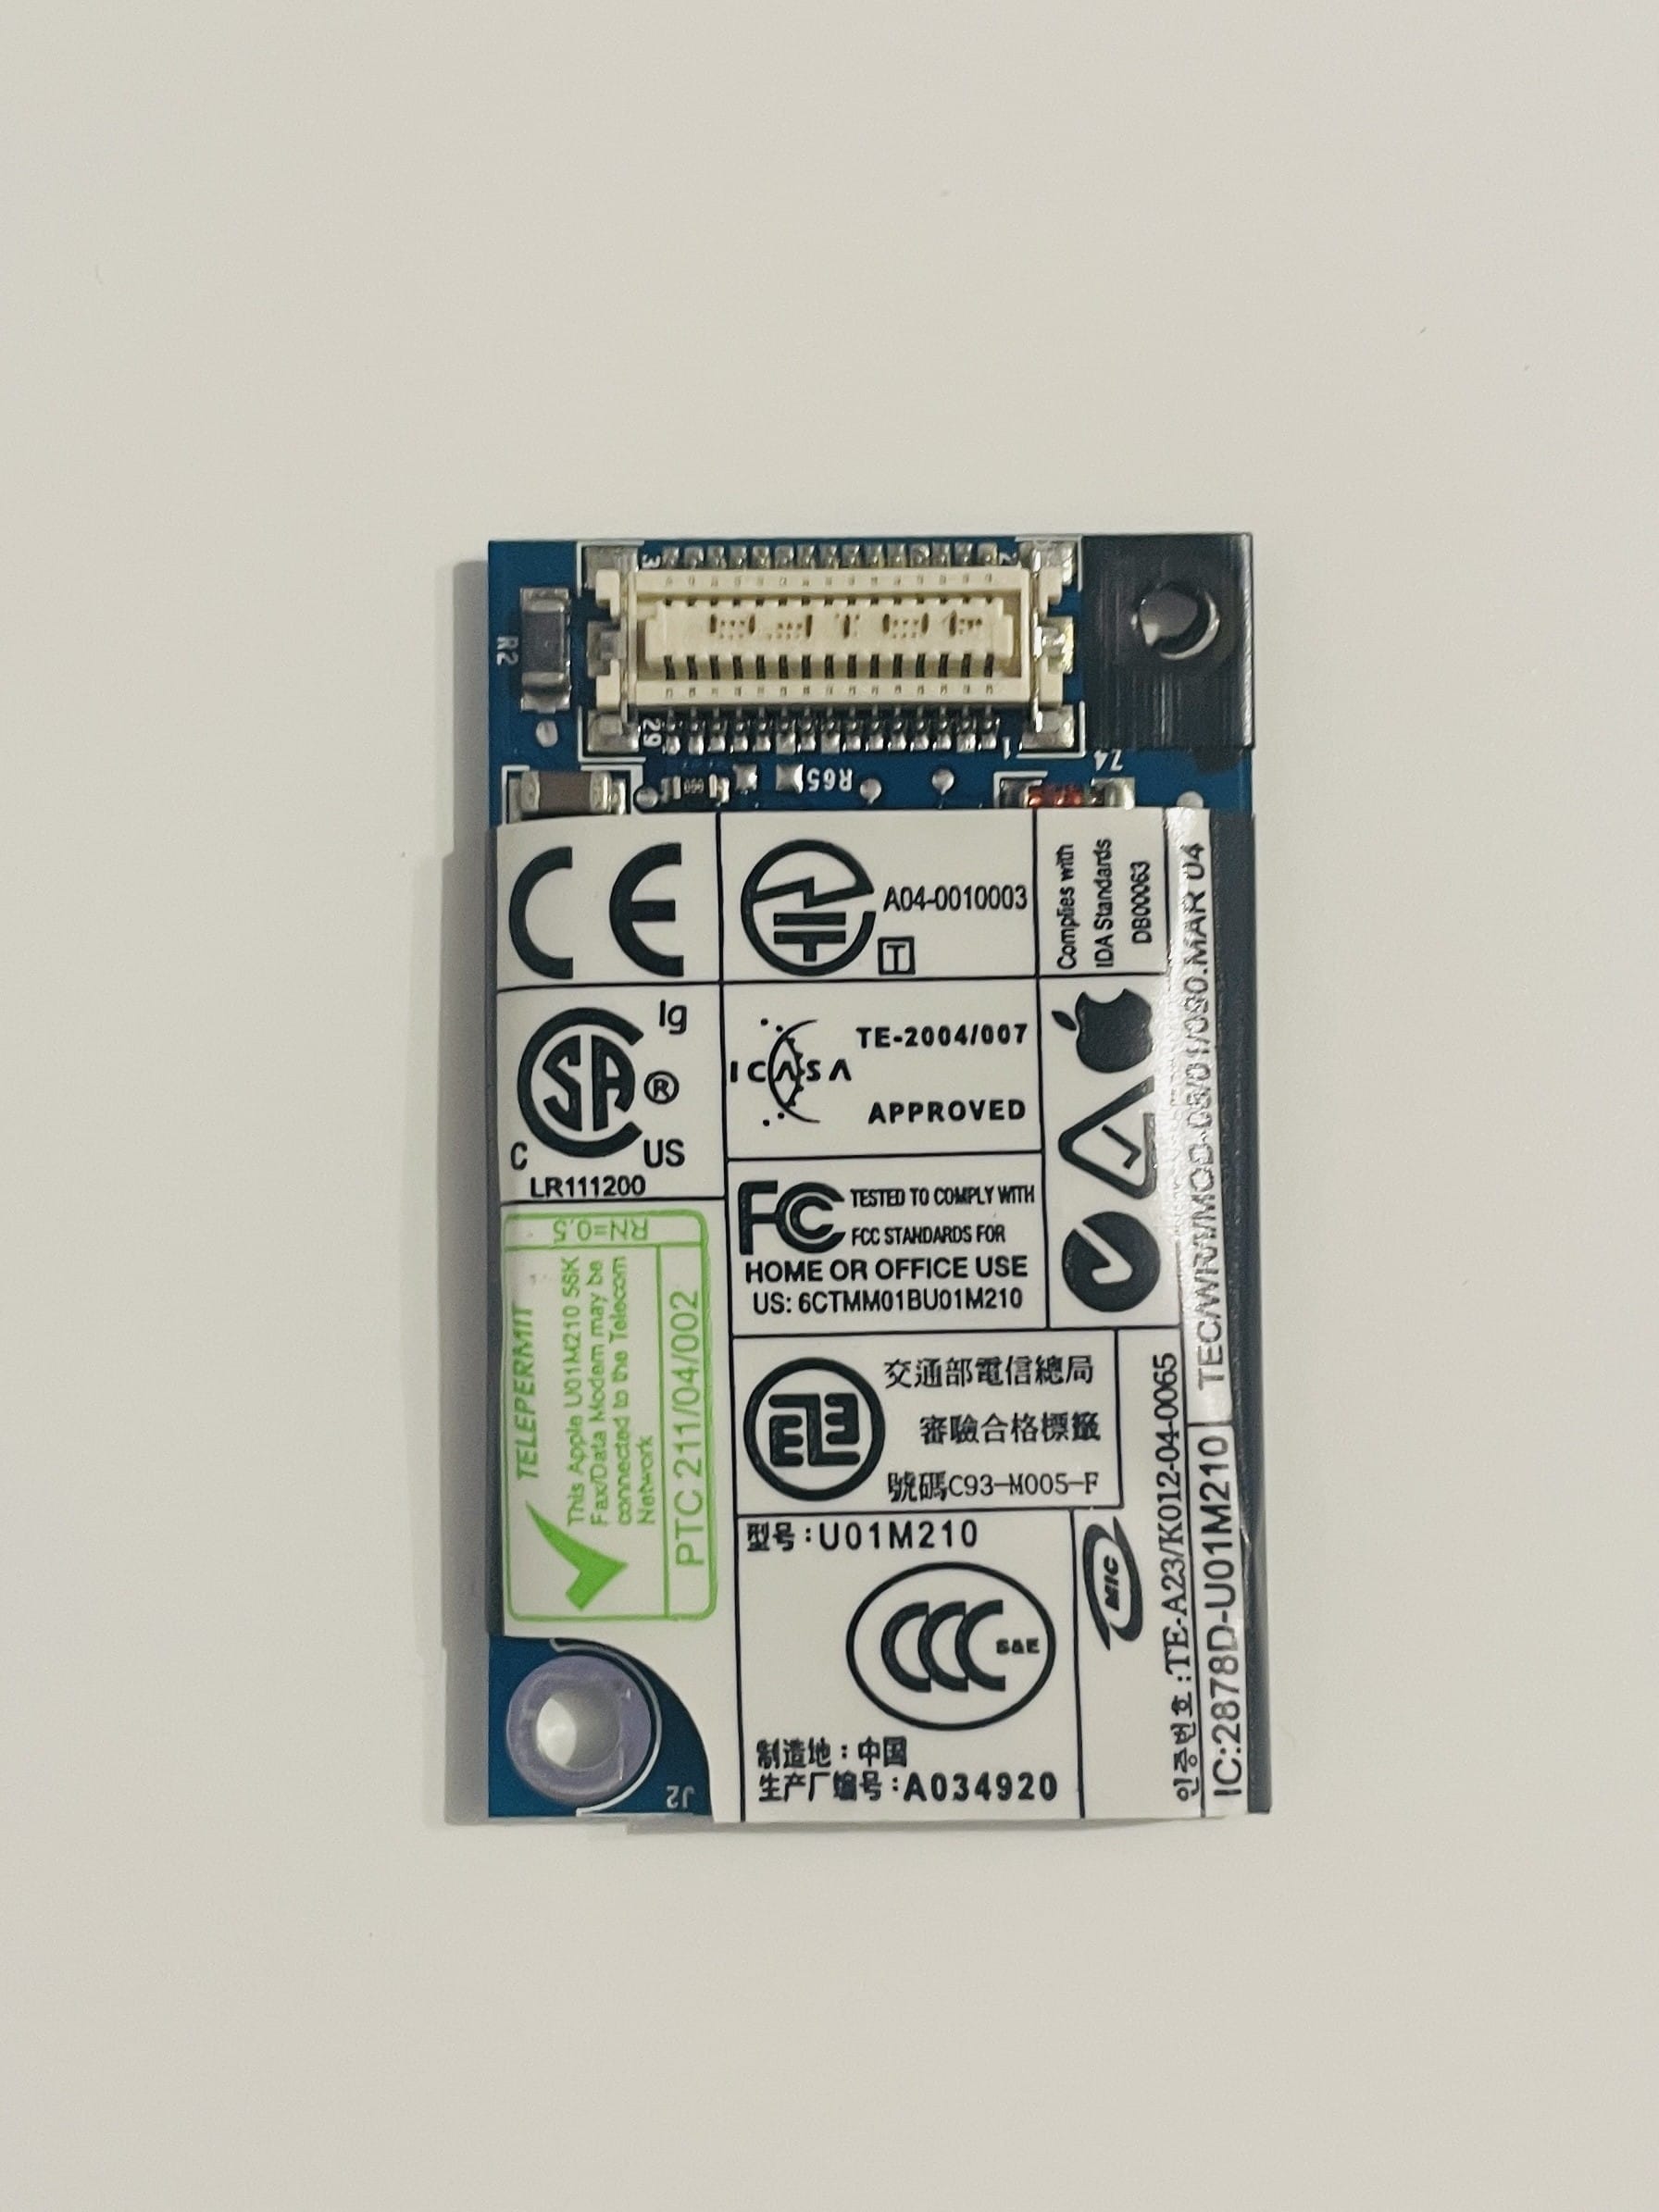
| Networking | 10/100BASE-T Ethernet 56k v.92 modem Integrated AirPort Extreme 802.11b/g Optional Bluetooth 1.1 |
| Size | 3.4 x 28.4 x 23.1 cm / 2.2 kg |
| Battery | 50-watt-hour lithium-ion battery provides up to 6 hours of battery life |
| Operating System | Mac OS X 10.3 Panther |
| Colors | White |
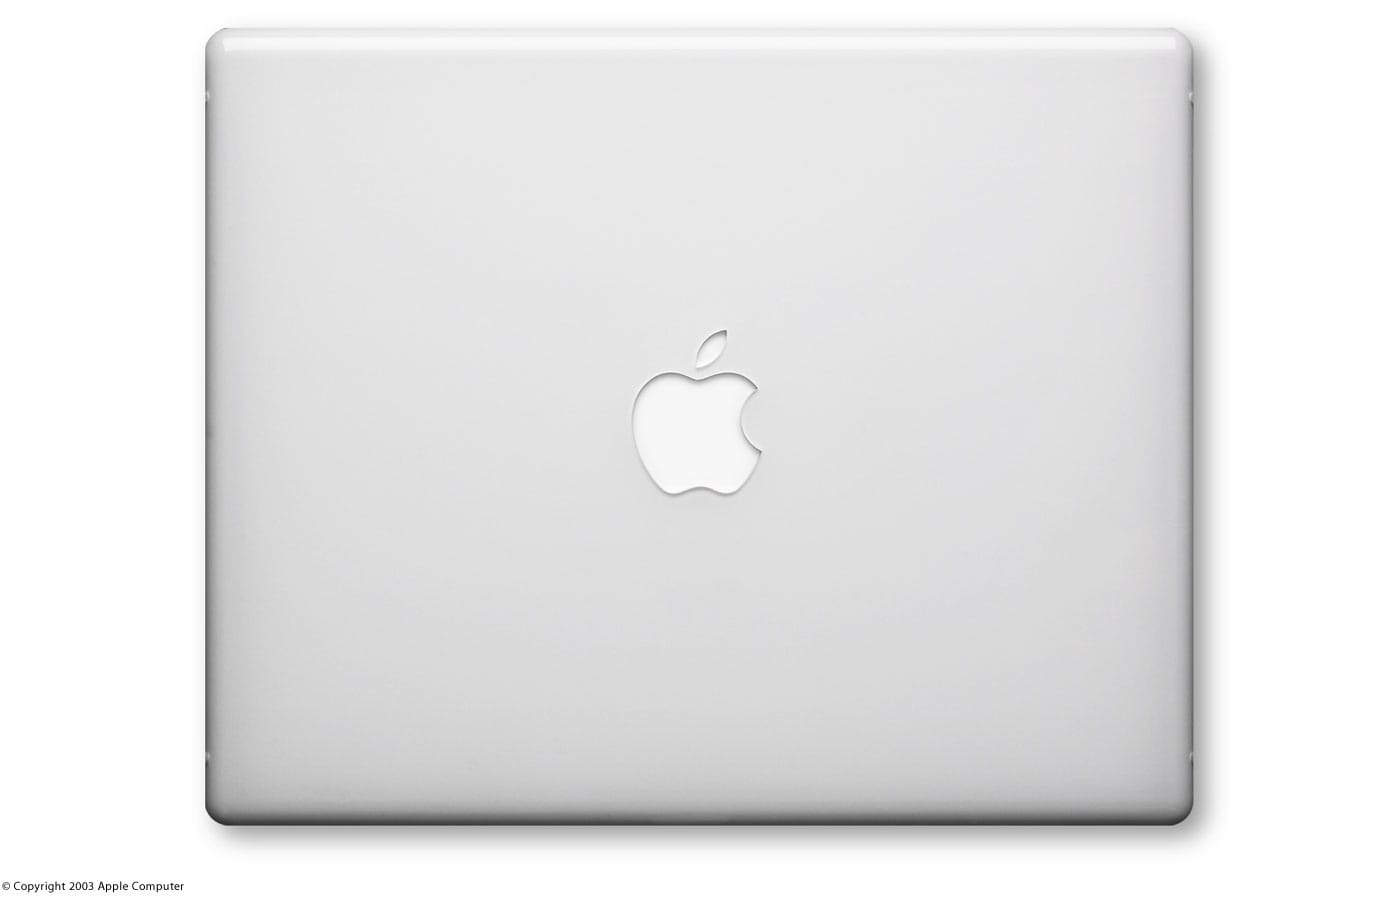
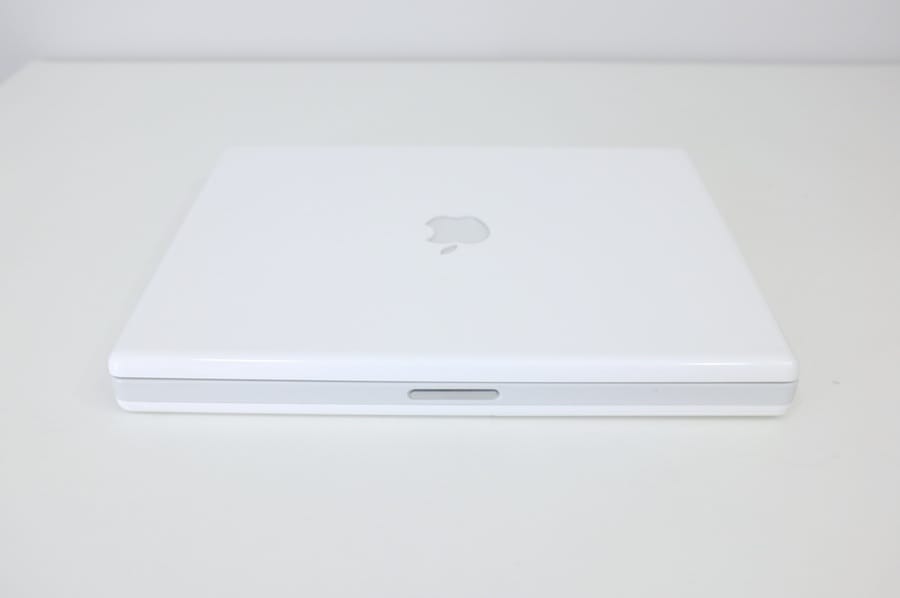
Official photos
 |  |  |  |
 |  |  |  |
Problems
From what I’ve been reading, the iBook G4s have been plagued by some nasty problems due to either GPU overheating, or board flexing, or the repeated heating/cooling of the solder joints on the voltage regulator which eventually makes small cracks in the solder and power won’t get through. It’s the problem mostly known as “black screen or garbled screen, fan blasting at 100%, system locks”. My iBook doesn’t have this issue yet, but it might develop in time. Easiest way to check if there is a problem is by rebooting your system (the screen doesn’t get garbled on cold boot).
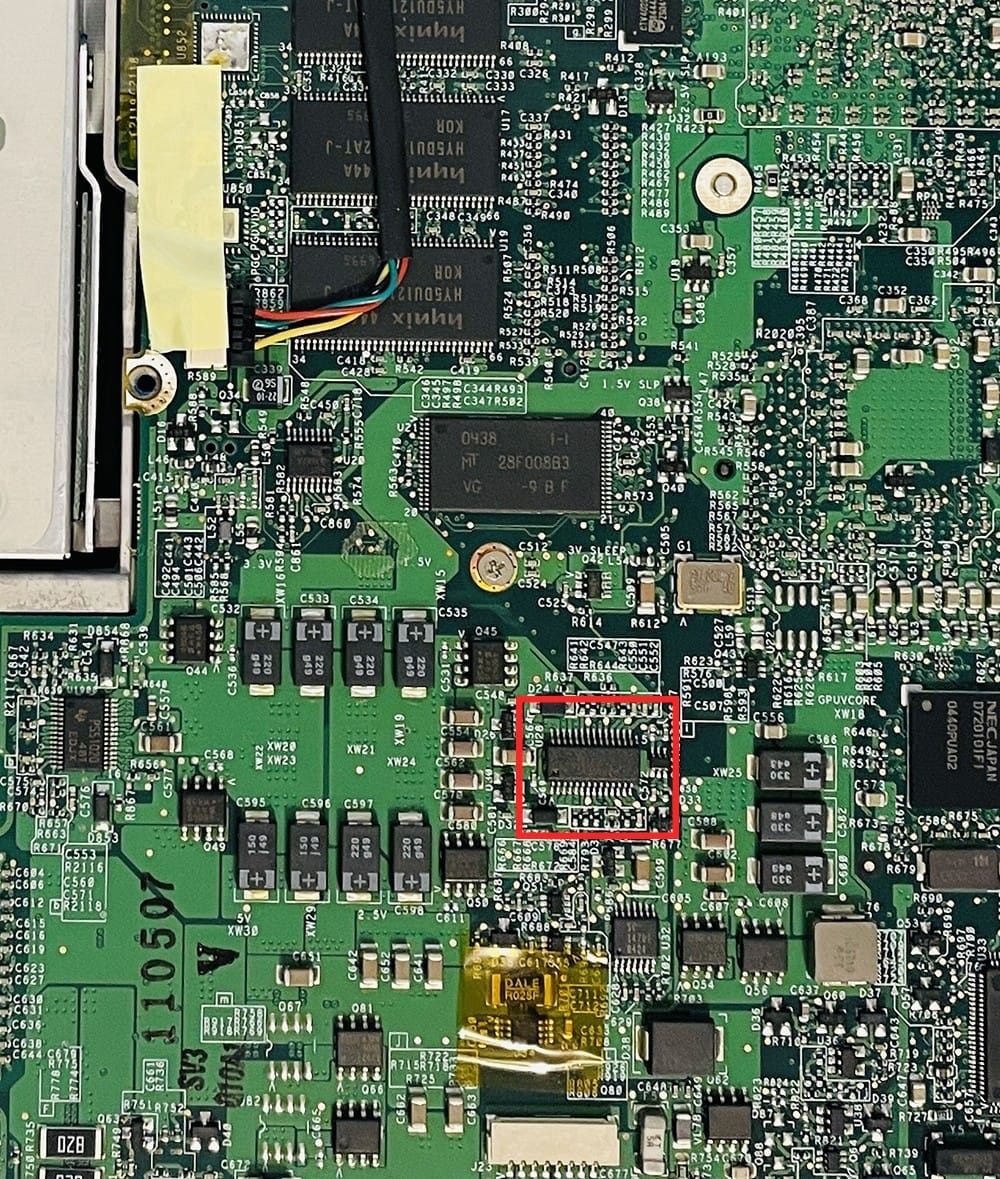
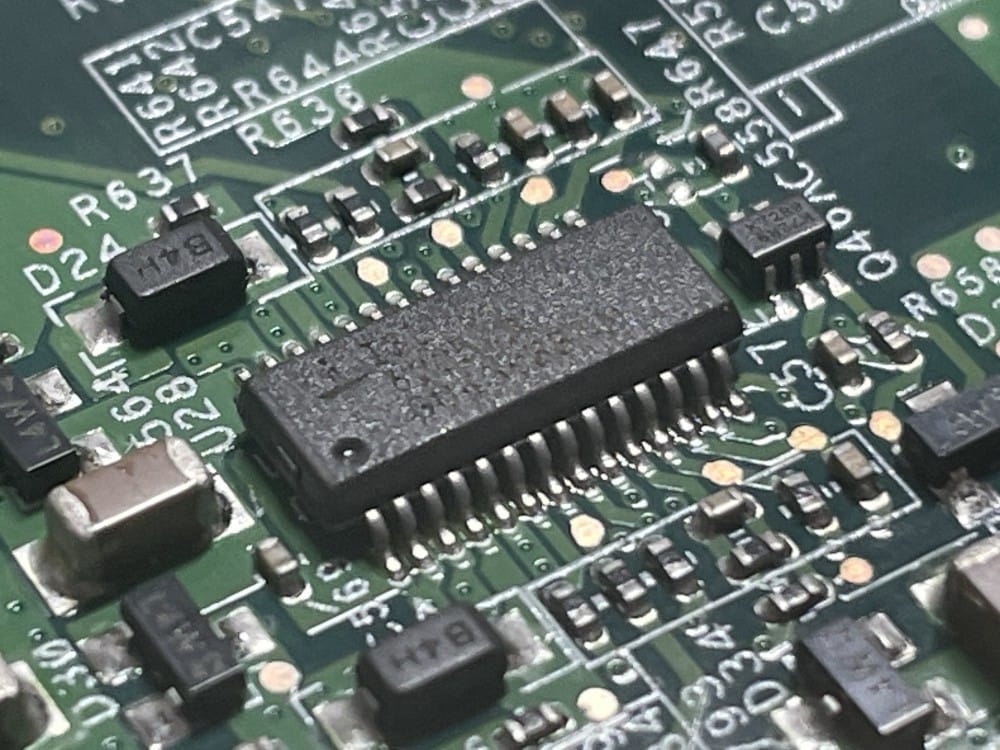
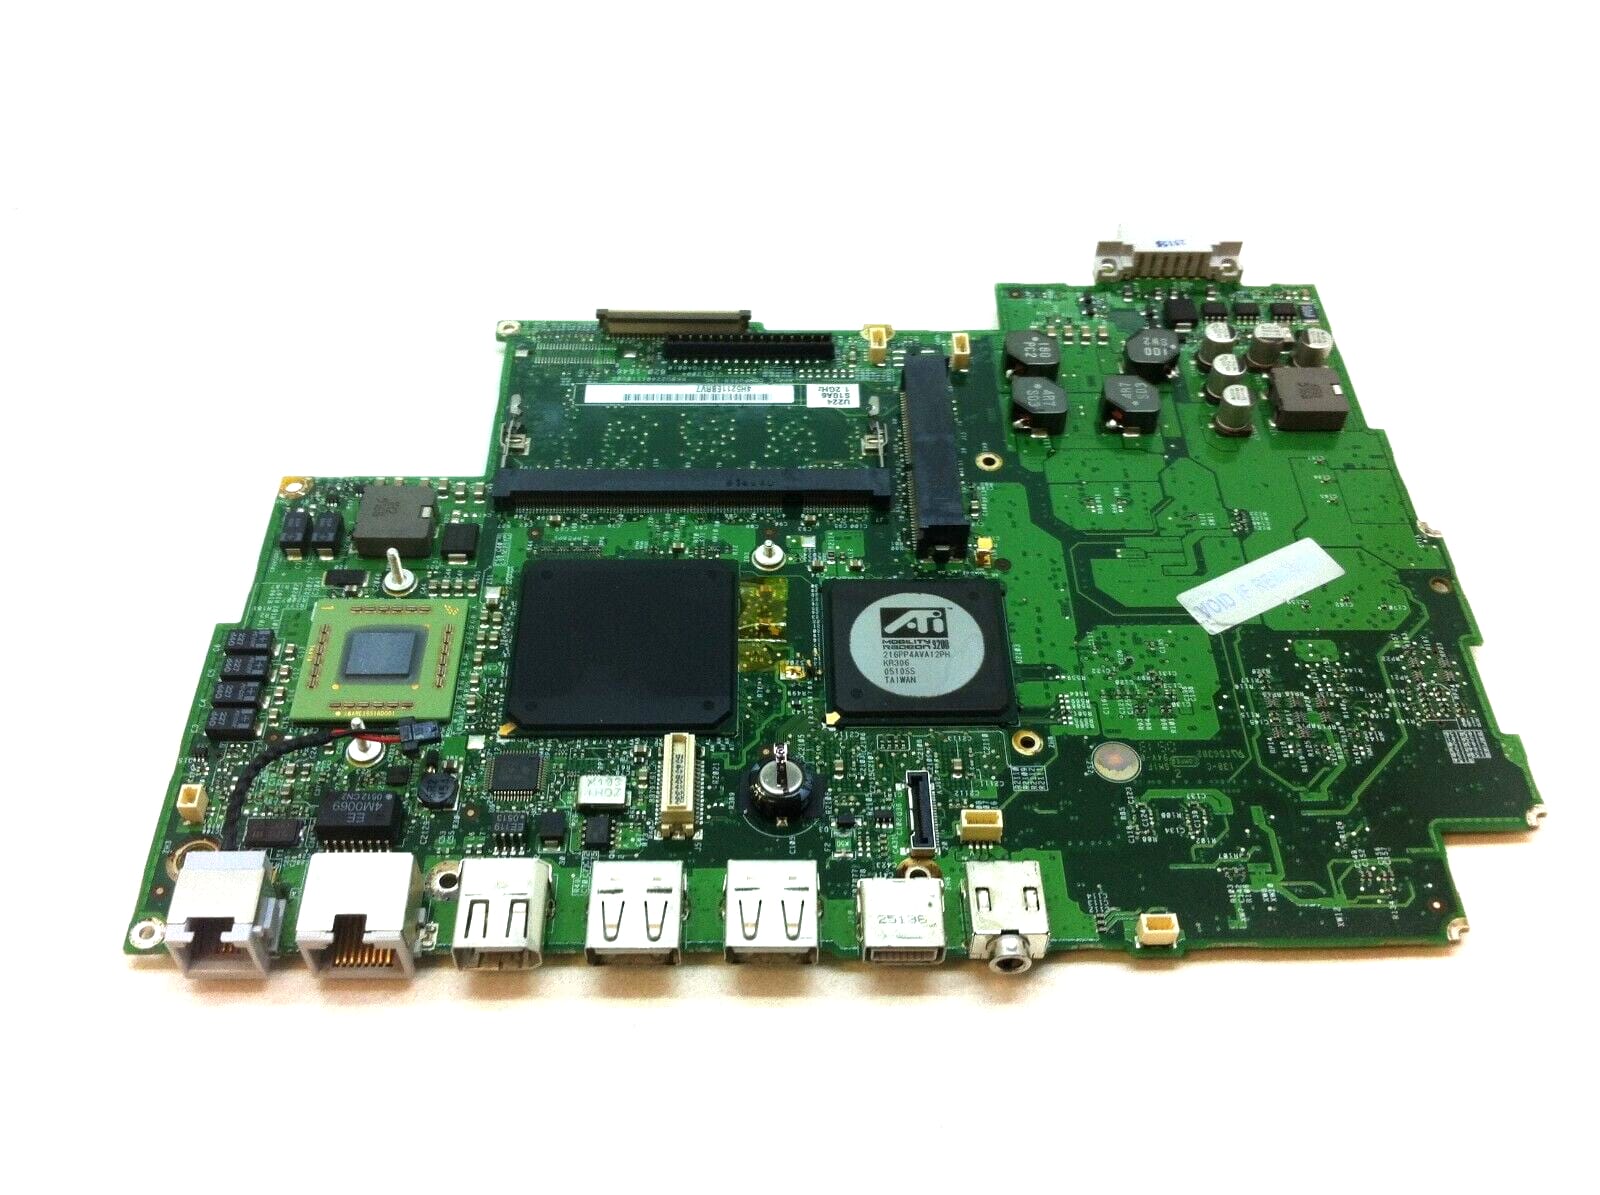
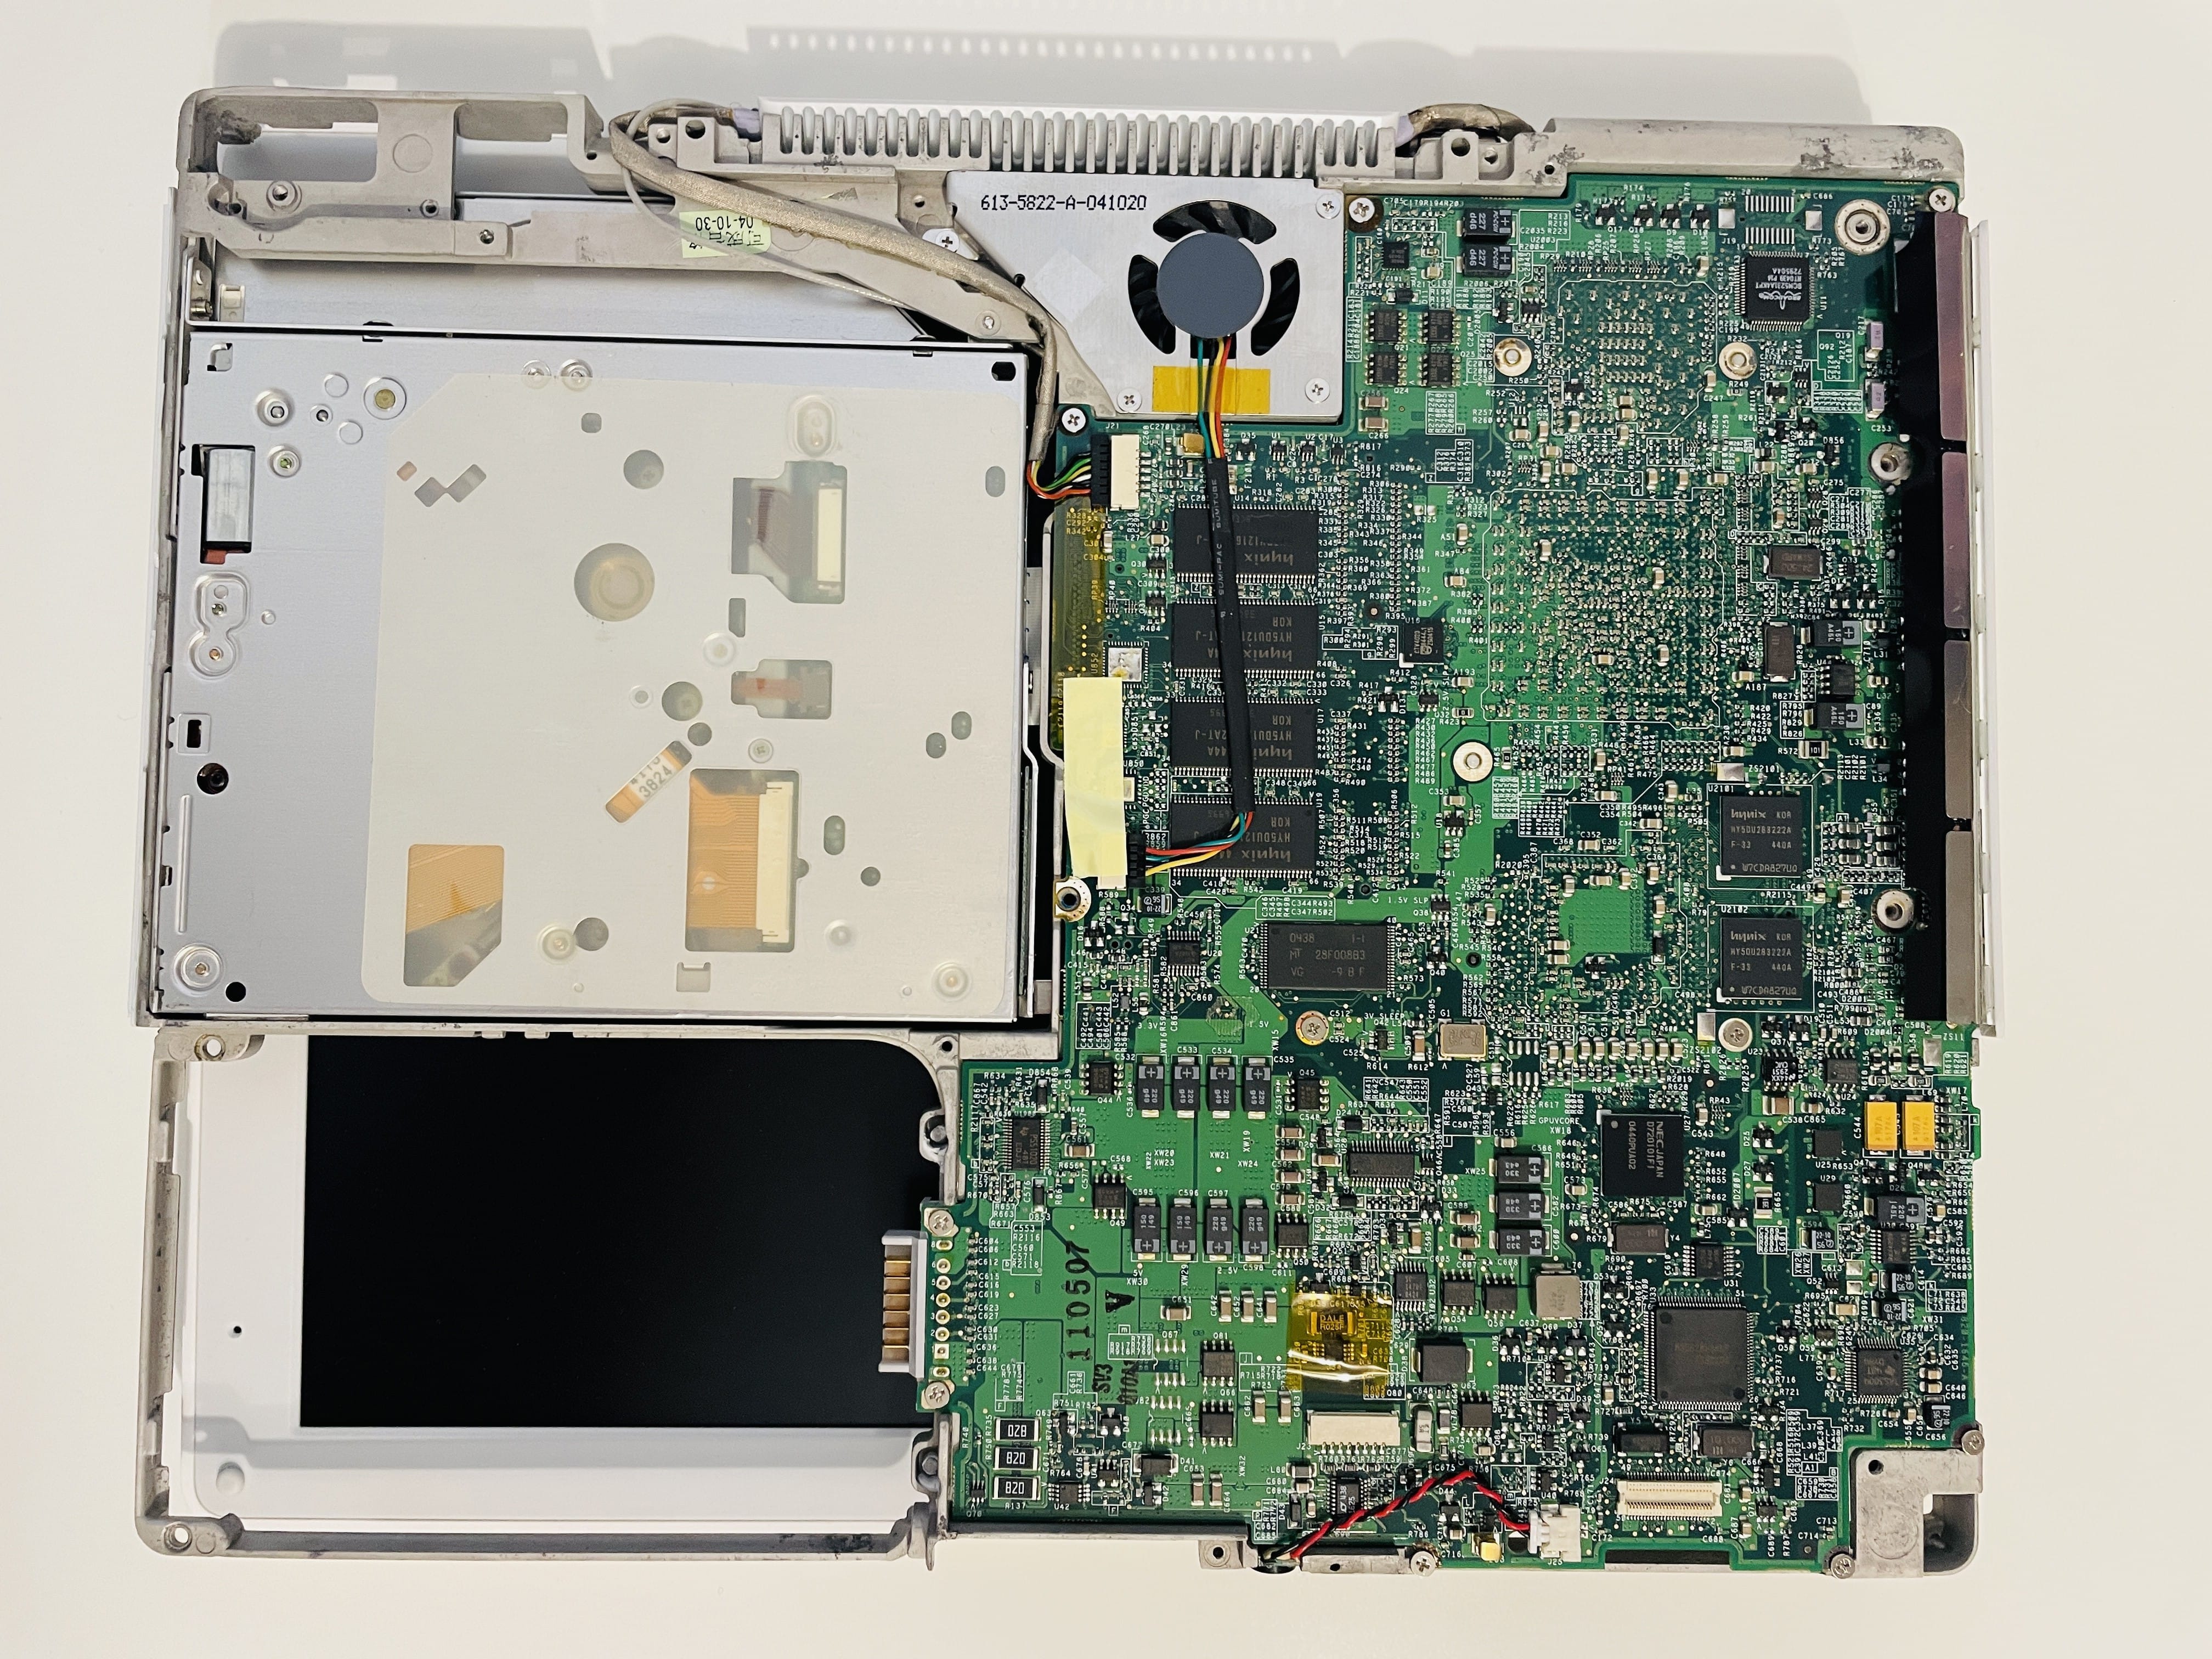
The iBook G4 is not plagued by the GPU overheating issue as much as the G3, it’s mostly the voltage regulator problem. The chip (Intersil ISL 6225CA, marked U28 on the logic board and circl… squared in the photo below) heats up and cools down each time the computer is turned on and off, so that eventually a small stress crack appears on one of the pins (most likely it’s the VCC pin, number 28, opposite of pin number 1). When the computer heats up and parts expand, the crack opens up and the power does not get through, which means the display goes blank and the computer freezes. If you press the plastic case of the iBook in just the right place, it can put enough pressure on the chip so that the pin makes contact and the computer will power up again.
There are several ways to fix it, permanently or temporarily, by either adding a shim between the voltage regulator chip and the bottom screen/bottom plastic case, baking the logic board with potatoes (I’m kidding, don’t use potatoes, carrots are better) so that the solder is reflown, heating up the pin 28 on the voltage regulator so that the solder melts and the connection is re-made, etc.
The iBook G4 doesn’t have a PRAM battery but a PRAM capacitor, which has the specs “5.5V and 0.33F” if you ever need it replaced.
My plan
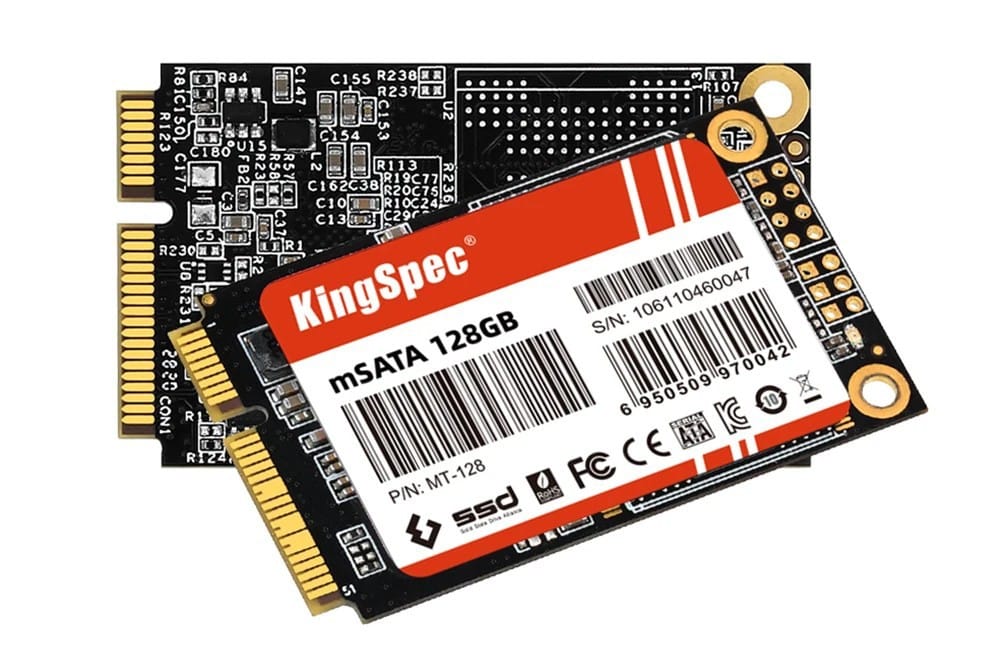
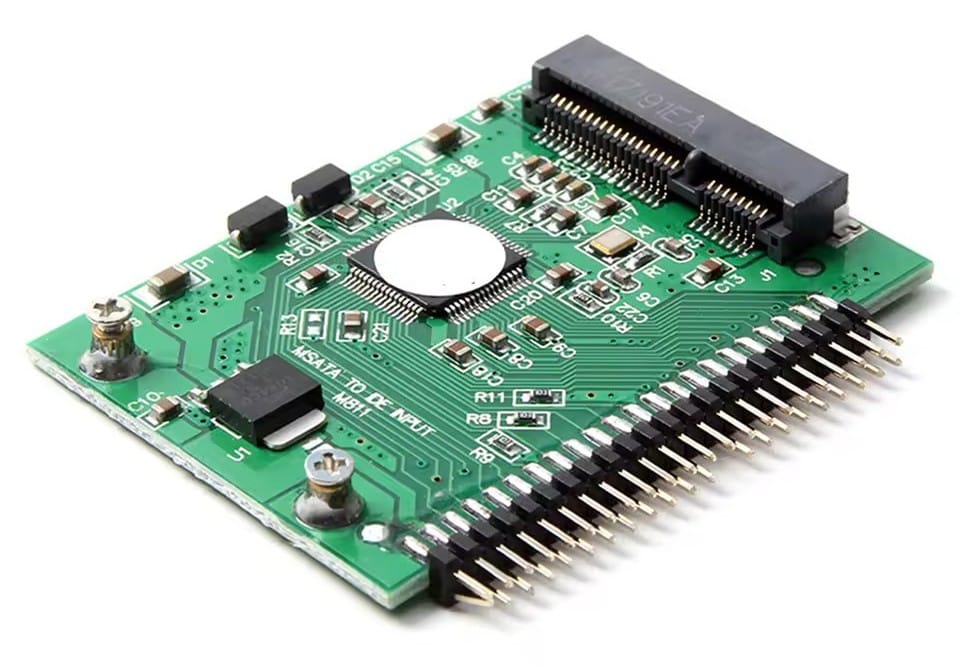
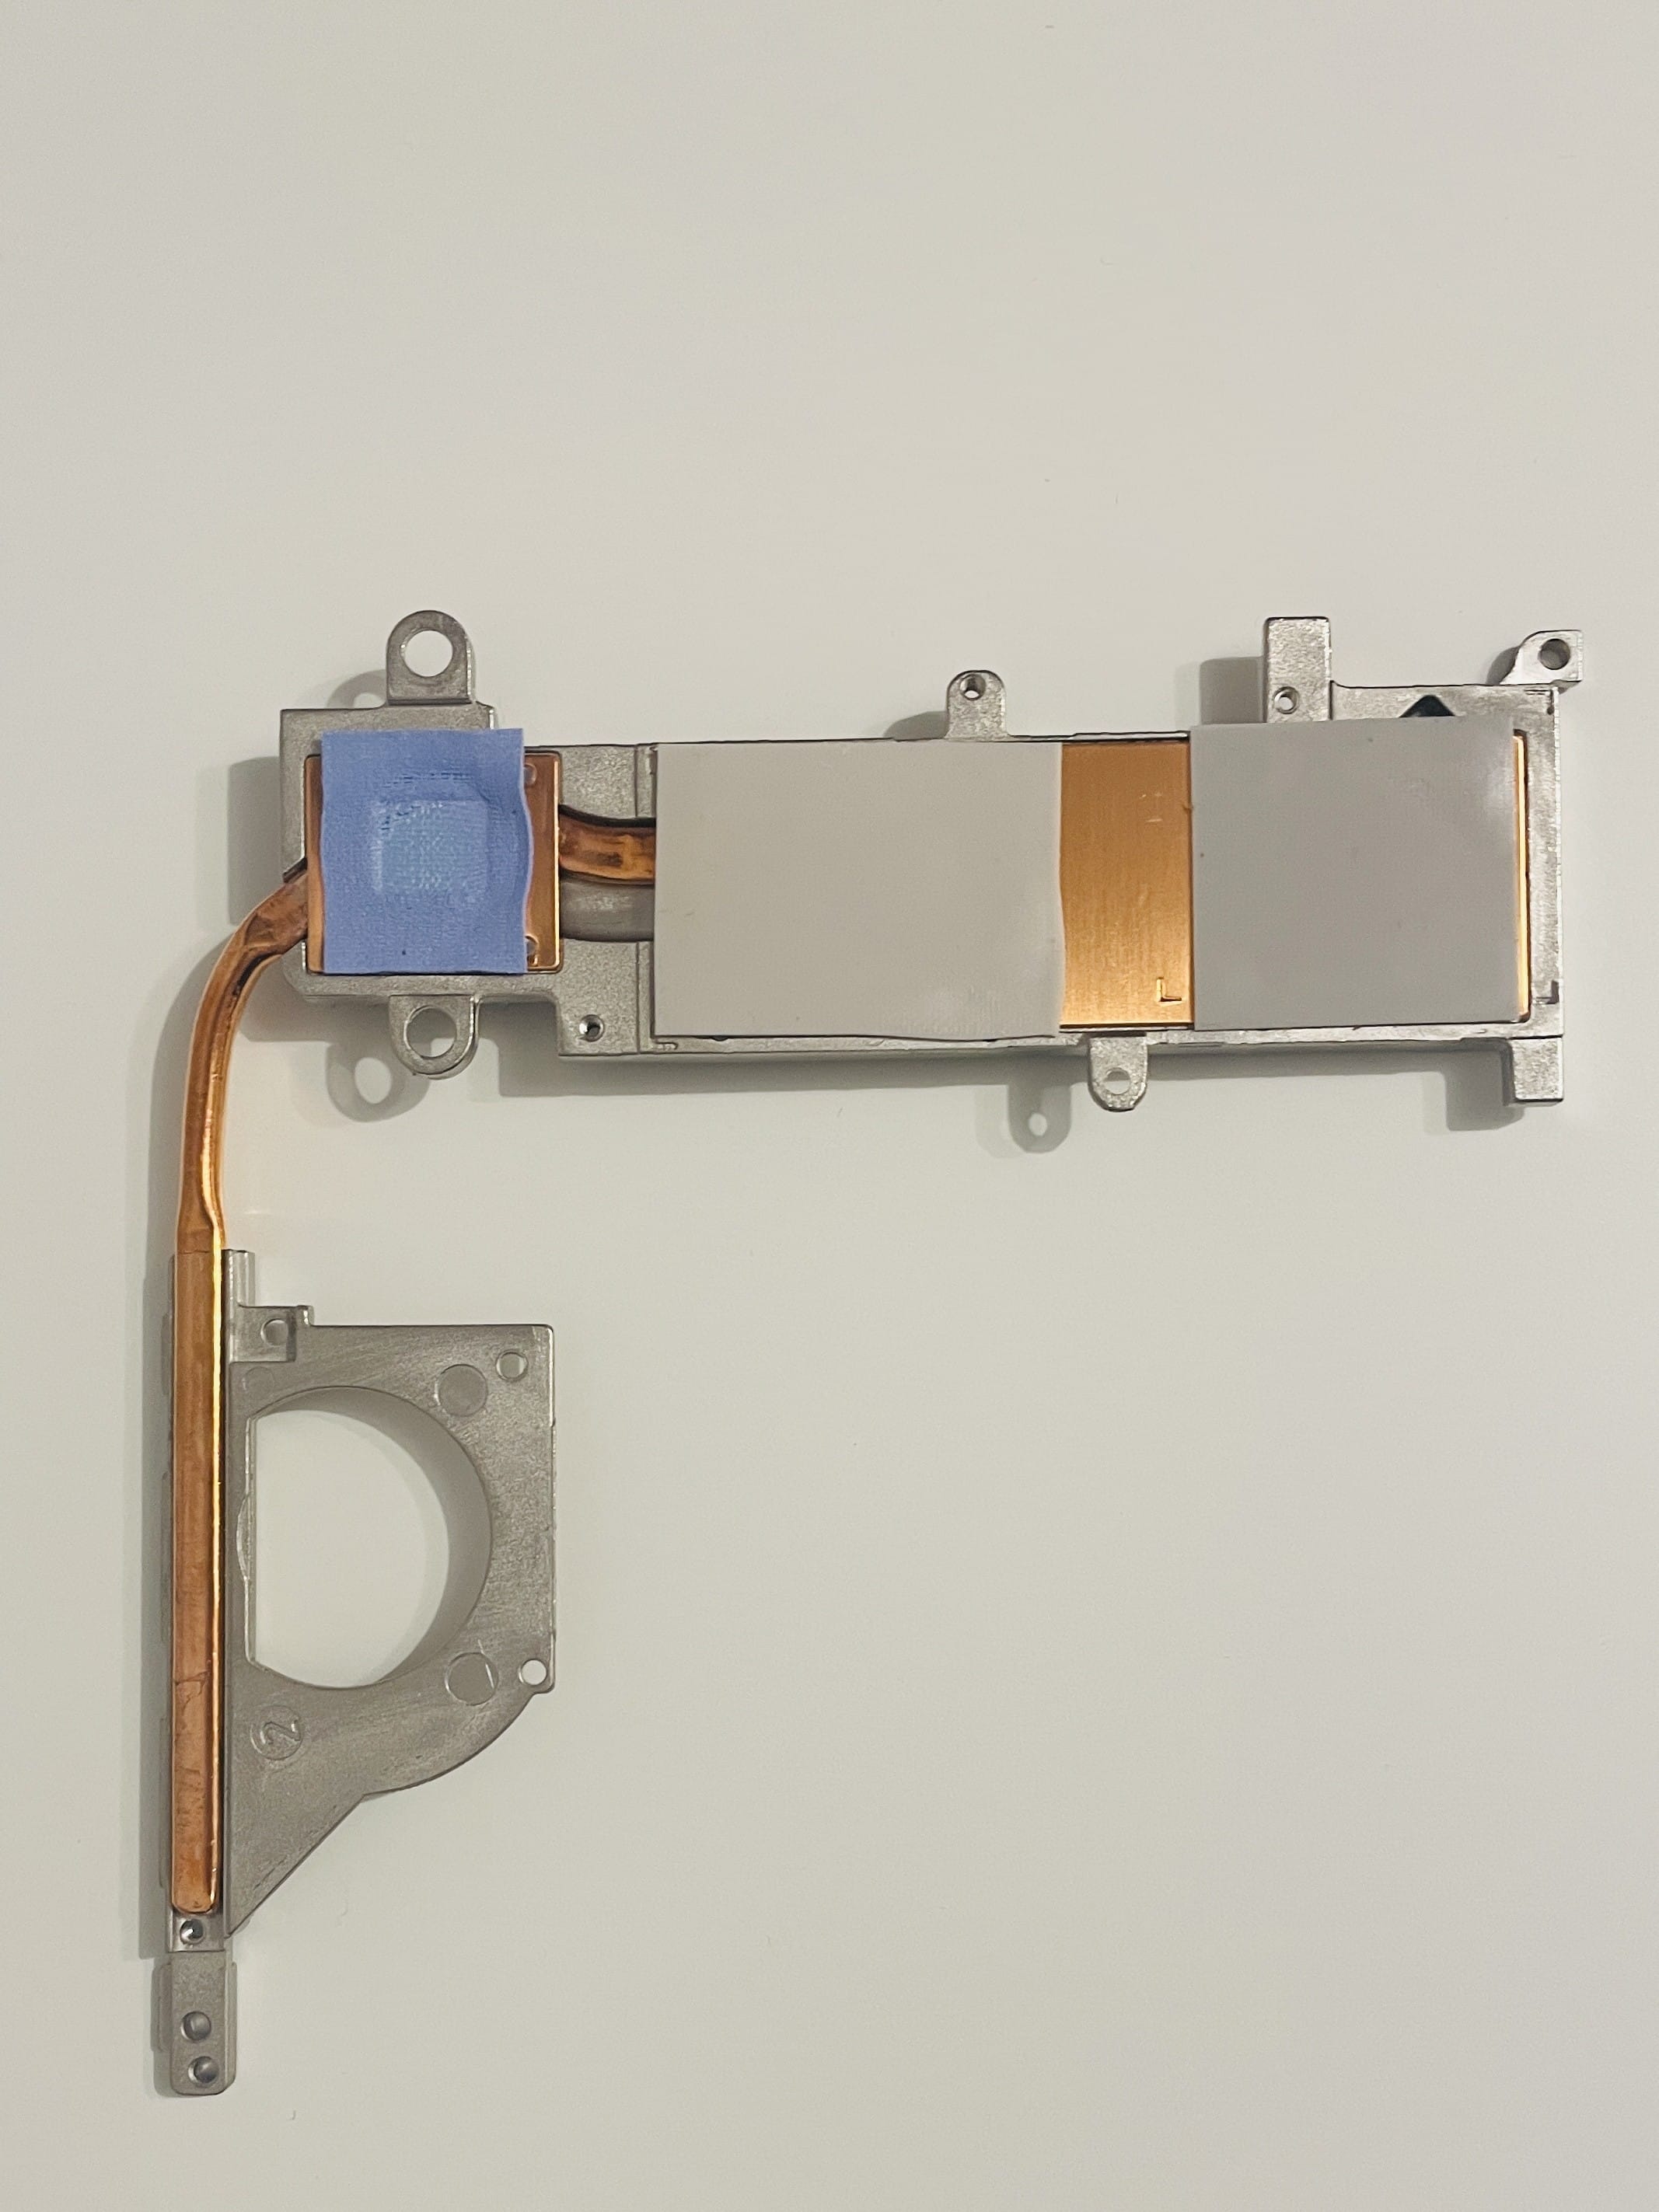
I want to use the iBook for retro stuff, replacing my trusty Nokia Booklet 3G (which goes into storage), so obviously the plan is to open it up, clean the interior, replace the slow and noisy HDD with a mSATA SSD + a PATA adapter (KingSpec mSATA SSD 256GB), add a 1GB SDRAM module (PC2100 DDR CL2.5 DIMM 266MHz 200-pin), remove the heatsink from the CPU, chipset and GPU, replace the heat pads with some Noctua thermal paste (NT-H2), check out the troublesome pin 28 on the voltage regulator chip (no problems so far, but it seems that sooner or later the problems will begin).
As a bonus, I want to add a Bluetooth module from a 2007 MacBook that a friend donated (the module, not the notebook) and a SuperDrive unit from the same 2007 MacBook.
I want to be able to actively use the iBook to listen to music, watch movies, browse the modern Internet, write stories and website posts, develop software (the Joshua Stein way, even though he’s way more hardcore than me), and not just power it on, take a pretty picture for Reddit, preferably with neofetch, zsh, oh-my-zsh, powerlevel10k and fzf, and post it for karma whoring. A computer is a tool and it should be used.
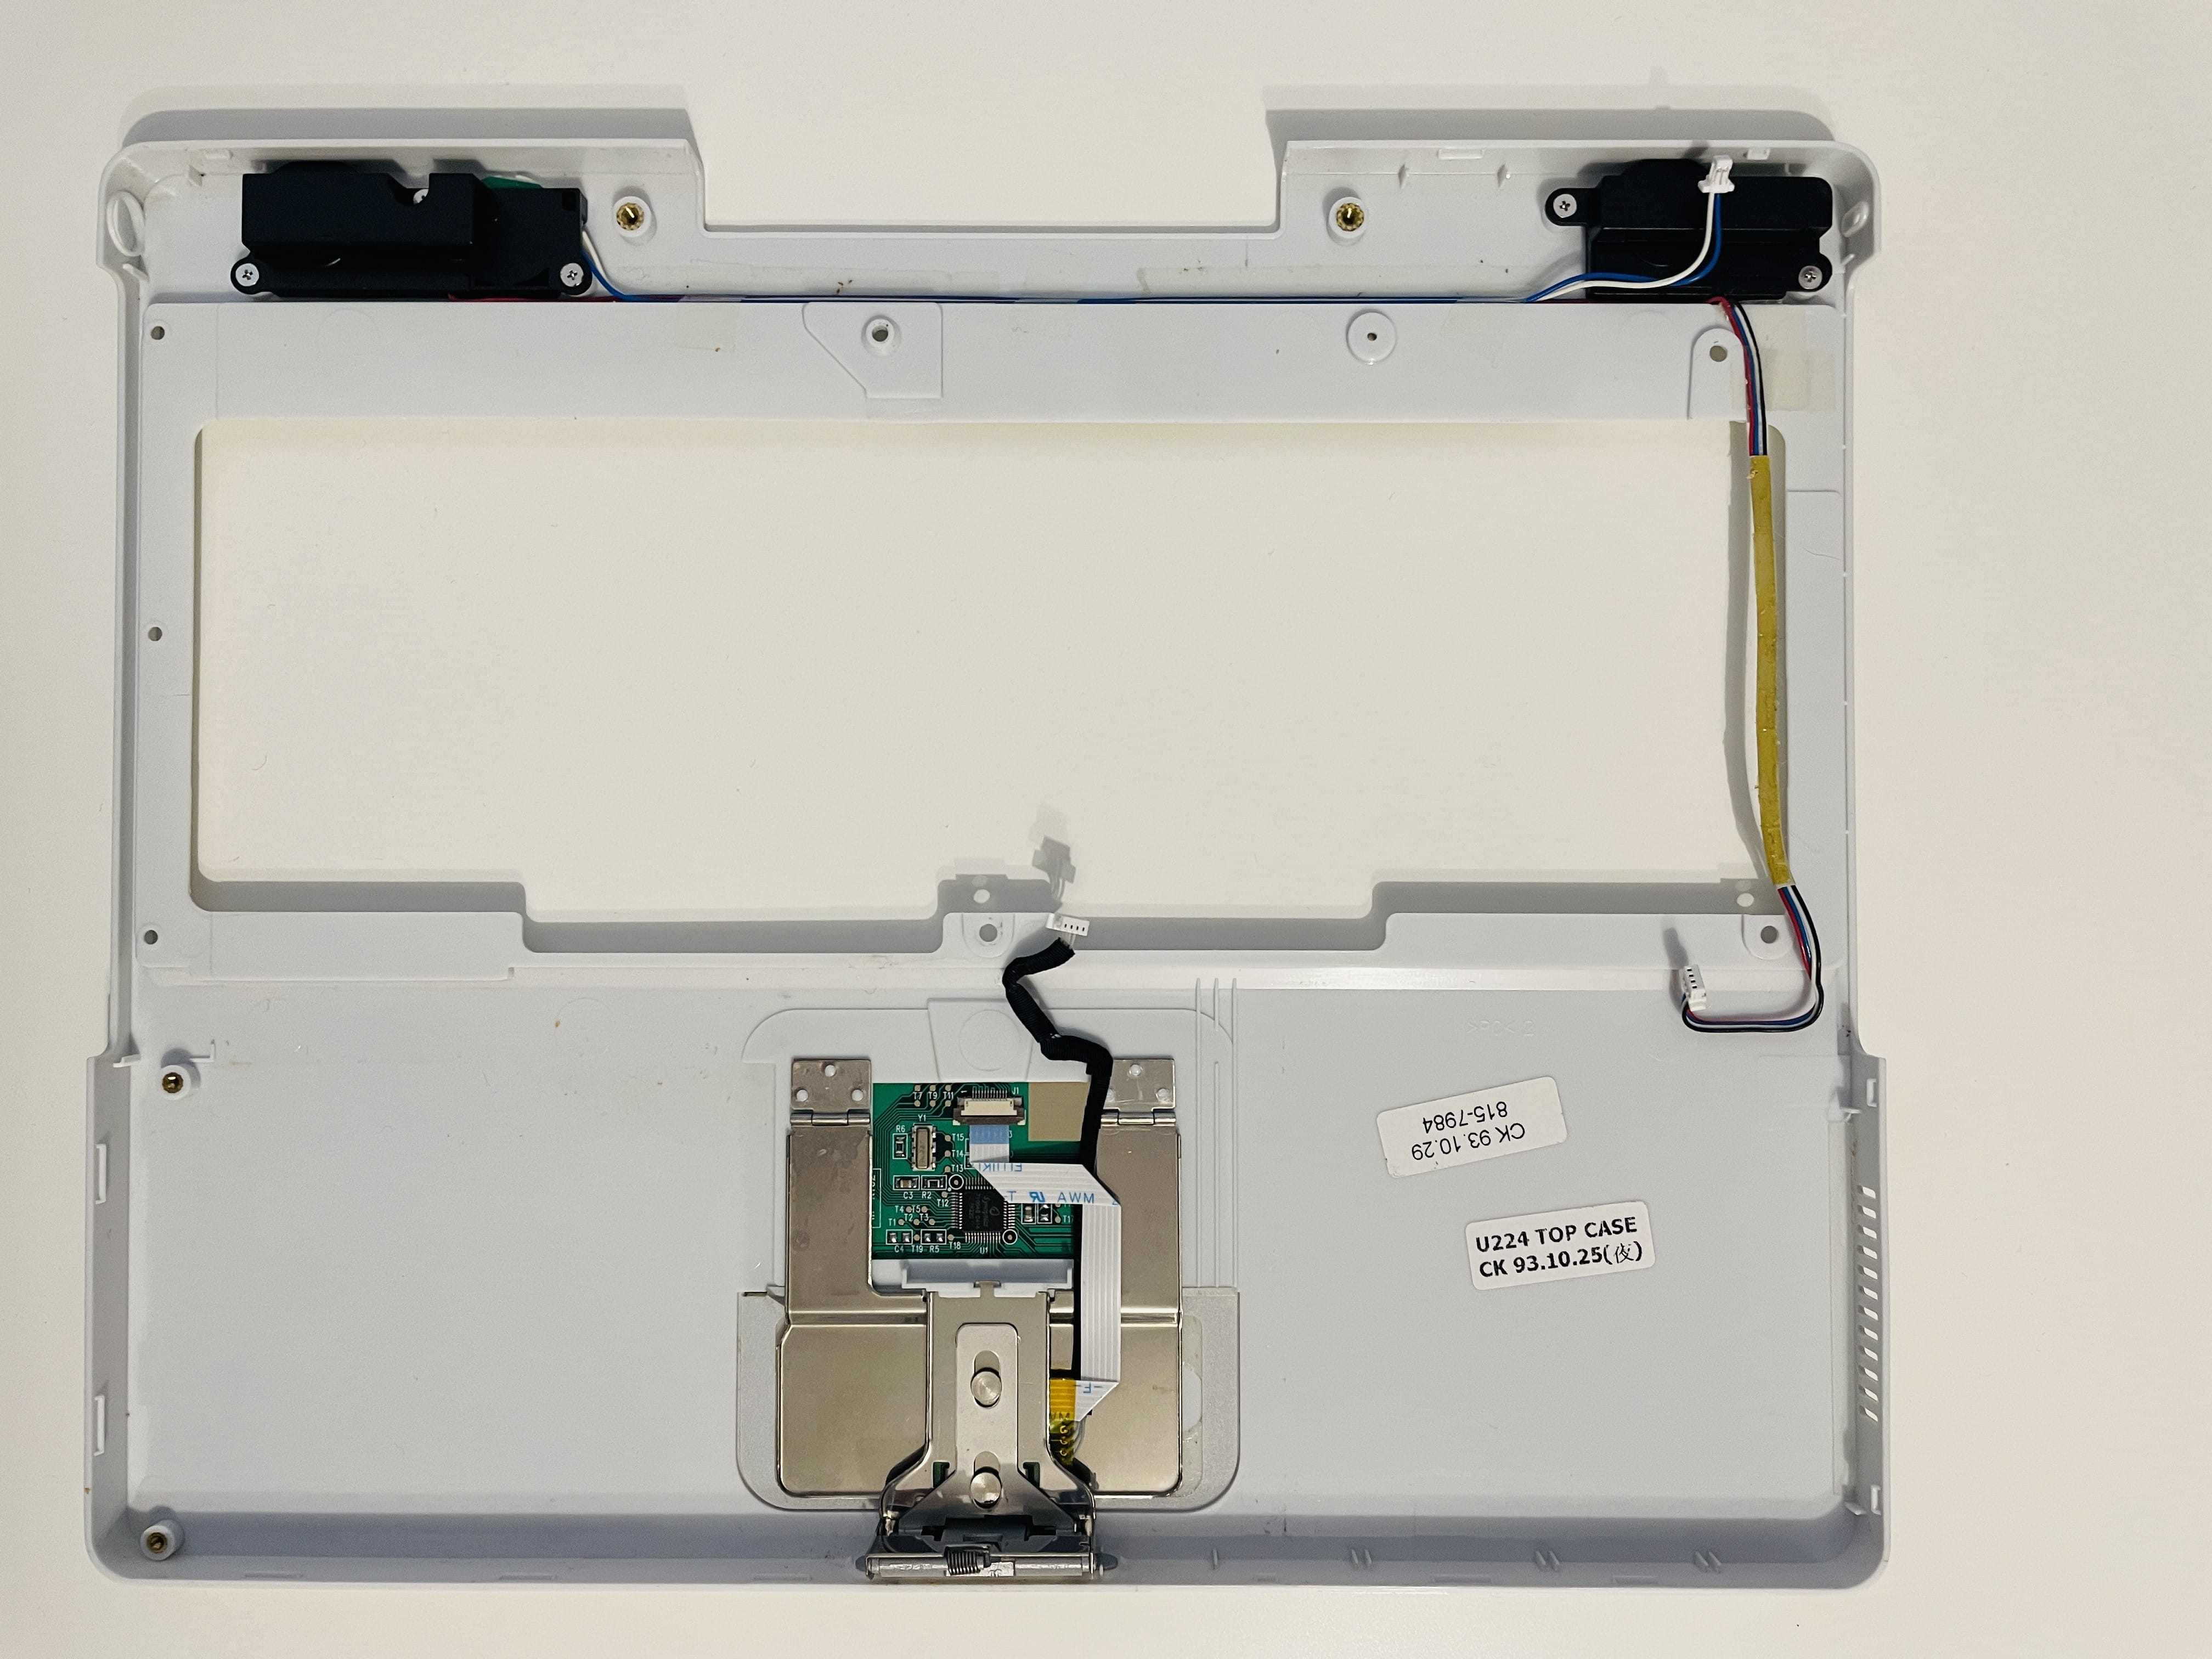
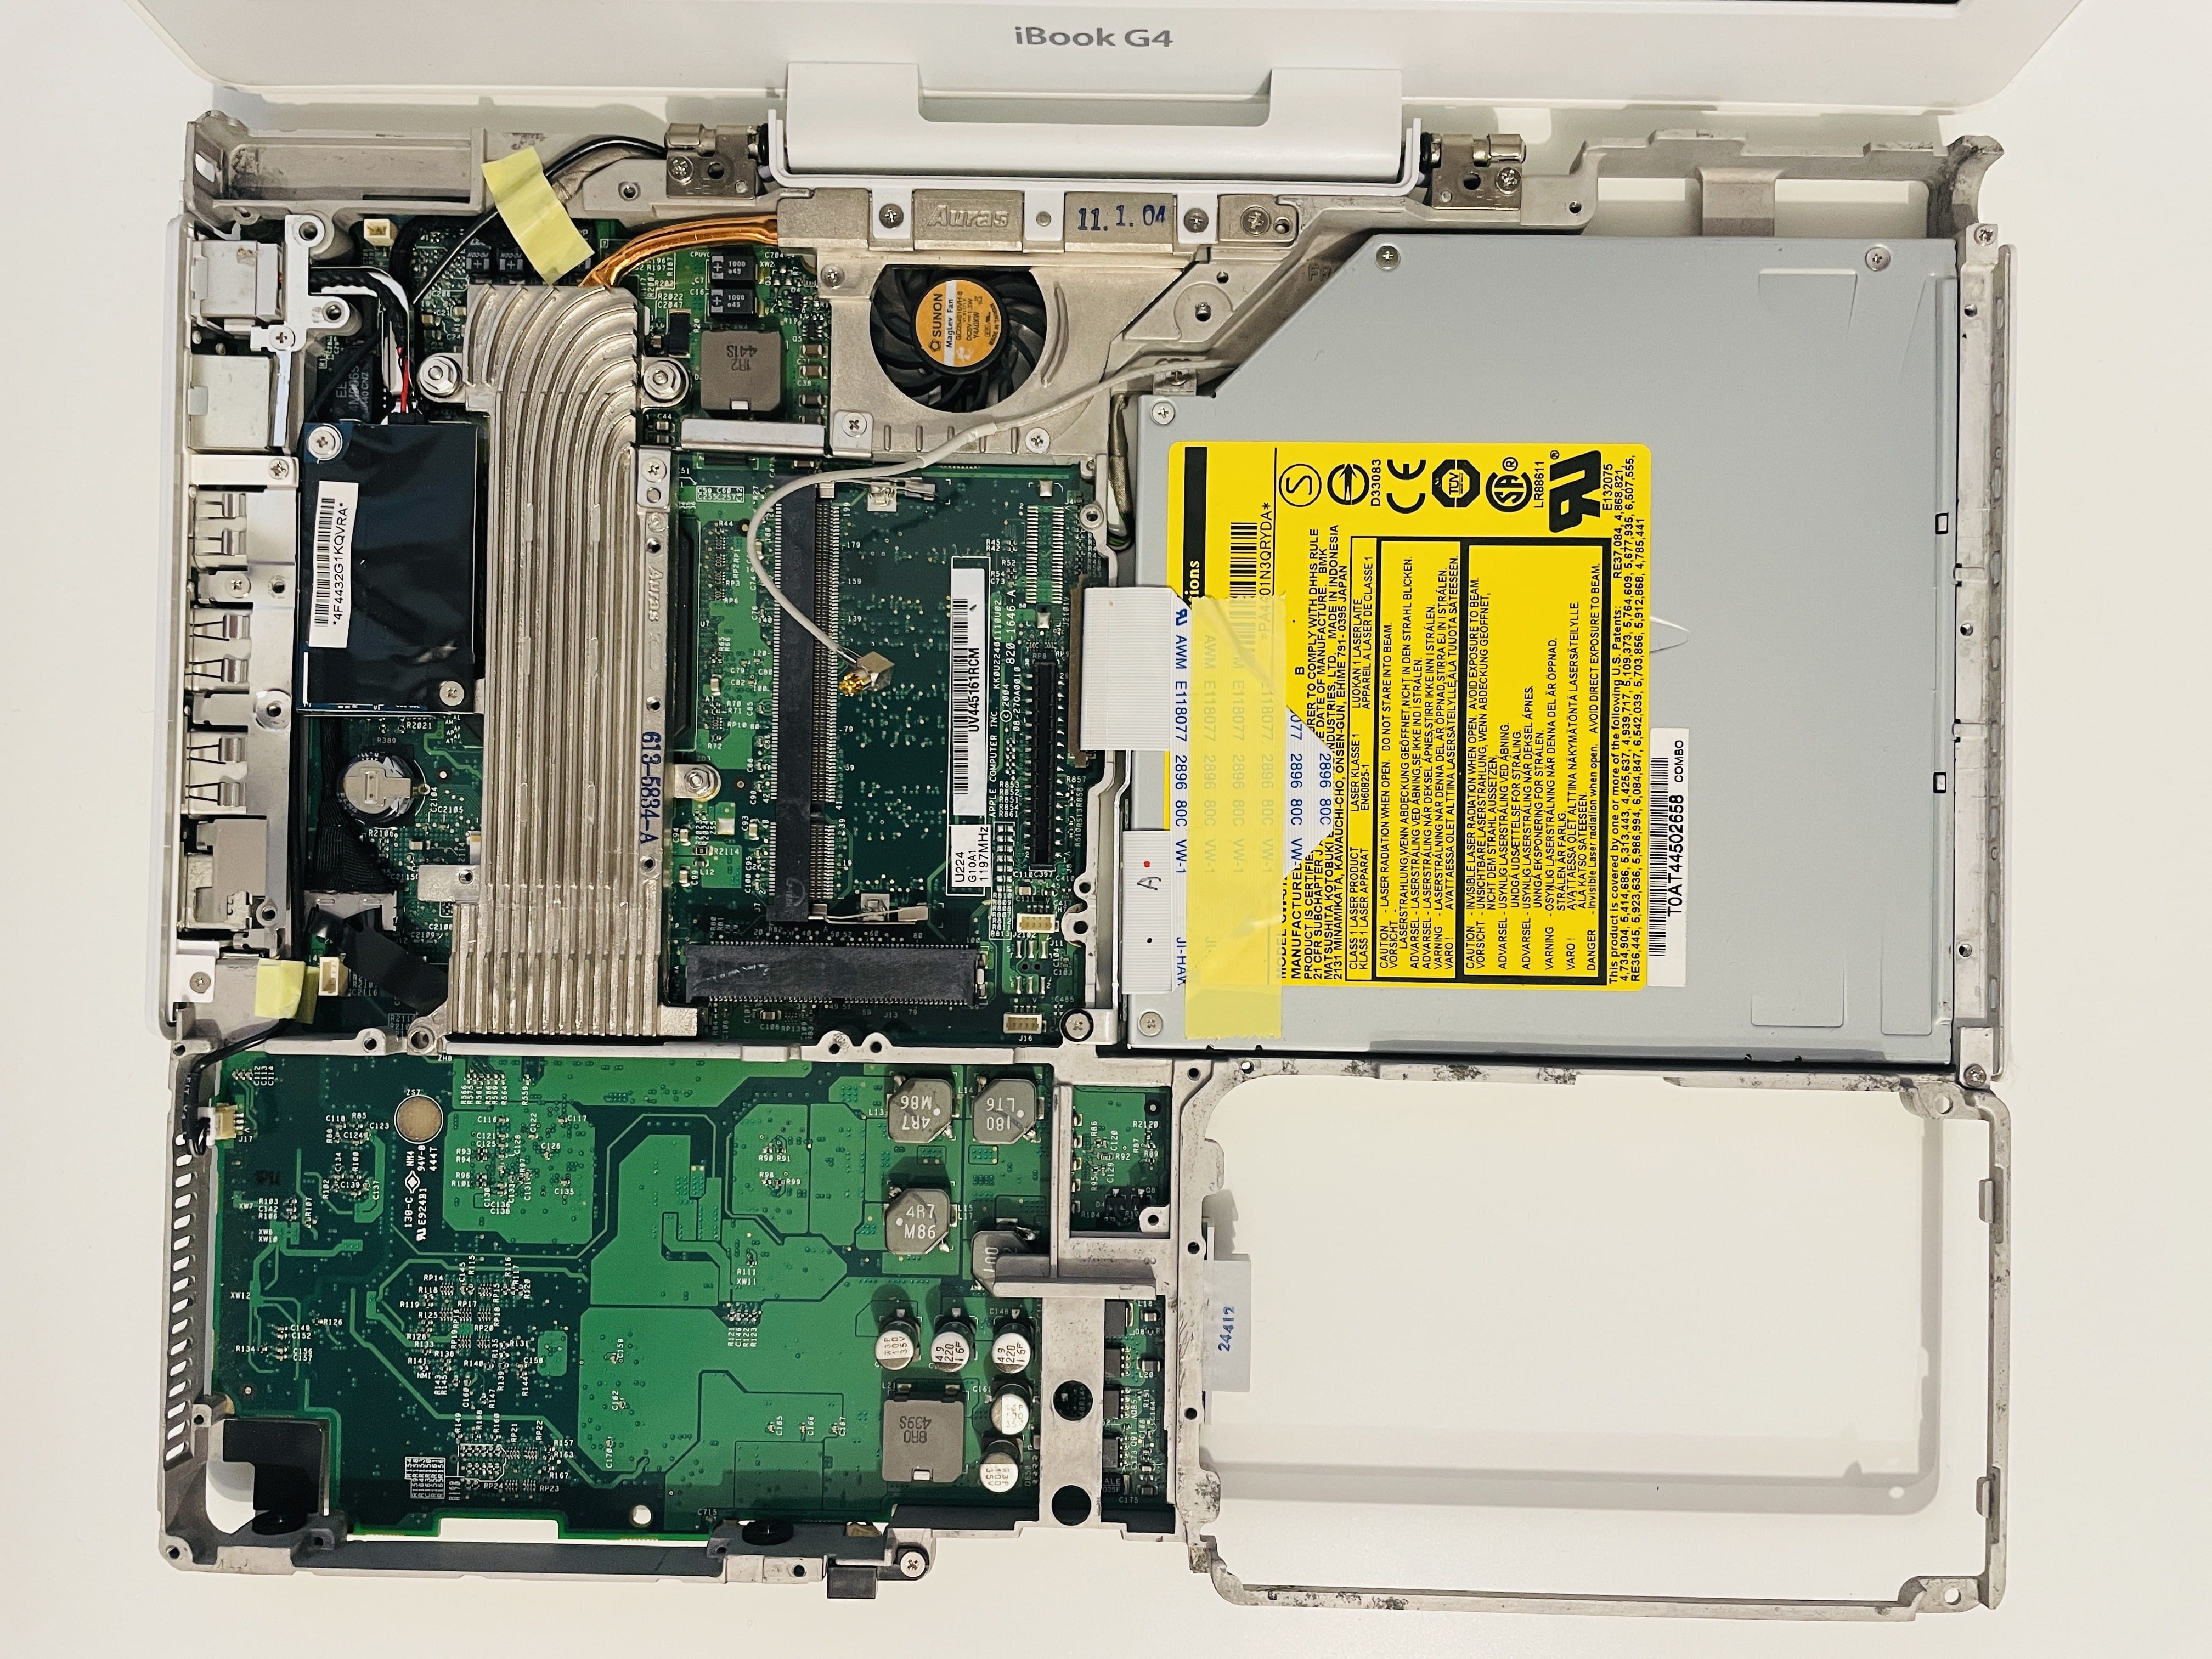
Opening up this thing is very hard: there are over 30 screws that need to be removed (I won’t make the usual screwing joke here, but you’re thinking about it, aren’t you?) and to get to the HDD most of the notebook will need to be disassembled. Fortunately, the sexy people at iFixit have a bunch of hefty guides with images and stuff, and with proper patience you will get your hands on iBook’s innards in no time.
The hardest part it to remove the plastic shell without denting it, you’ll need several spudgers, lots of heavy breathing, swearing and steady hands. Alcohol is a no-go here. Be extra careful on pulling connectors from the logic board, it’s a 20+ years notebook and you will be surprised when they break. The magnet for the lid suspend function might move around because it was originally glued and who doesn’t trust 20 years old glue, so make sure you keep it somewhere.
Also, remember to separate all the screws into an organizer, because you’ll need to put them back, obviously.
Basically, it’s opening up, removing almost everything from the frame except the display and logic board, take out the HDD, replace it with the mSATA SSD and the mSATA to PATA adapter (mine is smaller than the original HDD, so make sure it doesn’t move around knocking other chips out), add the new Bluetooth module, replace the ComboDrive with a SuperDrive, remove the heatsink, clear the thermal pads and place some new thermal paste on the CPU, chipset and GPU. And when done, put everything back as it was, without extra remaining screws and pieces. Piece. of. cake.

Software-wise, I need a way to SSH into servers, which means OpenSSH, which means GCC therefore MacPorts, a text editor (Sublime Text is not available, so Coda or TextMate), a way to edit my photos (Adobe Photoshop CS4) and sketch (Adobe Illustrator CS4), various development tools (fpc, Xcode, maybe a GUI git client), games (at least Quake II), virtualization (Microsoft VirtualPC and a Windows XP image), office tools (I’ll go for Apple’s iWork suite instead of Microsoft Office because … fuck Microsoft), tools for making music, and a bunch of tinkering tools.
Hardware
SuperDrive
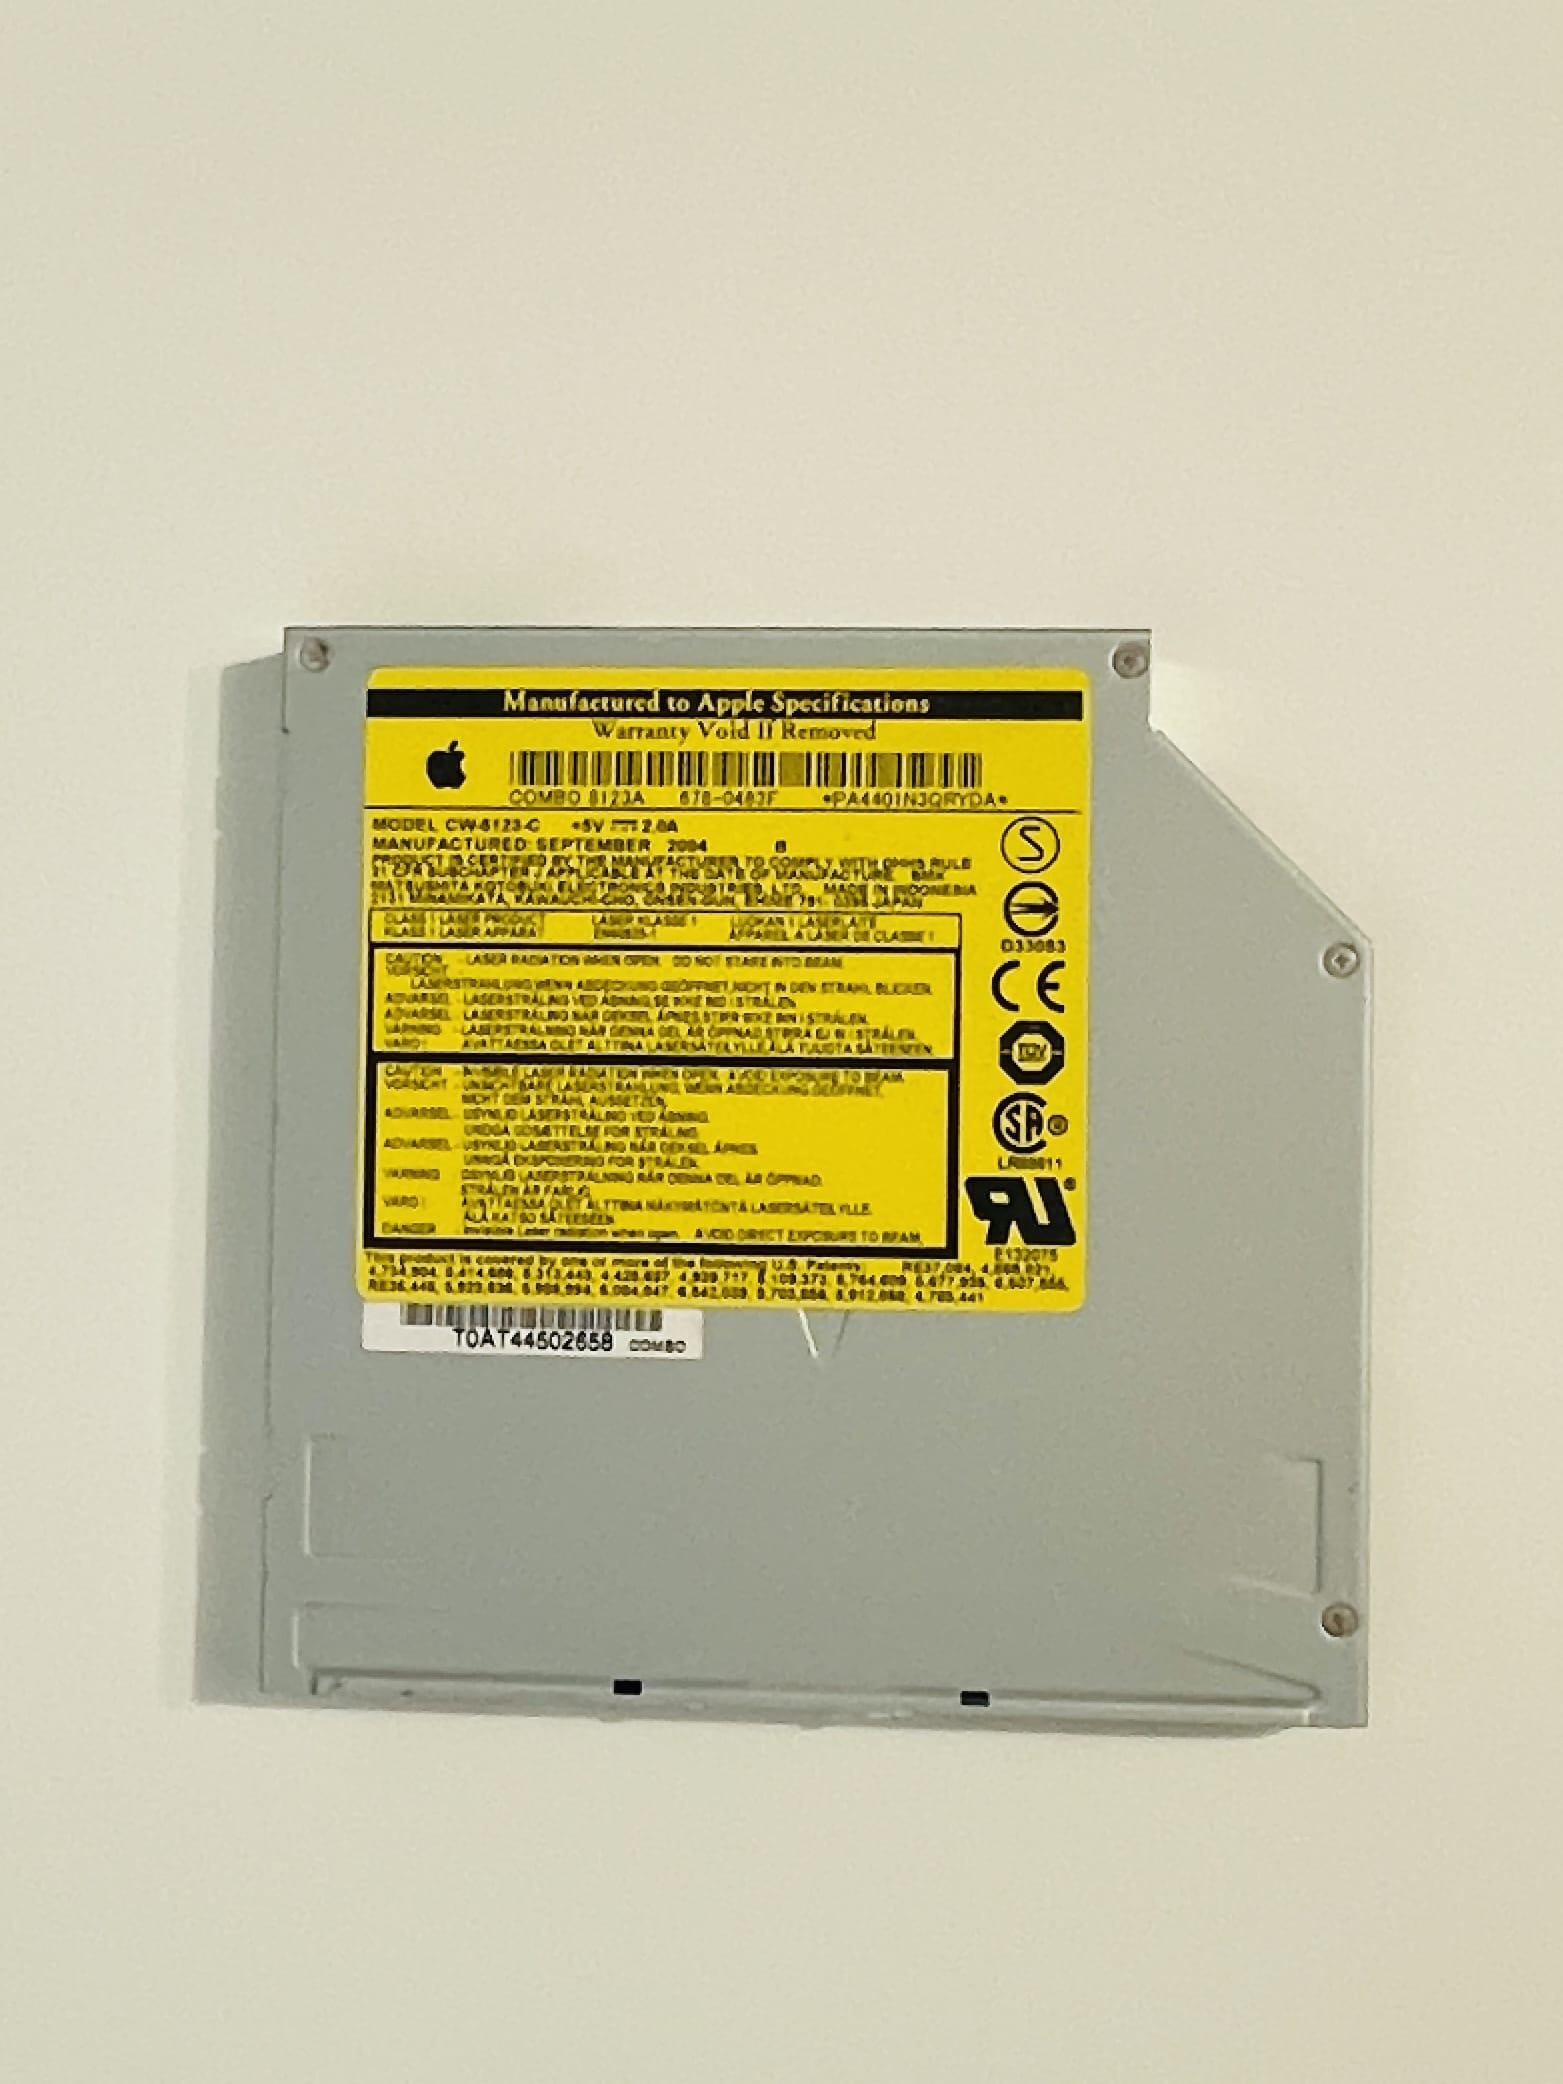
The original ComboDrive in my iBook G4 is a Panasonic (Matsushita) CW-8123-C, I replaced it with a H-L (Hitachi/LG) GSA-S10N SuperDrive, and now I can write DVDs. The SuperDrive unit is also more slim (and lighter), and while it will fit the front iBook bezel, the screws and the adapters that secured the old ComboDrive unit inside the iBook frame will not work with the SuperDrive.
Bluetooth
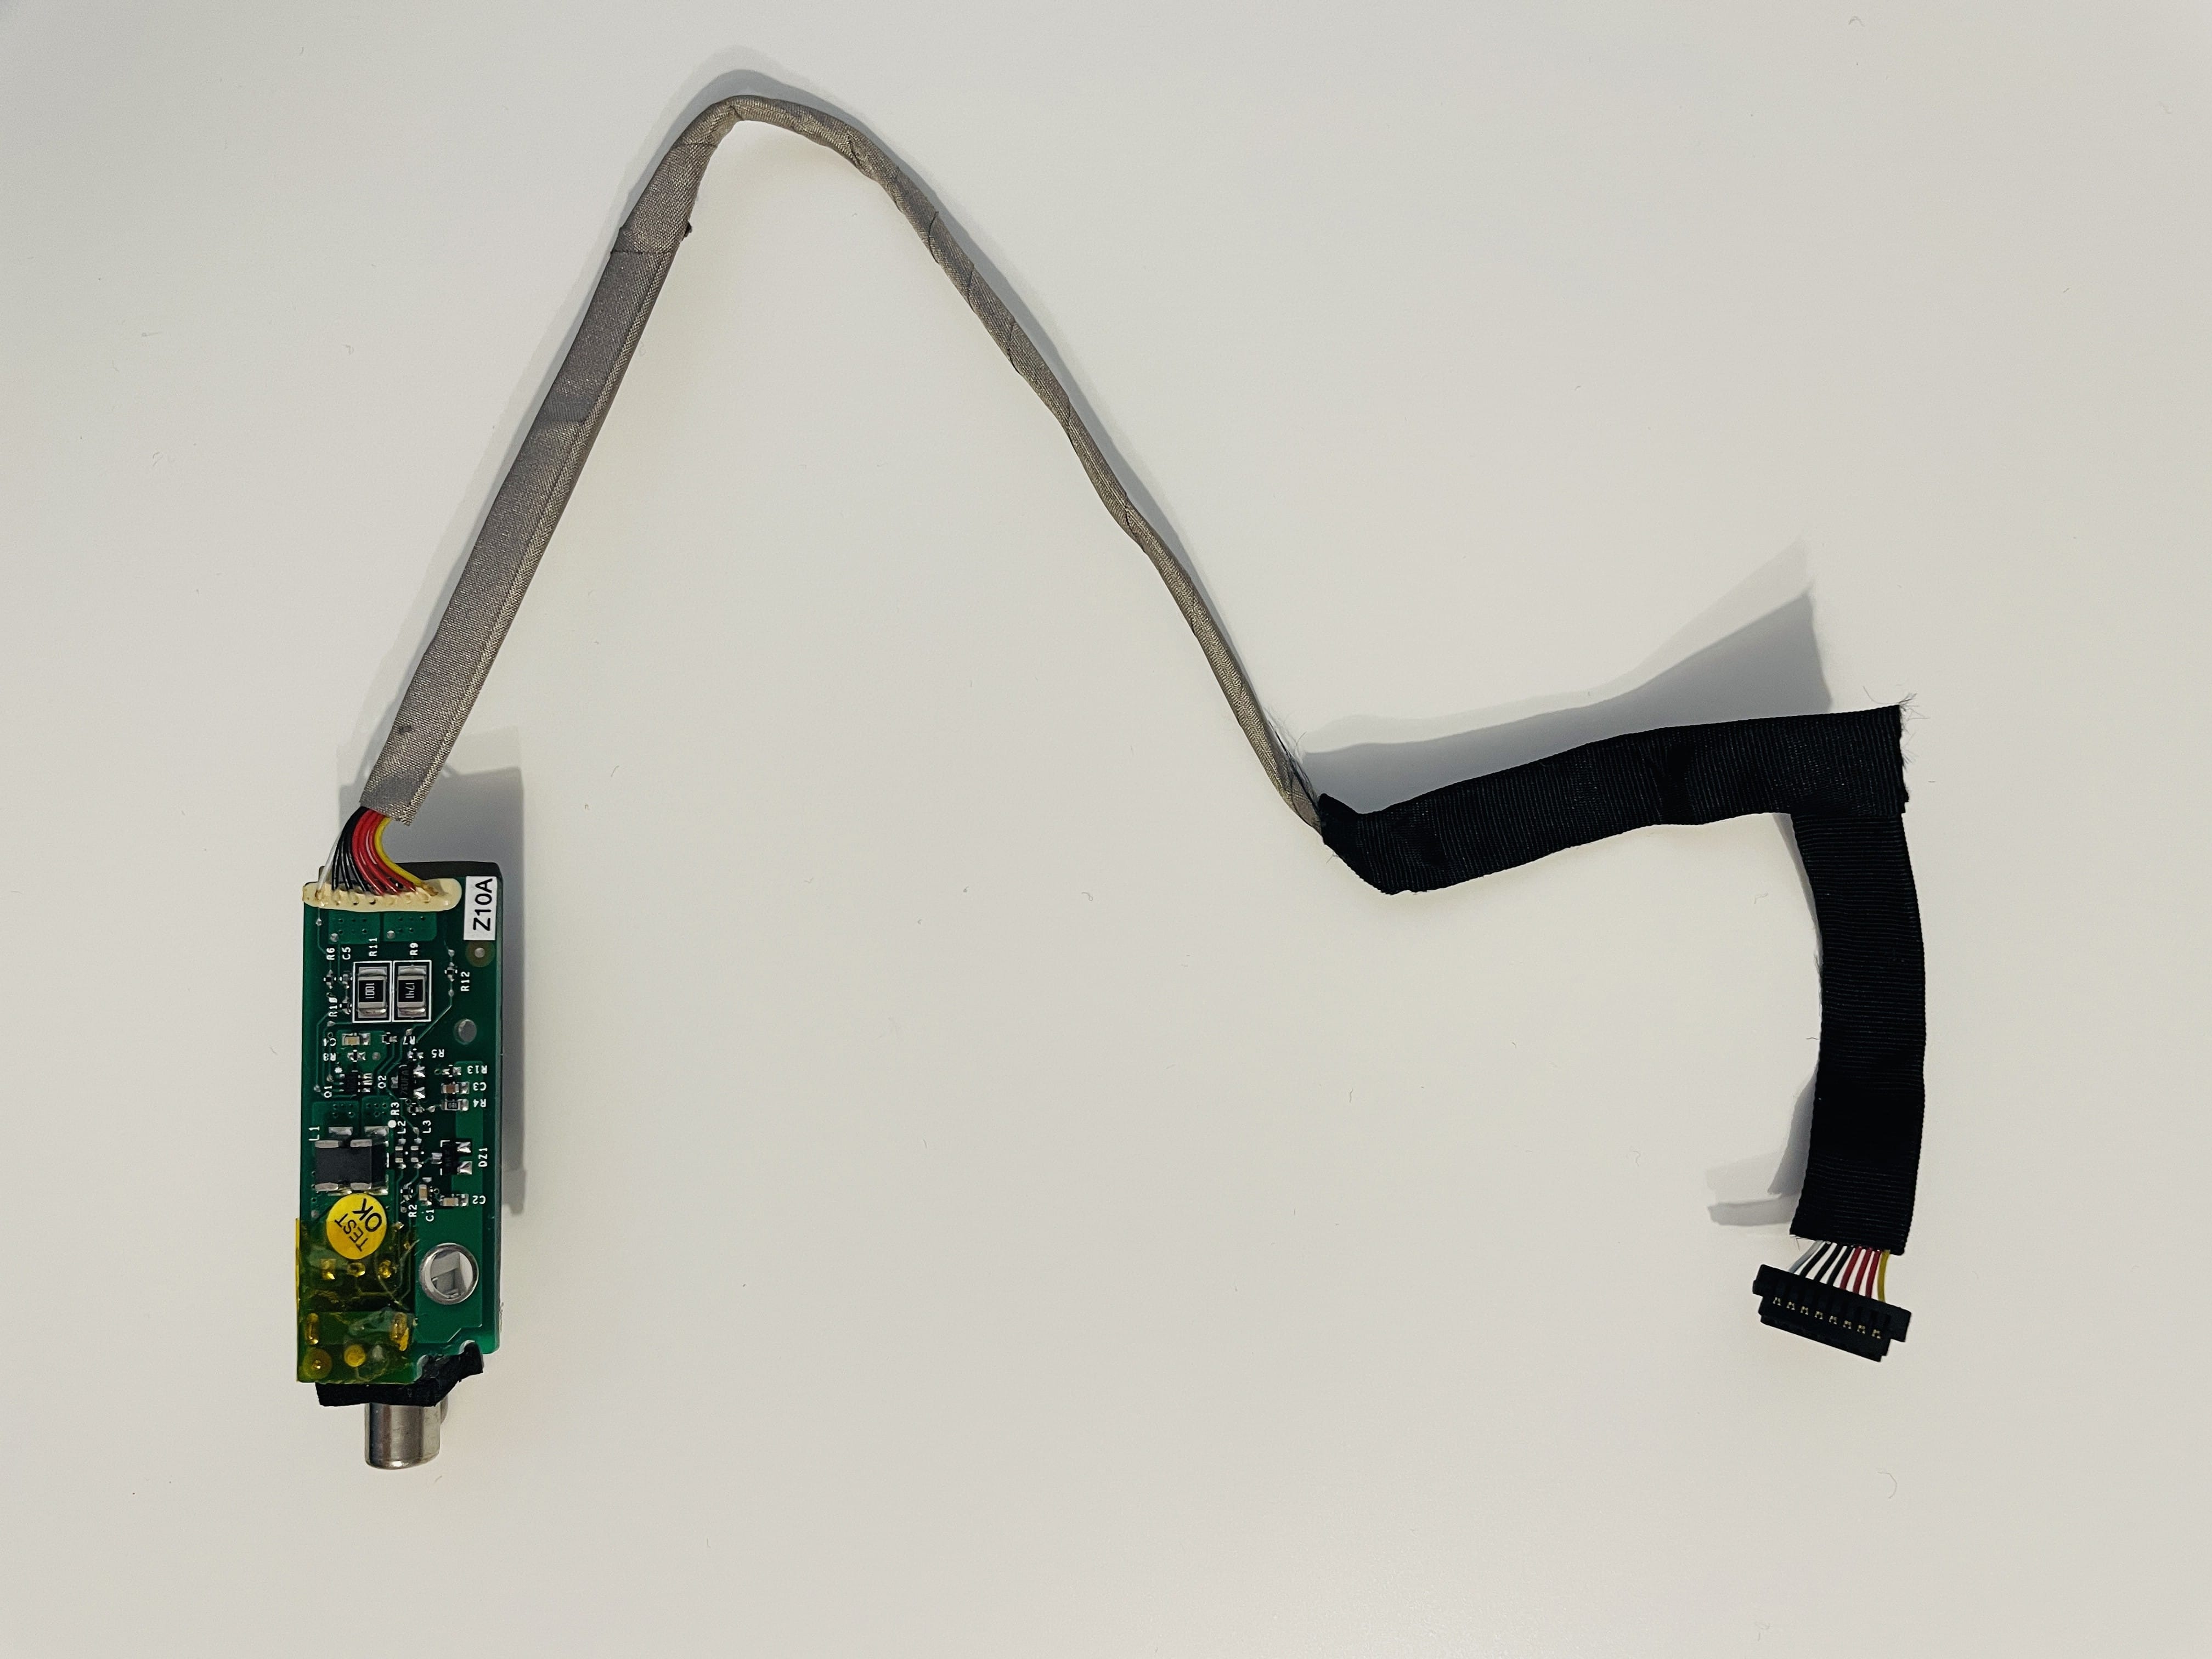
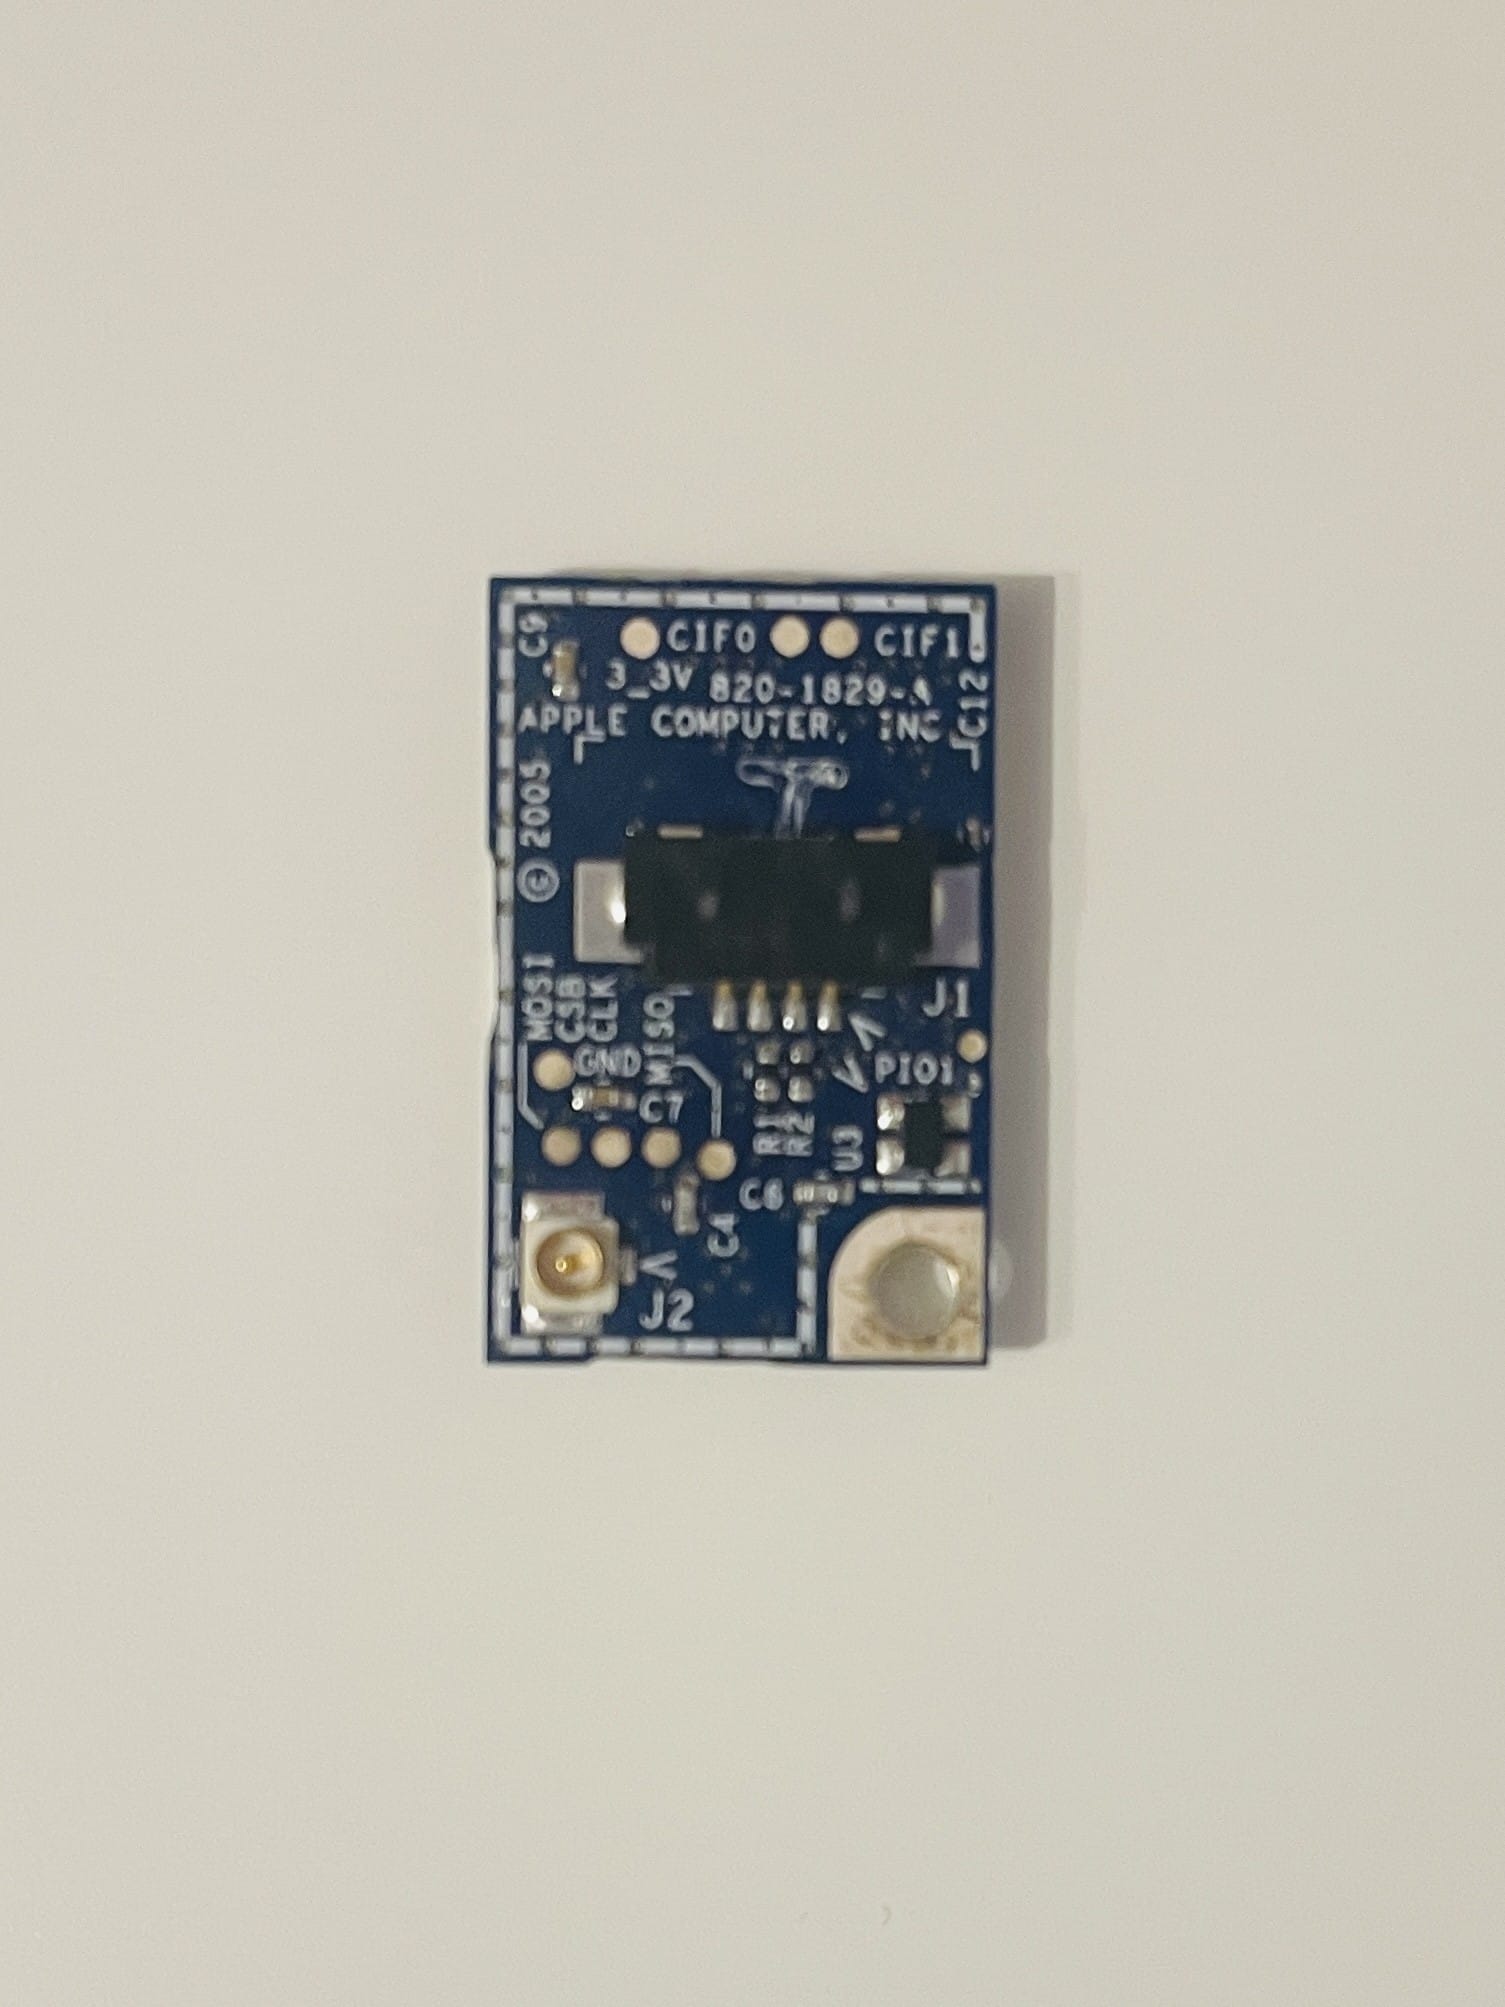
The Bluetooth module I have (Bluetooth 2.0 + EDR, 820-1829) has different connectors than the original (Bluetooth 1.1) but the same data wires, and all I needed was to cut the connectors and replace them. After changing the connectors to fit the logic board connector, it’s recognized by Mac OS X; I’ve adapted the antenna too by routing the cable around the SuperDrive unit.
Storage
The original HDD was a slow Fujitsu MHT2030AT 4200-rpm Ultra/ATA100 30GB, so I replaced it with a KingSpec 256GB mSATA SSD and a no-name mSATA to PATA adapter. None of the original screws and metal adapters fit, but I made it work.
Operating System
After putting everything back together and using ALL the screws (in iBook G4’s case this is a massive accomplishment), time to install an operating system. Several options exist:
- Mac OS X 10.4 Tiger, this is the last Mac OS that still has the Classic Environment, which is a Mac OS 9 compatibility layer (and was removed in 10.5 Leopard). This image is smaller than a Dual Layer DVD, so it can be written to a normal DVD, if you can’t write DL DVDs.
- Mac OS X 10.5 Leopard, last official version with support for the PowerPC architecture, which was removed in 10.6 Snow Leopard. This image requires a DL DVD to be written on, or you can go through the maze of booting an iBook G4 from USB. HAHA, keep trying.
- Sorbet Leopard, an unofficial version 10.5 and 10.6 hybrid. Not for me.
- There is a special version I call Slum Leotard, which is a beta Snow Leopard image that is still built for PowerPC, with stuff rebuilt or imported from Leopard. It’s highly unstable and you should work with it if you’re a sado-masochist. DHCP is not working, for starters.
- Adélie Linux, which is a current Linux distro that has support for PowerPC. Not for me, I’m using openEuler and I’d rather not deal with another Linux.
- MorphOS, an AmigaOS-like operating system designed for Power and PowerPC based computers. The core, based on the Quark microkernel, is proprietary, although several libraries and other parts are open source, such as the Ambient desktop. It’s a cool alternative but I’m not into Amigas and I severely dislike the Amiga community (hate would not be a word too harsh in this case). MorphOS is not free, costs 79 euro for one laptop or desktop computer. The unregistered version of MorphOS includes the full functionality, but slows down operation after a 30 minutes period until you choose to reboot your computer.
- Debian might be an alternative, but I’m sick and tired of Linux.
- BSDs work too, so either OpenBSD, FreeBSD or NetBSD can work too.
- Haiku might work too, but I’m not willing to go that way.
- There are older versions of Ubuntu, VoidLinux, Gentoo, Crux, Arch, OpenSUSE, Mint, all working on PowerPC and iBook G4, but i’ll let you discover those.
- I have a feeling both Inferno and Plan9 might work too.
- If you’re wondering, no, Mac OS 7, 8 or 9 can’t be installed on a late 2004 iBook.
- And no, you can’t install macOS 14 Sodoma … I mean Sonoma.
Download a DVD image from the web archive, write it to a Dual Layer DVD, pop it into your iBook, press the power button, press Option/Alt key until the boot selector appears, and choose the Leopard DVD. Or Tiger DVD. Or Debian CD. Or whatever.
In Leopard’s case, 30 minutes later the install is done. Make sure you update the system to the latest Safari, Quicktime, Java, iTunes (latest for 2005-2009 I mean). A Combo Update will be available in OS X’s Software Update, and that will put your Leopard version at 10.5.8, and that’s the max.
Software
This section migrated into a separate article.
Development
This section migrated into a separate article.
Games
This section migrated into a separate article.
Tips, tricks and tweaks
- Enable 3D Dock
$ defaults write com.apple.dock no-glass -boolean NO; killall Dock
- Enable 2D Dock
$ defaults write com.apple.dock no-glass -boolean YES; killall Dock
- Disable Dashboard
$ defaults write com.apple.dashboard mcx-disabled -boolean YES
- Boot in verbose mode
Hold Command + V after power on.
- Select boot media
Hold Option/Alt after power on.
- Boot to Open Firmware
Hold Command + Option/Alt + O + F after power on.
- Probe USB for bootable USB flash drives (in Open Firmware)
probe-usb multi-boot
- Reset NVRAM (in OF)
reset-nvram
- Eject optical disk (in OF)
eject cd
- Automatically enter OpenFirmware on boot (in OF)
setenv auto-boot? false
- Disable netboot (makes the boot picker appear faster, in OF)
setenv skip-netboot? true
- Enable netboot (in OF)
setenv skip-netboot? false
- Automatically enter OpenFirmware on boot (in OF)
setenv auto-boot? false
- Disable automatically enter OpenFirmware on boot (in OF)
setenv auto-boot? true
- Check memory info (in OF)
dev /memory .properties
- Reset all changes to OpenFirmware (in OF)
set-defaults
- Get info about a device (in OF, replace
cpuswithscreen,memory, etc)
dev /cpus .properties
- Set name of the computer (change
laptopwith the name you want)
$ sudo scutil --set ComputerName laptop
$ sudo scutil --set HostName laptop
$ sudo scutil --set LocalHostName laptop
- Show
~/Libraryand/Volumesin Finder
$ chflags nohidden ${HOME}/Library
$ sudo chflags nohidden /Volumes
- Set a timezone, enable network time and change the timeserver to something not Apple (replace
Europe/Paristo your timezone)
$ sudo systemsetup -settimezone "Europe/Paris" > /dev/null
$ sudo systemsetup -setusingnetworktime on > /dev/null
$ sudo systemsetup -setnetworktimeserver "0.europe.pool.ntp.org" > /dev/null
Want two-finger scrolling like modern Apple notebooks? This driver brings that to your trusty iBook.
Bless OS X System Folder (make sure your disk is named “Disk”, else change accordingly):
$ sudo bless --folder "/Volumes/Disk/System/Library/CoreServices"
- Disable Spotlight:
$ sudo nano /etc/hostconfig
Change
SPOTLIGHT=-YES-
to
SPOTLIGHT=-NO-
$ mdutil -i off /
$ mdutil -E /

Hardware info
List USB devices:
$ lsusb
View the output
Bus 091 Device 001: ID 05ac:8006 Apple, Inc. EHCI Root Hub Simulation
Bus 059 Device 001: ID 05ac:8005 Apple, Inc. OHCI Root Hub Simulation
Bus 027 Device 001: ID 05ac:8005 Apple, Inc. OHCI Root Hub Simulation
Bus 026 Device 001: ID 05ac:8005 Apple, Inc. OHCI Root Hub Simulation
CPU info:
$ lscpu
View the output
Architecture:            Power Macintosh
Byte Order:              Big Endian
Total CPU(s):            1
Model name:              PowerBook6,5
Print all firmware variables:
$ nvram -p
View the output
nvramrc	" /" select-dev
00000000 " graphic-options" get-my-property 2drop !
unselect
scroll-lock	true
boot-command	mac-boot
pci-probe-mask	-1
skip-netboot?	false
diag-device	enet
boot-screen	screen
default-subnet-mask
boot-device	pci2/ata-6@D/@0:3,\\:tbxi
real-size	-1
logger-size	-1
auto-boot?	true
default-gateway-ip
use-generic?	false
boot-volume	3
screen-#rows	40
selftest-#megs	0
default-mac-address?	false
logger-base	-1
little-endian?	false
ram-size	0x50000000
boot-file
default-server-ip
output-device	screen
virt-base	-1
boot-script
use-nvramrc?	true
prev-lang:kbd	en:2
screen-#columns	100
input-device	keyboard
aht-results
real-base	-1
mouse-device	mouse
oem-banner?	false
oem-banner
fcode-debug?	false
default-router-ip
aht-kbd-lang	en
real-mode?	false
aapl,tdm-units
console-screen	screen
default-client-ip
virt-size	-1
diag-file	,diags
oem-logo
load-base	0x800000
output-device-1	scca
platform-uuid
diag-switch?	false
gmt-offset	0
input-device-1	scca
boot-args
oem-logo?	false
Display EDID data:
$ ioreg -lw0 -r -c "IODisplayConnect" -n "display0" -d 2 | grep IODisplayEDID | sed -E "/^.*<(.*)>/s//\1/" | edid-decode
View the output
edid-decode (hex):

00 ff ff ff ff ff ff 00 06 10 2a 9c 00 00 00 00
00 0c 01 01 80 18 12 78 0a 6d c0 8f 55 4e 89 27
22 50 54 00 08 00 01 01 01 01 01 01 01 01 01 01
01 01 01 01 01 01 64 19 00 40 41 00 26 30 18 88
36 00 f5 b8 00 00 00 18 00 00 00 01 00 06 10 20
00 00 00 00 00 00 00 00 0a 20 00 00 00 fe 00 4c
50 31 32 31 58 30 34 2d 43 32 0a 20 00 00 00 fc
00 43 4f 4c 4f 52 20 4c 43 44 0a 20 20 20 00 25

----------------

Block 0, Base EDID:
  EDID Structure Version & Revision: 1.1
  Vendor & Product Identification:
    Manufacturer: APP
    Model: 39978
    Made in: 2002
  Basic Display Parameters & Features:
    Digital display
    Maximum image size: 24 cm x 18 cm
    Gamma: 2.20
    RGB color display
    First detailed timing is the preferred timing
  Color Characteristics:
    Red  : 0.5595, 0.3339
    Green: 0.3076, 0.5361
    Blue : 0.1552, 0.1328
    White: 0.3125, 0.3281
  Established Timings I & II:
    DMT 0x10:  1024x768    60.003840 Hz   4:3     48.363 kHz     65.000000 MHz
  Standard Timings: none
  Detailed Timing Descriptors:
    DTD 1:  1024x768    60.003840 Hz   4:3     48.363 kHz     65.000000 MHz (245 mm x 184 mm)
                 Hfront   24 Hsync 136 Hback  160 Hpol N
                 Vfront    3 Vsync   6 Vback   29 Vpol N
    Manufacturer-Specified Display Descriptor (0x01): 00 01 00 06 10 20 00 00 00 00 00 00 00 00 0a 20 '..... ......... '
    Alphanumeric Data String: 'LP121X04-C2'
    Display Product Name: 'COLOR LCD'
Checksum: 0x25
Get CPU type and version:
$ ioreg -l | grep cpu-version | sed -E "/^.*<(.*)>/s//\1/"
View the output
80030102
Which means the CPU is a PowerPC G4 7447a v1.2.
Photos
please excuse the random dog hair in the photos, I love her so much
 |  |  |  |
 |  |  |  |
 |  |  | |
 |  |  |  |
Accessories
- Apple M9109G/A Mini VGA to S-Video Adapter
- 603-0607 Apple Mini VGA to VGA Adapter
Documentation
PDF downloads, locally hosted
- iBook G4 - Getting Started
- iBook G4 (12-inch Late 2004) service manual
- Apple iBook G4 12” Repair Manual
- iBook G4 - User Guide
- iBook - User Guide
Useful links
A series is usually a collection of multiple website posts about the same subject and dependent of each others. This article is from the Apple iBook G4 series:


