Hoshi development setup
People who followed my Hoshi OSdev-ing adventure know by now that I started working on the operating system (actually, at that time my plan was to write a bootloader) in 2015, and my development setup was very different at that time, and that it changed several times. In this article I’ll “reveal” a bit of the Hoshi history, describe my current OSdev setup and document it for future iterations.
Hoshi
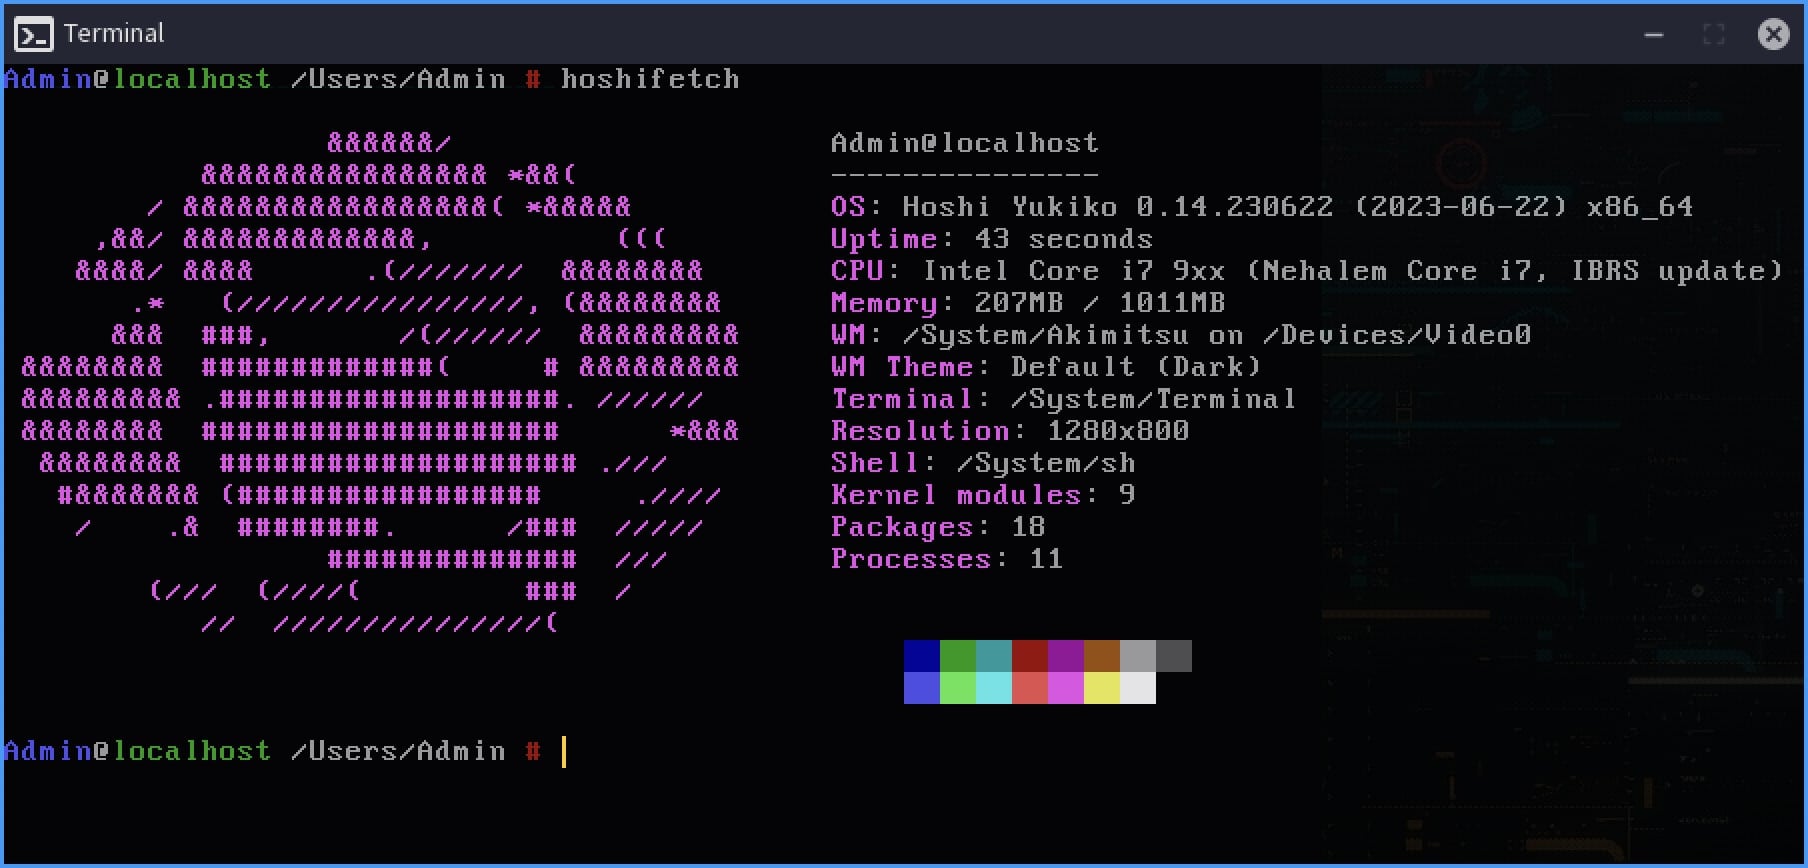
Hoshi (星 in Japanese, meaning “star”) is an custom hobby operating system for the x86_64 platform. It’s not Linux but it is POSIX-compliant and runs on a custom kernel named Yukiko (幸子 in Japanese, meaning “happiness”). It is written from scratch in C, including the kernel, boot-loader, standard library, GUI library and all major components.
It has a mode called HoshiMin where it boots into console with minimal applications (but with network support active), minimal memory pressure (under 64MB used) no GUI window manager and kernel debugging dumped into the first serial port. ISO filesize is 12MB for HoshiMin and 38MB for full-GUI Hoshi.
History
When I began working on Hoshi in 2015, my main computer was a Macbook Air 2012 11inch laptop (that I still have, it was and still is a workhorse with its i7 CPU and 8GB of RAM) running Mac OS X 10.7 Lion (yes, that was its full name), which I used to write the code in Sublime Text, while the compilation was done on a minimal Debian virtual machine on top of the Parallels Desktop hypervisor. Testing was done in VirtualBox and Bochs.
In 2020 I switched to a Macbook Pro M1 running macOS 11 Big Sur, using the same Sublime Text editor (and sometimes JetBrains CLion) while the compiling part was done by a minimal Debian arm64 VM on top of the same hypervisor (Parallels’). Testing was done mainly in QEMU and UTM, which is the same QEMU with a pretty GUI.
While the first setup (the Macbook Air one) was really simple, switching to arm64 architecture meant VirtualBox on macOS was no longer an alternative for running Hoshi (VirtualBox only worked with Intel CPUs and not Apple’s ARM CPUs, if I remember correctly there is a ARM beta, but considering VirtualBox is Oracle’s now, I don’t have high hopes for it), therefore I had to stick to QEMU for my tests and I had to rewrite some drivers.
So, about one month ago when I got my old and trusty Macbook Air back, I thought I should return to my initial development setup, but with a twist this time: Windows 10 in BootCamp, and WSL on top of Windows 10. And since nowadays I’m using openEuler on all devices I can get my hands on, why not run openEuler under WSL?
Also, keep in mind that last time I used Windows it was 2011 and Windows 7 was in vogue, so there are probably better ways to achieve what I’m trying to do here, but this is how I did it. I can work with a de-bloated Windows 10 that has an application-level firewall installed so all connections to the Microsoft mothership can be blocked, but I’ll never install Windows 11.
openEuler
openEuler is the open-source community version of EulerOS, which is a commercial Linux distro developed by Huawei and it’s based on Red Hat Enterprise Linux. openEuler is operated by the OpenAtom Foundation after Huawei donated the source code of openEuler to the foundation, sometimes in the autumn of 2021. Latest LTS version of openEuler is 24.03, so that’s what I’ll use.
You can install a desktop environment like UKUI, DDE or XFCE on top of openEuler and turn it into a desktop OS, but its power comes when it’s used as a server distro or a minimal image for deployment.
Windows 10 and WSL
I won’t tell you how to install Windows 10 or Windows Subsystem for Linux (WSL), you’re probably way past that level if you’re interested in operating system development.
You can download openEuler from Microsoft Store, but honestly you shouldn’t ever let Microsoft Store touch the Internet, so I’ll download the WSL image and install it manually. If the official repo is slow, use the ACCUM Swedish mirror.
Extract the ZIP archive somewhere, doubleclick the newly-extracted CER certificate file (DistroLauncher-Appx_2403.0.1.0_x64_ARM64.cer) and choose Install Certificate > Local Machine > Place all certificates in the following store > Trusted People. Start a PowerShell terminal as administrator, change directory to the “somewhere” you extracted the archive and run the AppDevPackage.ps1 script in the package.
.\AppDevPackage.ps1
Found bundle: DistroLauncher-Appx_2403.0.1.0_x64_ARM64.appxbundle

Installing app...
Success: Your app was successfully installed.
Press Enter to continue...:
Click the openEuler-24.03 entry in the Start Menu to initialize the WSL environment and setup the user and password normally. The next step is to clone the distro so in case something goes wrong I can revert to this step and not need to download and install everything again.
Start by creating a clone of the openEuler WSL distro (in a PowerShell terminal, obviously):
wsl --export openEuler-24.03 C:\openEuler-hoshi-dev
If the distro name is different than openEuler-24.03 (maybe you installed 24.09 instead, or an older version) or the path where you want the archive saved is different than C:\openEuler-hoshi-dev, adjust the parameters to the wsl command.
Now import the archive I exported earlier into a new WSL distro image:
wsl --import openEuler-hoshi-dev X:\projects\hoshi\wsl\ C:\openEuler-hoshi-dev
Keep in mind that openEuler-hoshi-dev is the name of the new cloned distro (you can name it whatever you want), X:\projects\hoshi\wsl\ is the path where WSL will store the .vhdx disk image (so obviously you want something different) and C:\openEuler-hoshi-dev is the path and name to the archive file I exported earlier.
Now you can start the new distro using WSL from a PowerShell prompt (preferable one inside Windows Terminal):
wsl --distribution openEuler-hoshi-dev
or, as a shortcut:
wsl -d openEuler-hoshi-dev
Here openEuler-hoshi-dev is the name of the cloned distro as specified in the import command. Once you get dumped into the bash prompt, update and install prerequisites.
# dnf update
# dnf install wget patch gcc binutils genisoimage zlib-devel texinfo nasm autoconf flex bison g++ libmpc libmpc-devel gmp gmp-devel mpfr mpfr-devel isl isl-devel
Now the Hoshi toolchain can be built (x86_64-hoshi-gcc and friends).
# mkdir -p /hoshi/{cross,build,sysroot}
# cd /hoshi/cross
# /mnt/x/projects/hoshi/src/setup-toolchain.sh --sysroot=/hoshi/sysroot
From inside the WSL image you can access the disks on your system using the /mnt/<DRIVE_LETTER> path, so you can access the C drive with /mnt/c, the X drive is a special partition I’m using for my projects.
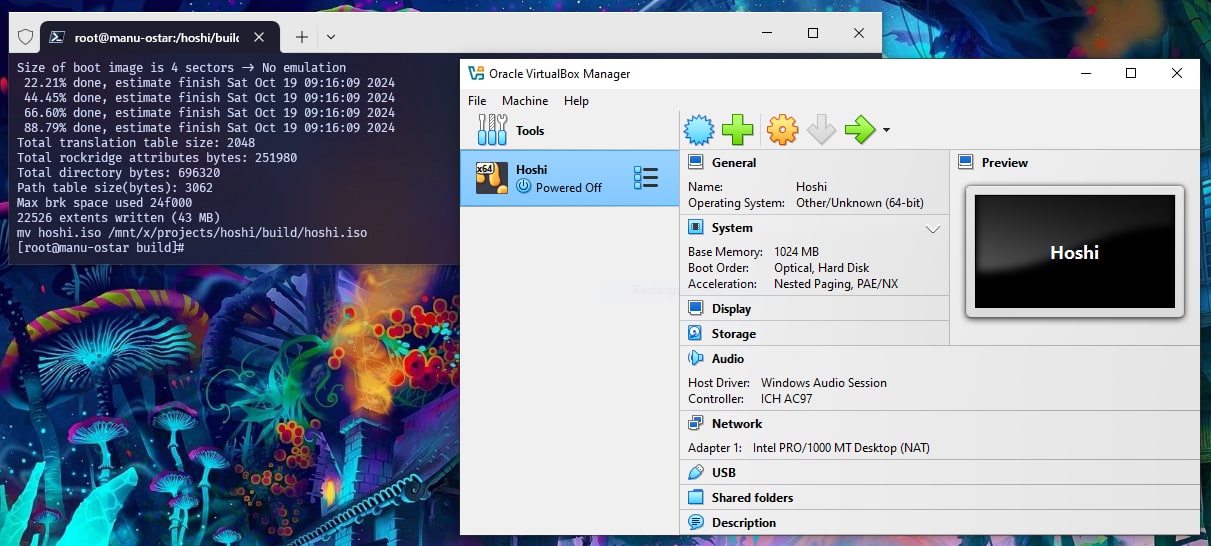
After the Hoshi toolchain is built, one can proceed to build the ISO image that can be used to boot the operating system.
permalink http://sizeof.cat/post/hoshi-development-setup/
created October 19, 2024
words 1142
tags #projects, #hoshi, #osdev, #windows, #openeuler
A series is usually a collection of multiple website posts about the same subject and dependent of each others. This article is from the Hoshi operating system series:
- Hoshi development setup
- Hoshi System Bar


